A sestina is a thirty-nine-line poem featuring the intricate repetition of end-words in six stanzas and an envoi. The form is as follows: 1. ABCDEF – 2. FAEBDC – 3. CFDABE – 4. ECBFAD – 5. DEACFB – 6. BDFECA – 7. (envoi) ECA or ACE. The envoi must include the remaining three end-words, BDF, within the three lines so that all six recurring words appear in the final three lines. [ Poets.org ]
***
Summer heat wrapped around them as she caressed the cherries,
silently pulsing in the supermarket aisles. She sipped her drink.
He, too, was thirsty. Someone opened the ice cream
freezer, breathing frost into his pores, but the bar of chocolate
he held had started to melt inside its wrapper. We need some eggs,
she said, for breakfast, and for a soft, fluffy omelet: milk.
The afternoon was charged with sweat. She cradled the milk
close to her chest as if it were something to be cuddled. The cherries
murmured among themselves inside the brown paper bag; six eggs
stirred awake inside their pulp packaging. She offered him her drink,
their fingers brushing. She noticed a trace of melted chocolate
on his wrist and said maybe they should have bought ice cream.
They drifted into her apartment, retreated to the kitchen. The ice cream,
he said he could get it if she wanted. She put down the milk
inside the humming fridge, the bottle inched closer to the chocolate
he had placed near a water-filled bowl for the swimming cherries.
For now, just rest and relax a bit, she said, and have another drink.
She leaned over the counter, leaving there the throbbing eggs.
He asked her if she always had breakfast with eggs.
Only on special days, she said. Now he thought of that ice cream—
he should probably get it—told her this, finished his drink.
Let’s just make it, she said. Sticky and sugary condensed milk,
thick, heavy cream whisked into perfect peaks. With cold, ripe cherries
between their lips, she unwrapped and broke the chocolate.
It was dark outside, the onset of a storm. To curl the chocolate,
slide the scraper at a 45-degree angle, she showed him. The eggs
shuddered as he leaned in, their shoulders touching. A few cherries
slipped from his fingers to the floor, splitting open. The ice cream
needed to freeze overnight. The air crackled with the sweet scent of milk.
She asked if he wanted something else to drink.
A deluge of rain. The condensation on the can of his drink
dripped onto his hand. Around them, curls upon curls of shaved chocolate.
Summer rain, she said, time for something warm. She heated milk
inside a copper pot, sprinkling it with cinnamon. Later, two eggs
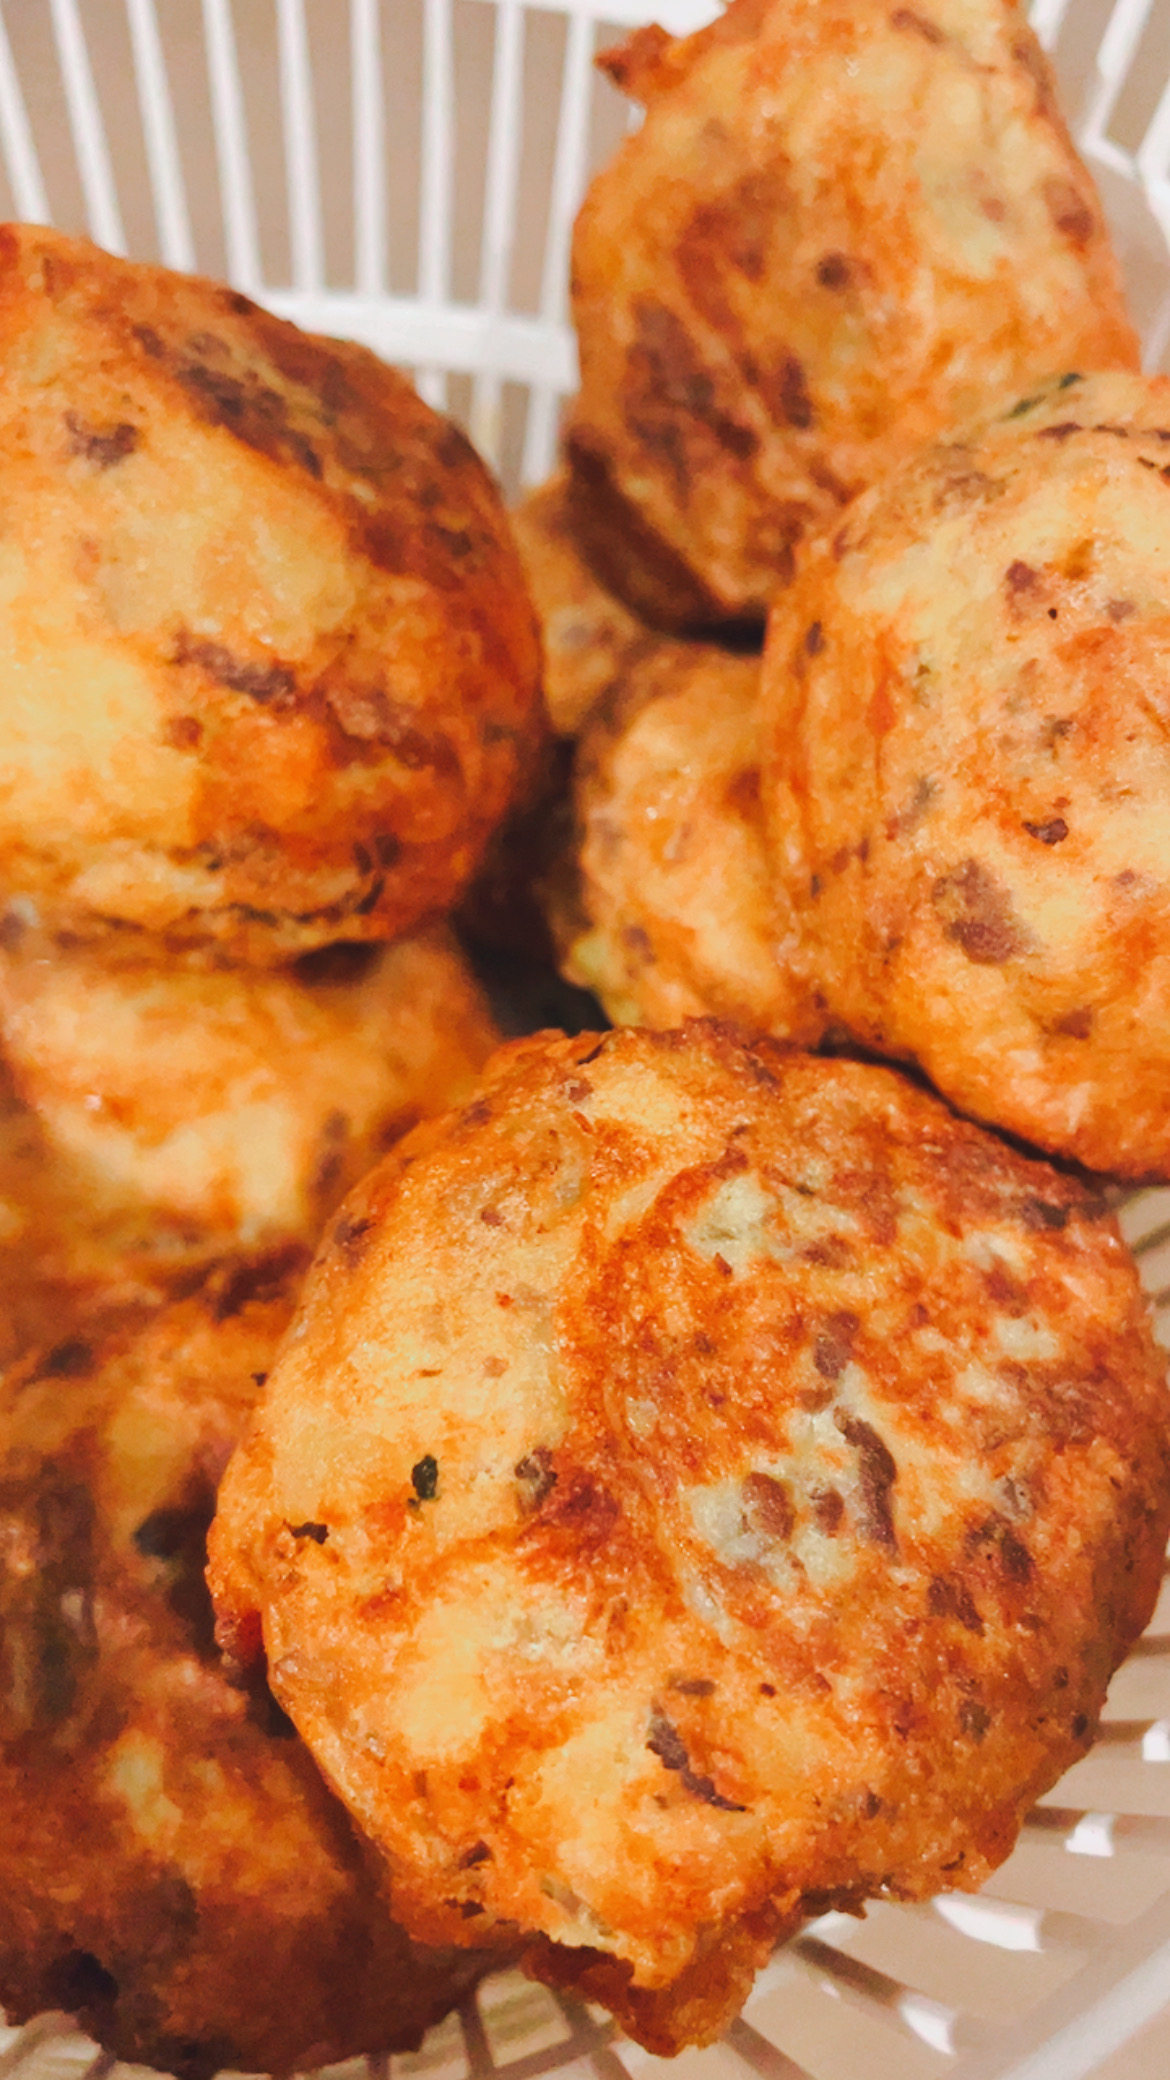
burst open from their shells, impatiently waiting for the ice cream
to harden. Two a.m.—the floor was slippery with squashed cherries.
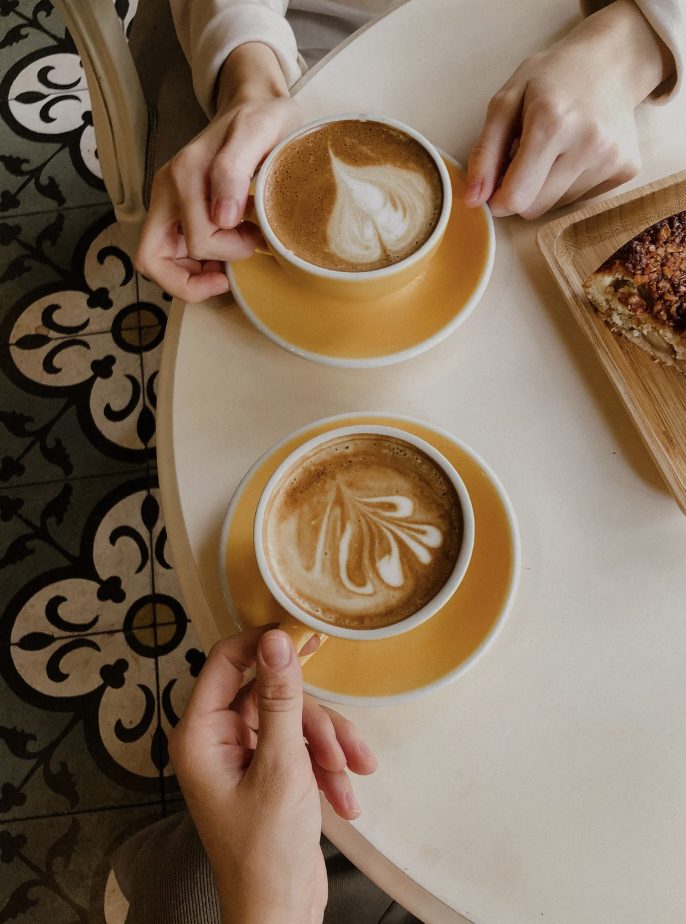
Breakfast was a leisurely pour of milk over coffee to drink
with leftover chocolate, an omelet with four eggs,
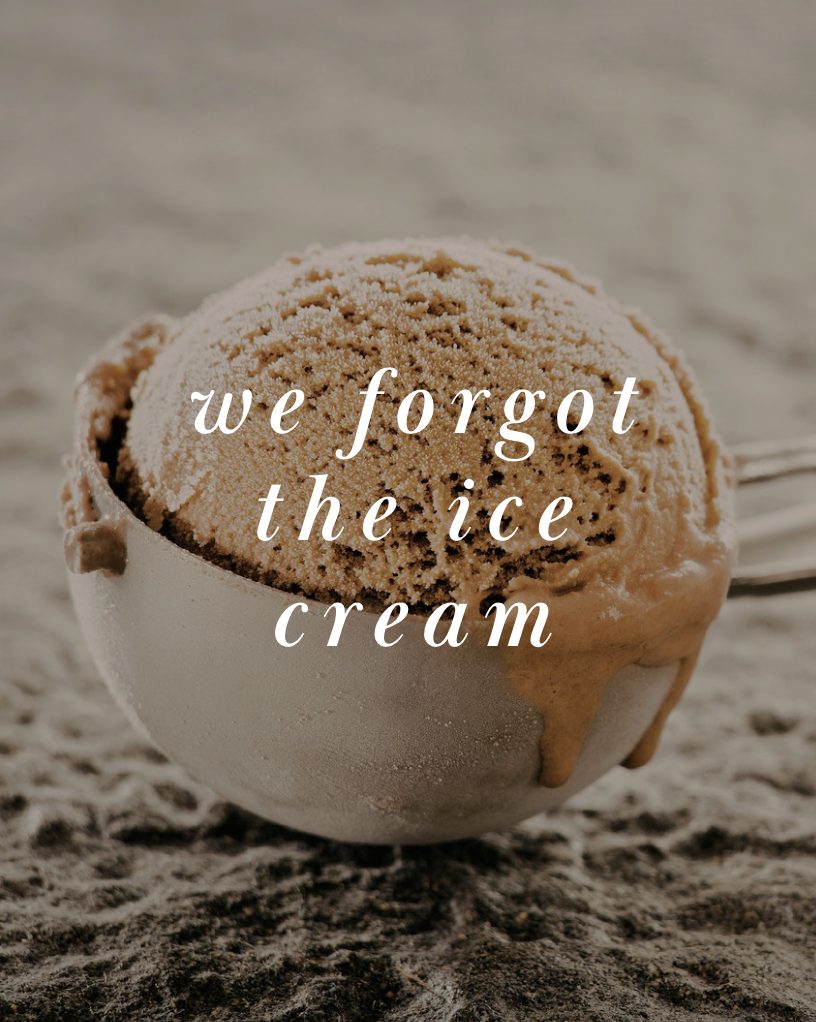
burgundy stains of cherries, no trace of ice cream.