One week, one question, three deep breaths, and 20 minutes of uninterrupted, unedited stream-of-consciousness writing or typing—just recording whatever comes to mind, believing the first thought that crosses your mind and whatever follows.
What makes you smile on any given day?
What kind of thoughts often hold you back?
What is essential to forming meaningful connections?
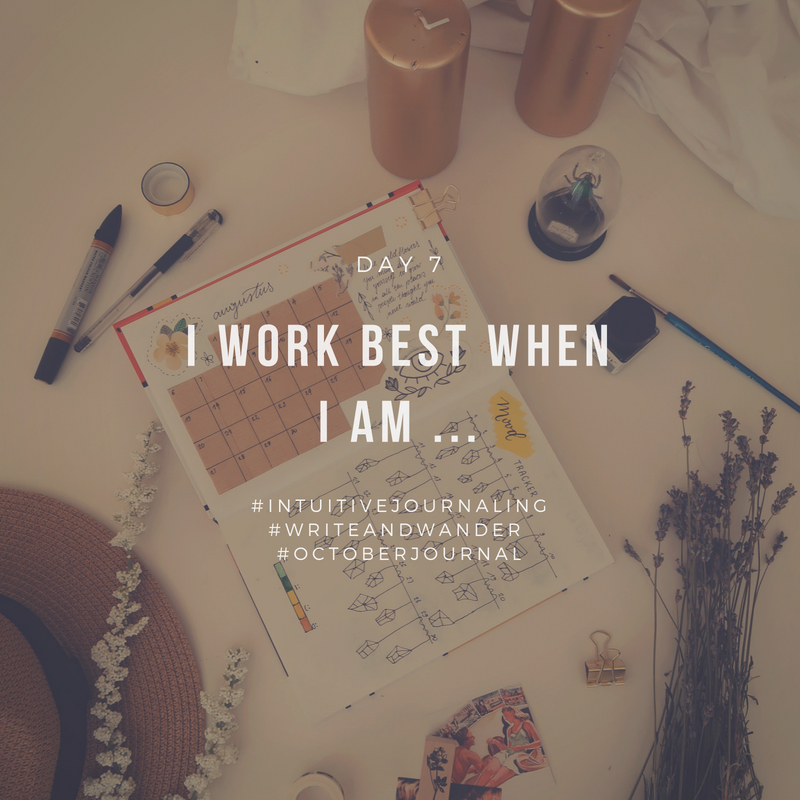
What makes work satisfying?
What makes you feel better after a good cry?
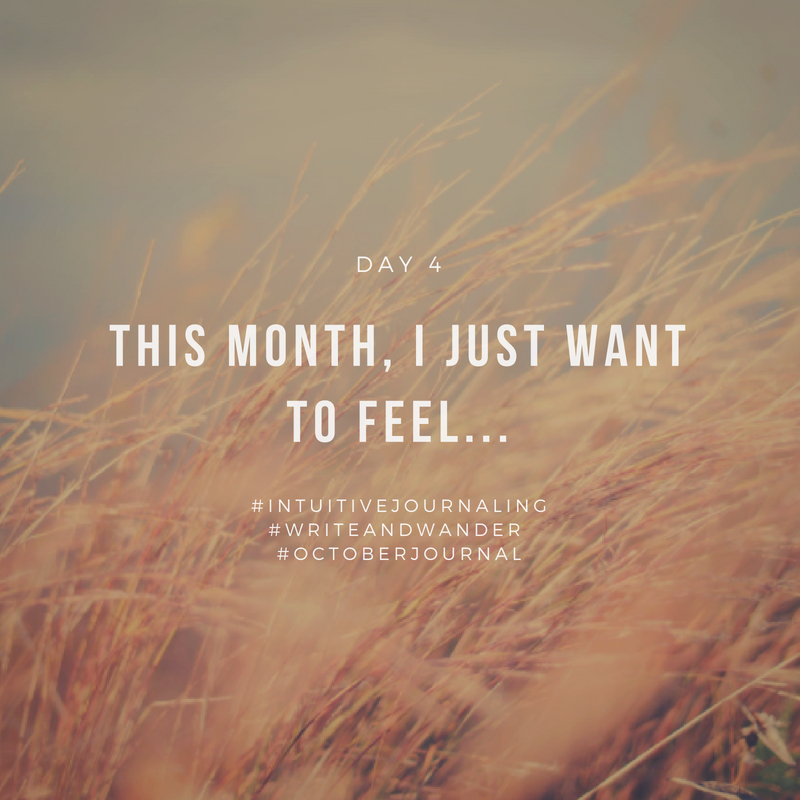
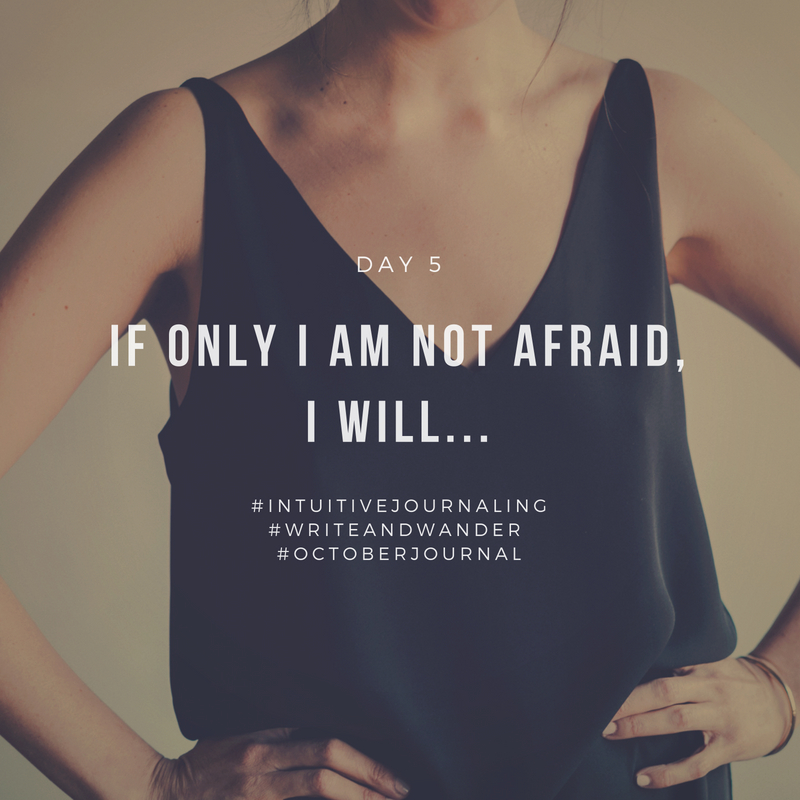
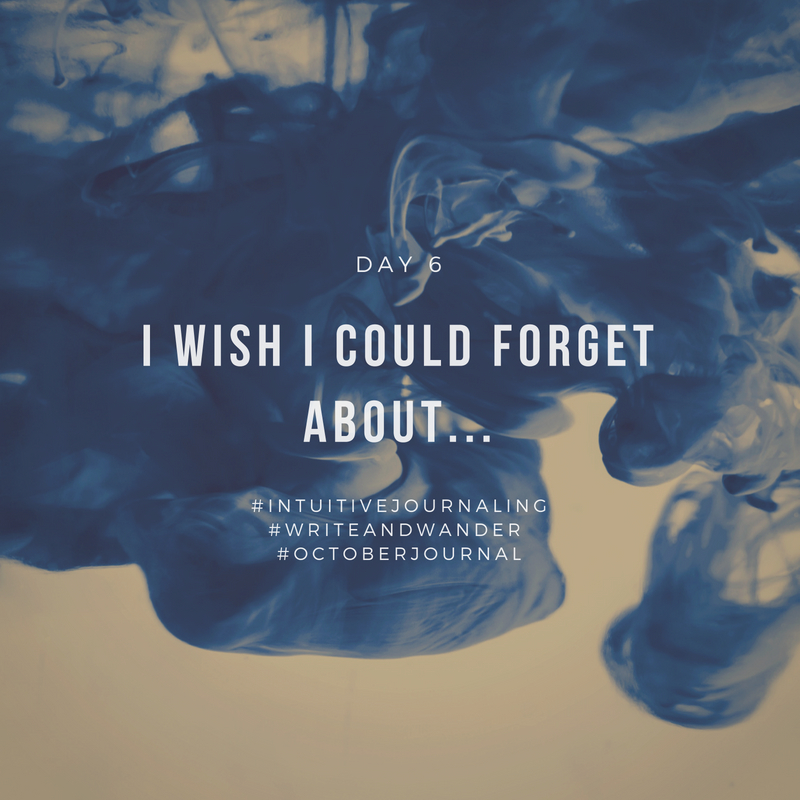
What makes life worth living?
What does “closure” look like to you?
What do you wish people to know about you?
What does it mean to love someone?
What makes you feel the most alive right now?
What are the things you’re curious about?
What are some memories you keep replaying in your mind?
What makes life not so bad at times?
What makes people hurt others?
What are you made of?
What do you wish to know early on in life?
What goes around and comes around in your life?
What is going on in your life right now that you don’t understand?
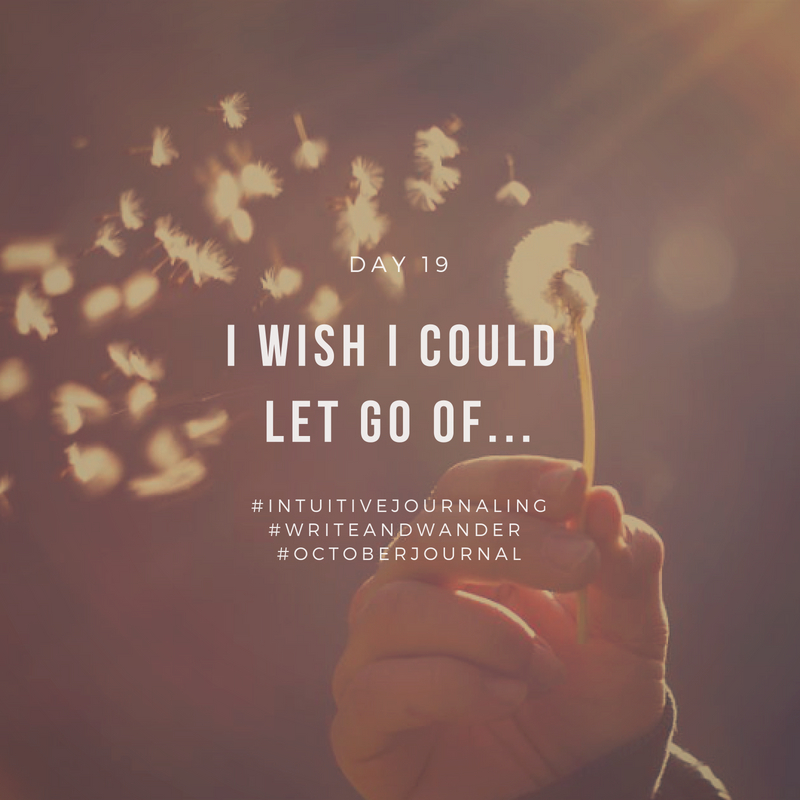
What are your life-savers?
What do you need to be able to forgive?
What are the things you still have a hard time accepting?
What does it mean to see the world through your lens?
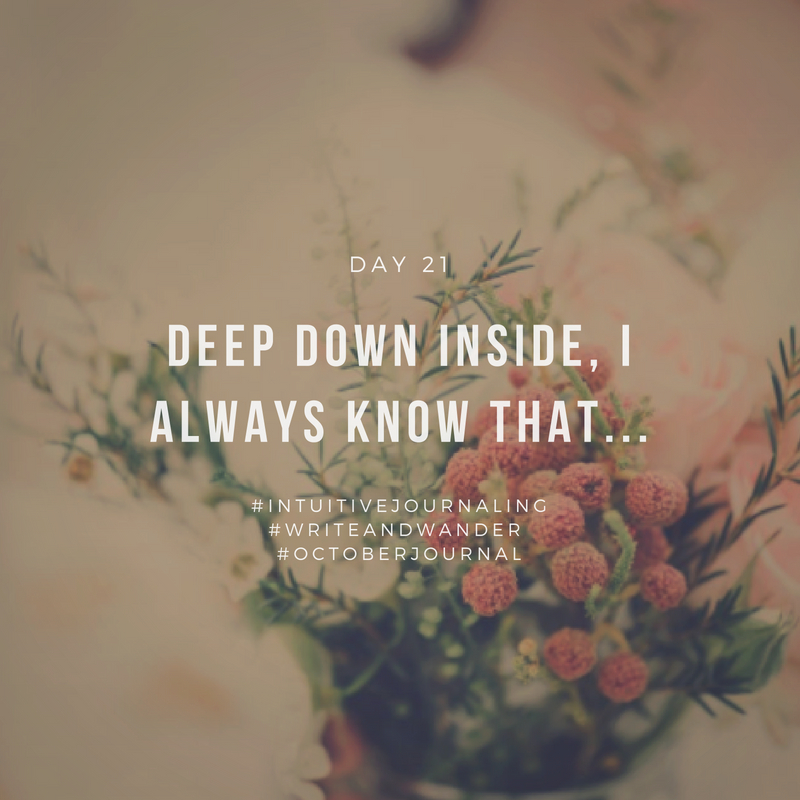
What does it take to be at peace with who you are?
What’s life about?
What caught you off guard?
What does it feel like to be in your head?
What drains you of your life force and shuts you down?
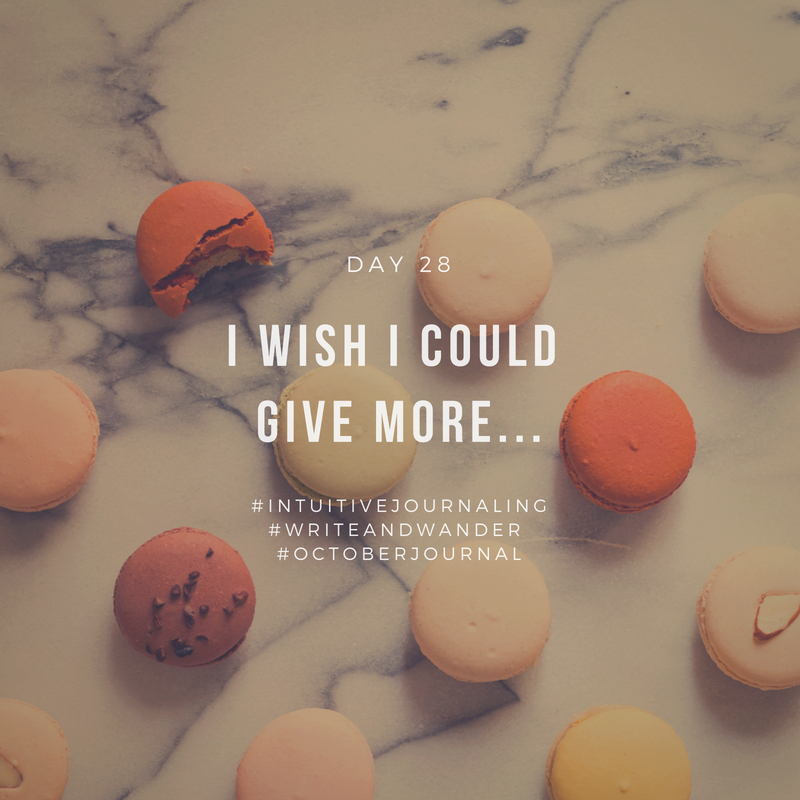
What does it take to make good memories?
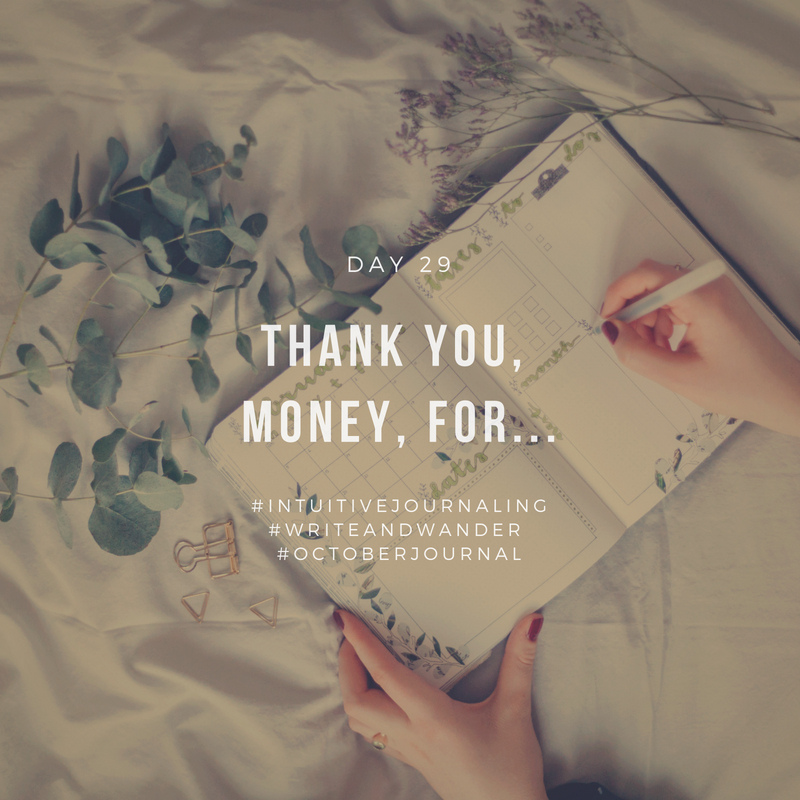
What breaks your heart?
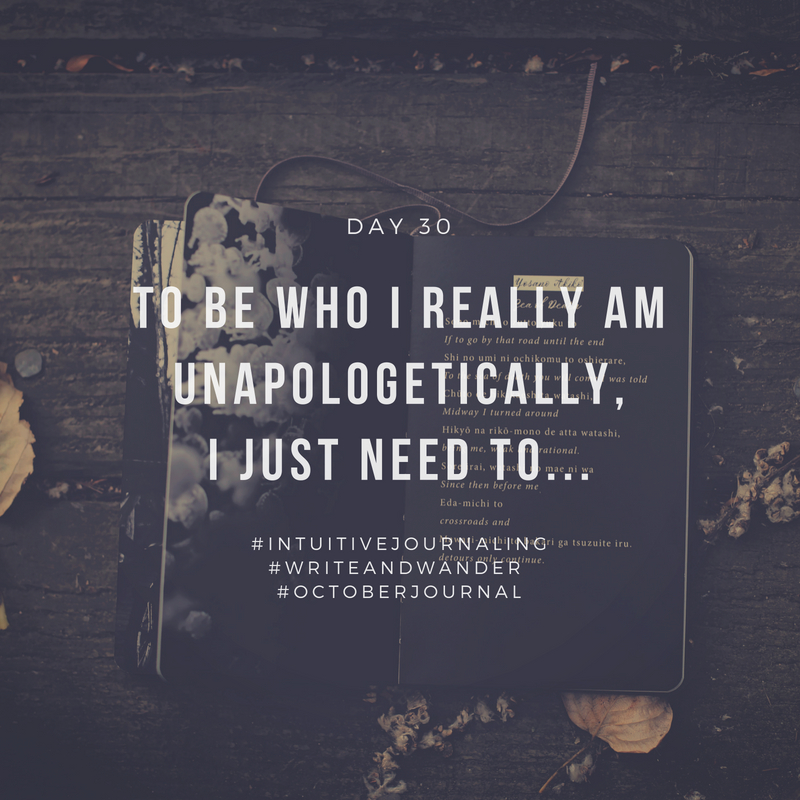
What are some things that are not really important in life?
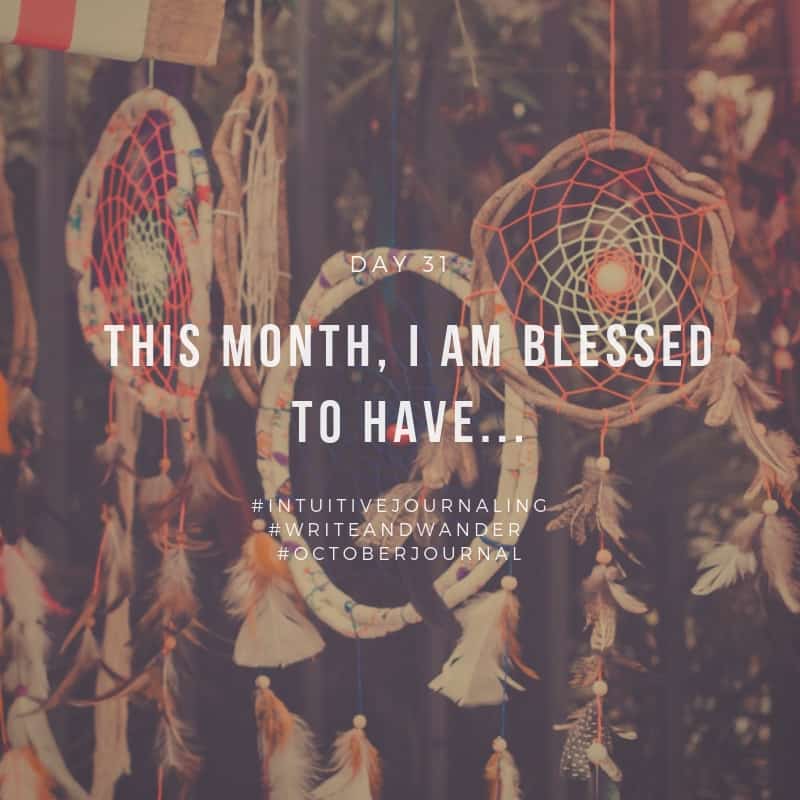
What rocks your boat?
What do you wish to bless people (and the world) with?
What keeps you awake at night?
What are you afraid of knowing?
What makes a feeling worth being deeply felt?
What has slipped through the cracks?
What’s not worth fighting for?
What crosses your mind when you’re alone?
What do you no longer believe in?
What are some of your seemingly insignificant problems?
What do good friends do?
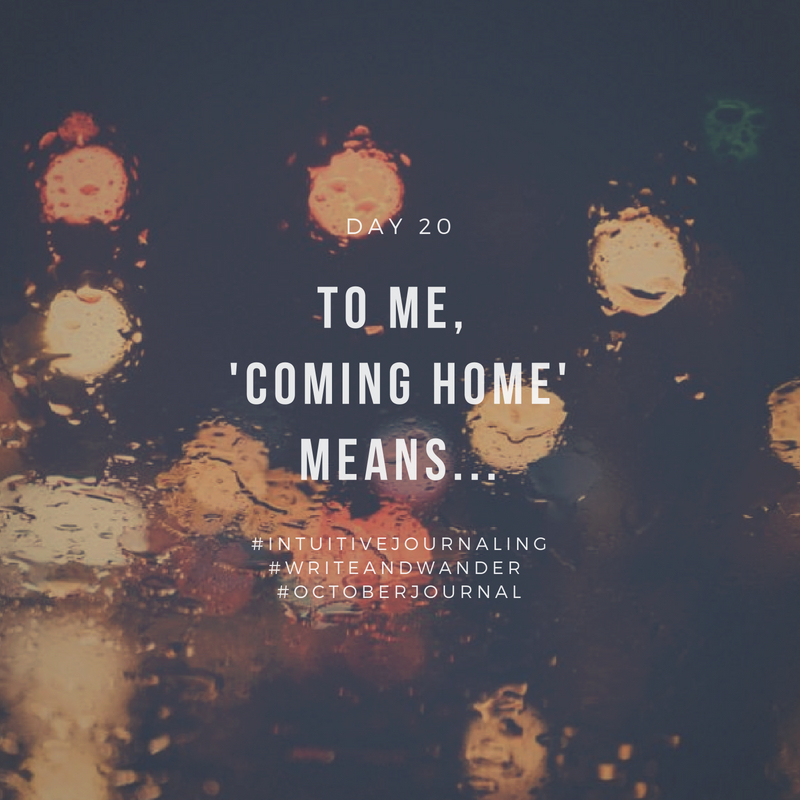
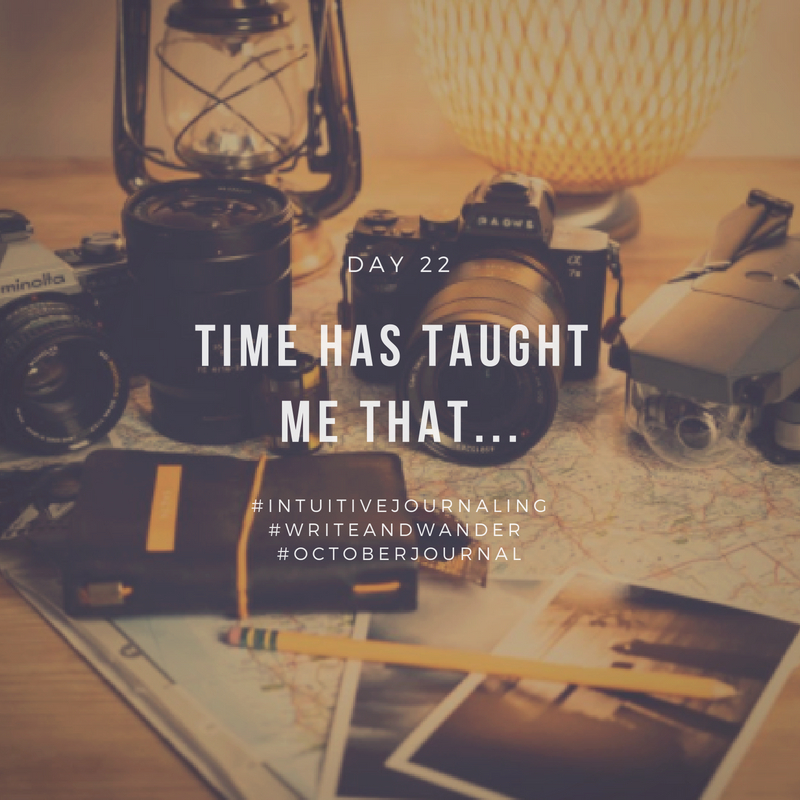
What role does time play in your life?
What do you miss the most?
What makes your world go round?
What kind of conversations light you up?
What are the things that give you nervous excitement?
What are the things going right in the world right now?
What does it take to lose yourself?
What will make you initiate a conversation with a stranger?
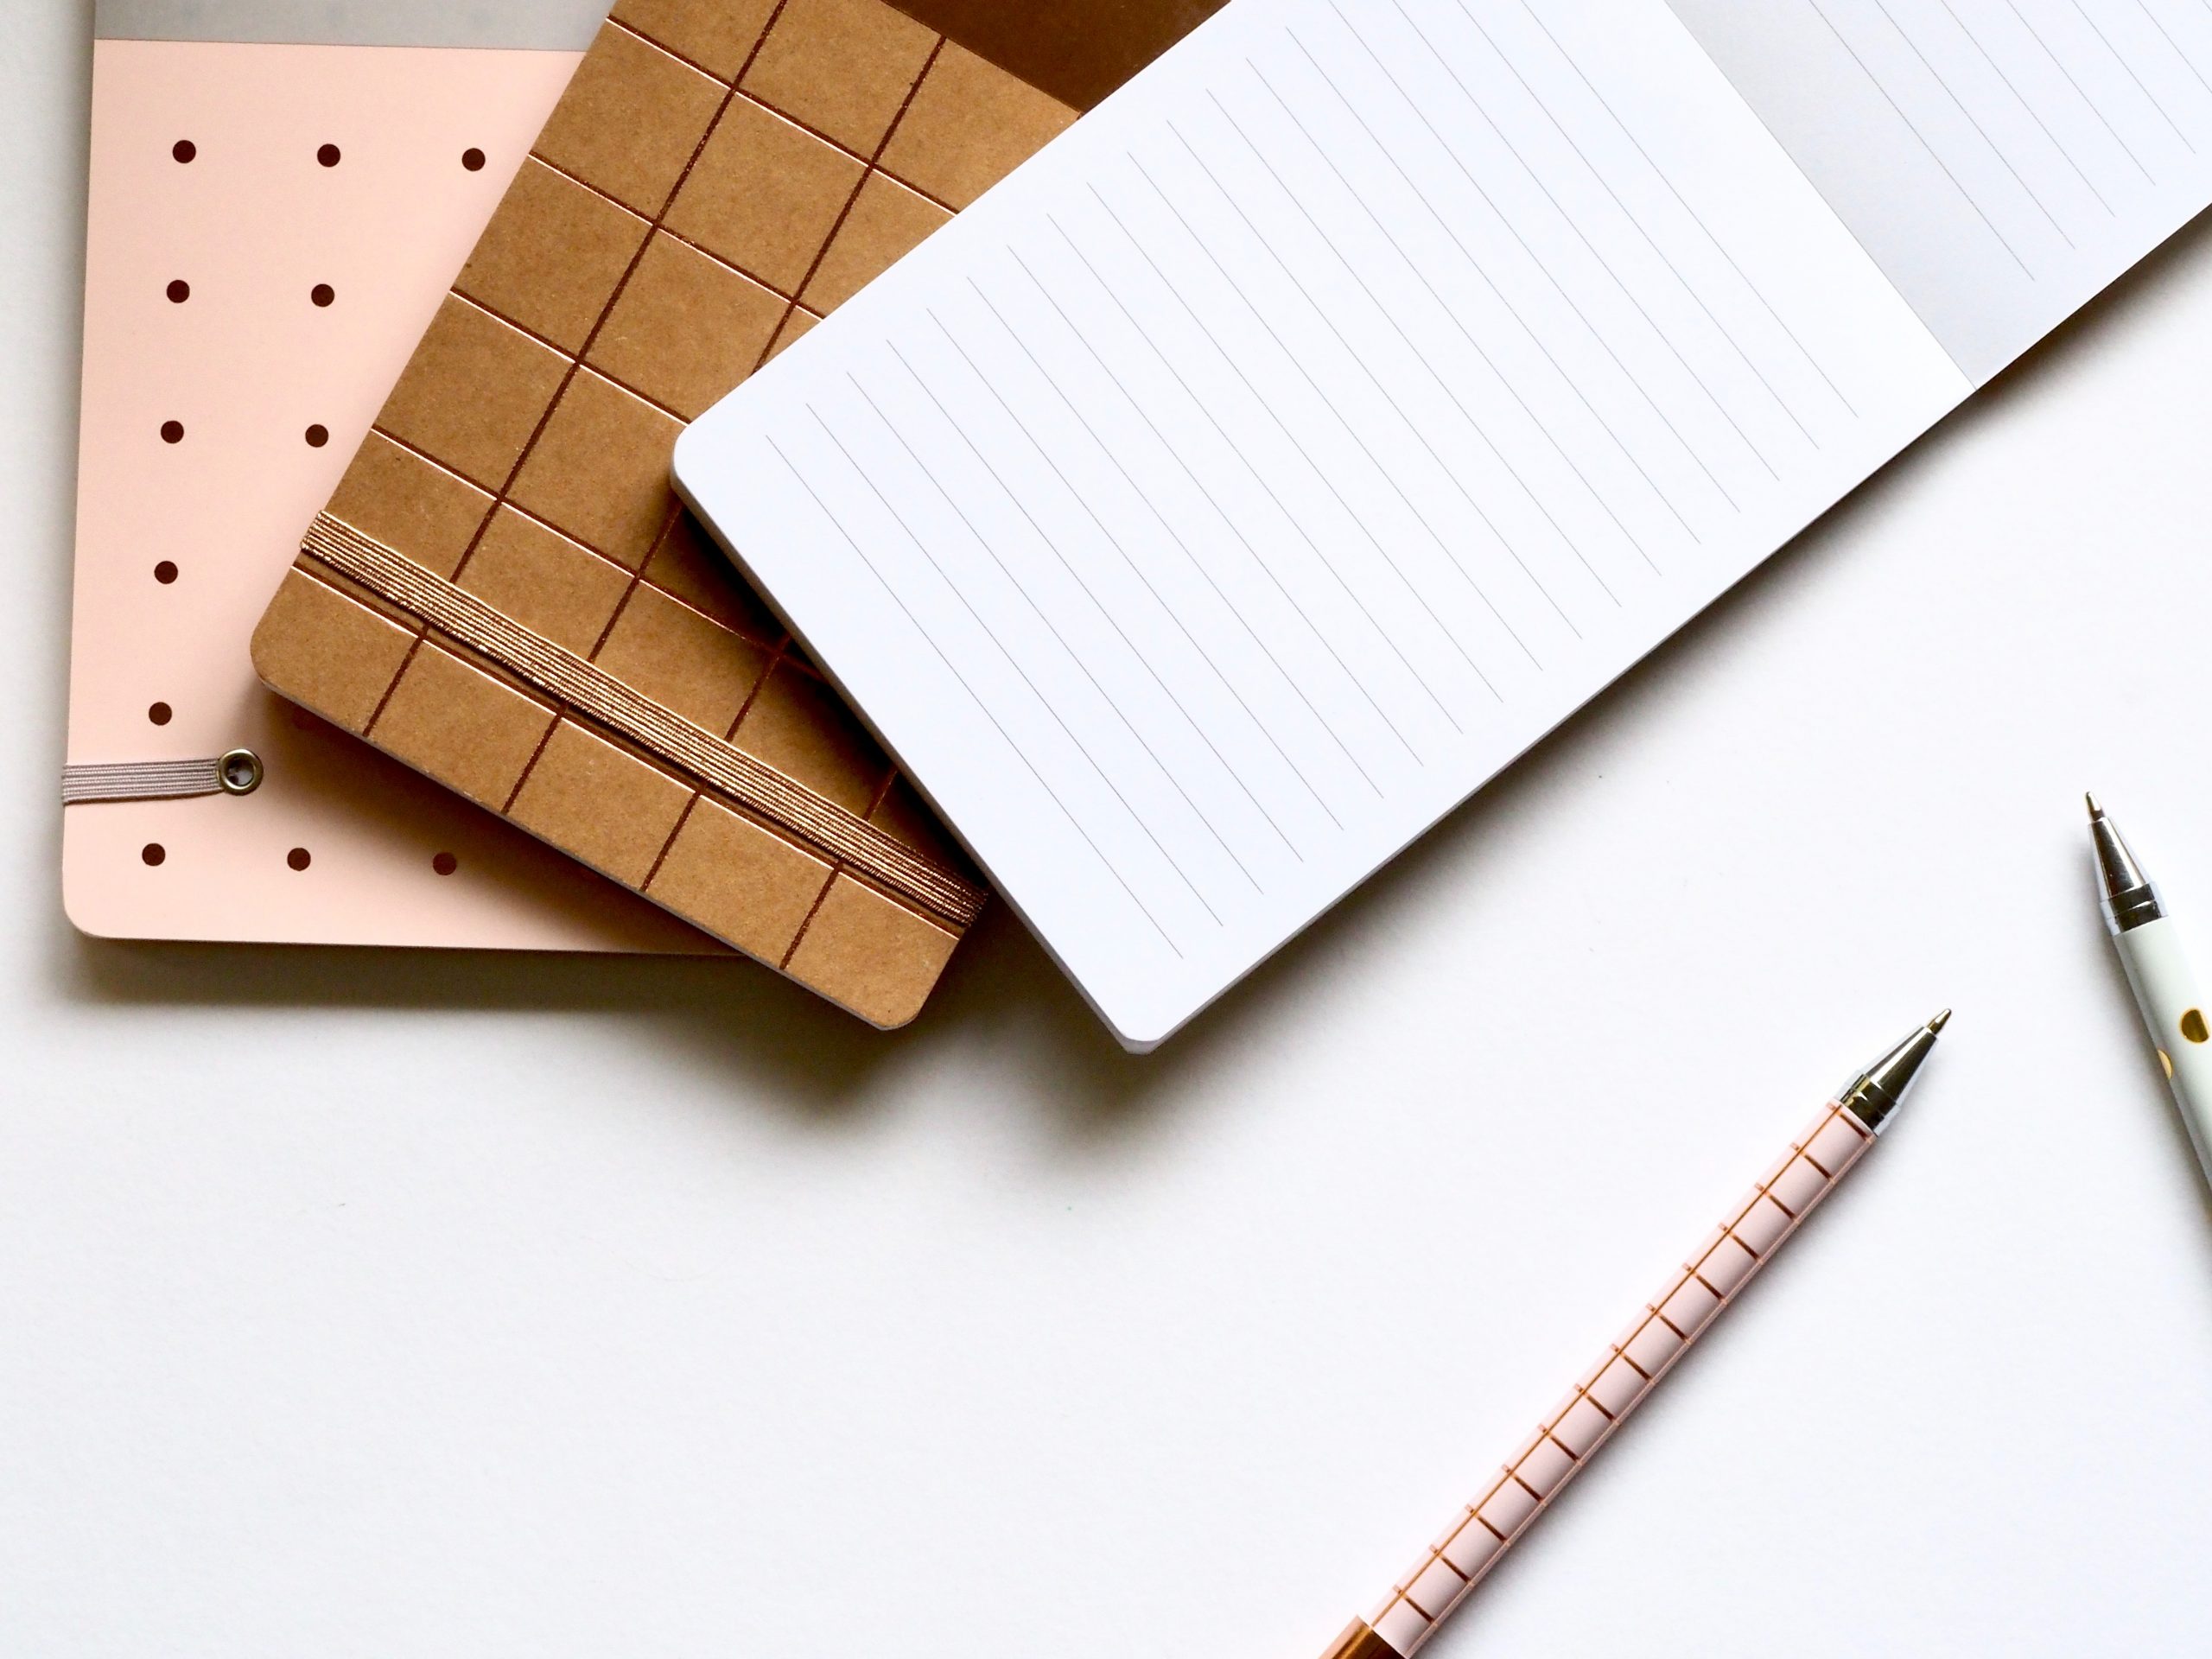
I took up a personal journaling project this week: writing a love letter to myself before bed. I work on a thin A6-size handmade paper journal I got from a paper artist, Els.
The journal is thin and small enough, so it doesn’t overwhelm me. It feels like I am only going to work on a small project. However, the handmade paper, with its textures and colors, is also beautiful enough to make me feel like I want to do something with it every evening.
The love letter is simple, concise, and short. I thank myself for what I do that day—even as simple as cooking meals for myself or taking the time to rest. I praise myself for the smallest achievement that day (like not being angry when things go wrong or treating someone kindly). On tough days, the letter can be full of words of comfort and assurance. I write all the things I wish to hear. The letter is me telling myself, “I see you. I hear you. I know how hard you try; I understand what you’re going through.”
I think most of the time, we can be too hard on ourselves when we do something we regret or when we make mistakes. We can keep talking ourselves down and replaying the scenes of what we think should not happen repeatedly.
But most of us don’t take enough time and patience to appreciate ourselves when we do something good, don’t mess things up, or make an effort at anything—no matter how small.
Writing a love letter to yourself is about acknowledging ourselves—and appreciating those efforts that we often take for granted, such as getting out of bed in the morning or making it through another challenging day.
To me, this project is a lovely way to use my tiny journal at the end of the day. It is also a calming, creative, and relaxing reminder-to-self that my effort counts—and that I am worthy of love and appreciation from myself.
“Would you like to try working on a tiny journal where you’ll write love letters to yourself from time to time?”
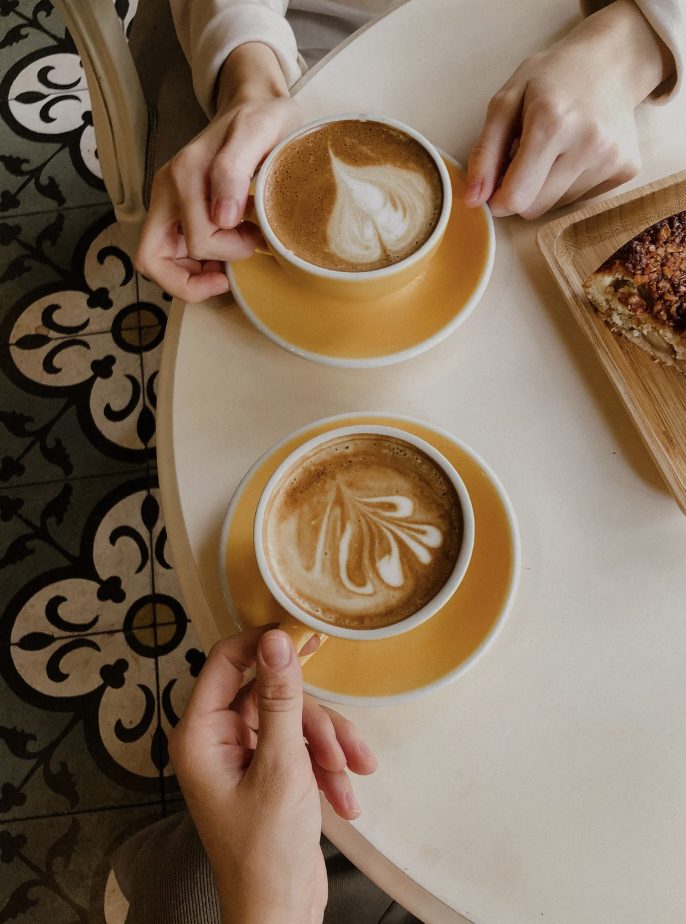
In Indonesia, kopi hitam (black coffee) is made by pouring boiling water over coffee grounds (and, if you like, sugar). Stir as you need, then leave it for a while, not only to let it cool down a bit—but, most importantly, to let the coffee grounds fall to the bottom of the glass and settle there (yes, it is served in a glass, not a cup).
Lately, to me, social media feels like watching someone stirring a glass of black coffee.
It’s hot and loud and chaotic.
The ridiculous amount of things trying to catch my attention reminds me of drinking a glass of black coffee immediately after stirring it: it burns my tongue, and the floating coffee grounds that entered my mouth makes me cringe and cough.
For this reason, I have been thinking of leaving social media for a while. I started by deleting Twitter, then Tumblr, then I deactivated Facebook. I feel good about it. I don’t feel like I’m missing out on anything. I think that Instagram will be next, as I am not too keen on the direction they’re going.
So here I am, waiting for the coffee grounds of social media to settle at the bottom—and once everything is calm, quiet, and unruffled, I am back to my blog.
I realized that I keep (wanting to) coming back to this blog: a place where I feel like conversing with a close-knitted circle of people who share similar sentiments about life, instead of talking to a bunch of strangers who are in a hurry to board a bus.
My blog feels like a home where I can invite my closest people to come over, while social media feels like a big party I am invited to. (You know how I, an introvert, feel about going to parties).
Yes, big parties allow me to meet plenty of people, which can be fun for a while. However, I realized how I crave more for a one-on-one connection and a slow(er) conversation after some time.
Instagram starts to feel like that big party to me, where people only see you for a minute, exchange a few words, and move on to the next topic or say hello to the next person. We scroll so fast (Well, I scroll so fast).
Faces, messages, and interactions are soon forgotten and buried away, the way our Google Photos becomes a photo graveyard.
My steps of quitting social media apps are gradual.
First, I post less. Then, I stop posting but still reading, liking, or interacting. Then, I stop checking the app altogether. Then, I deleted the app from my phone. Finally, I deleted my account. With Instagram, I’m still on my first step—but it feels like I have lifted a weight off of my shoulder.
Now I see a vast difference between ‘I need to share, so I need to create something‘ and ‘I want to create something, and if I want to, I can share it.’ The latter allows me to slow down. It gives me the time and space I need to focus on what I want to create.
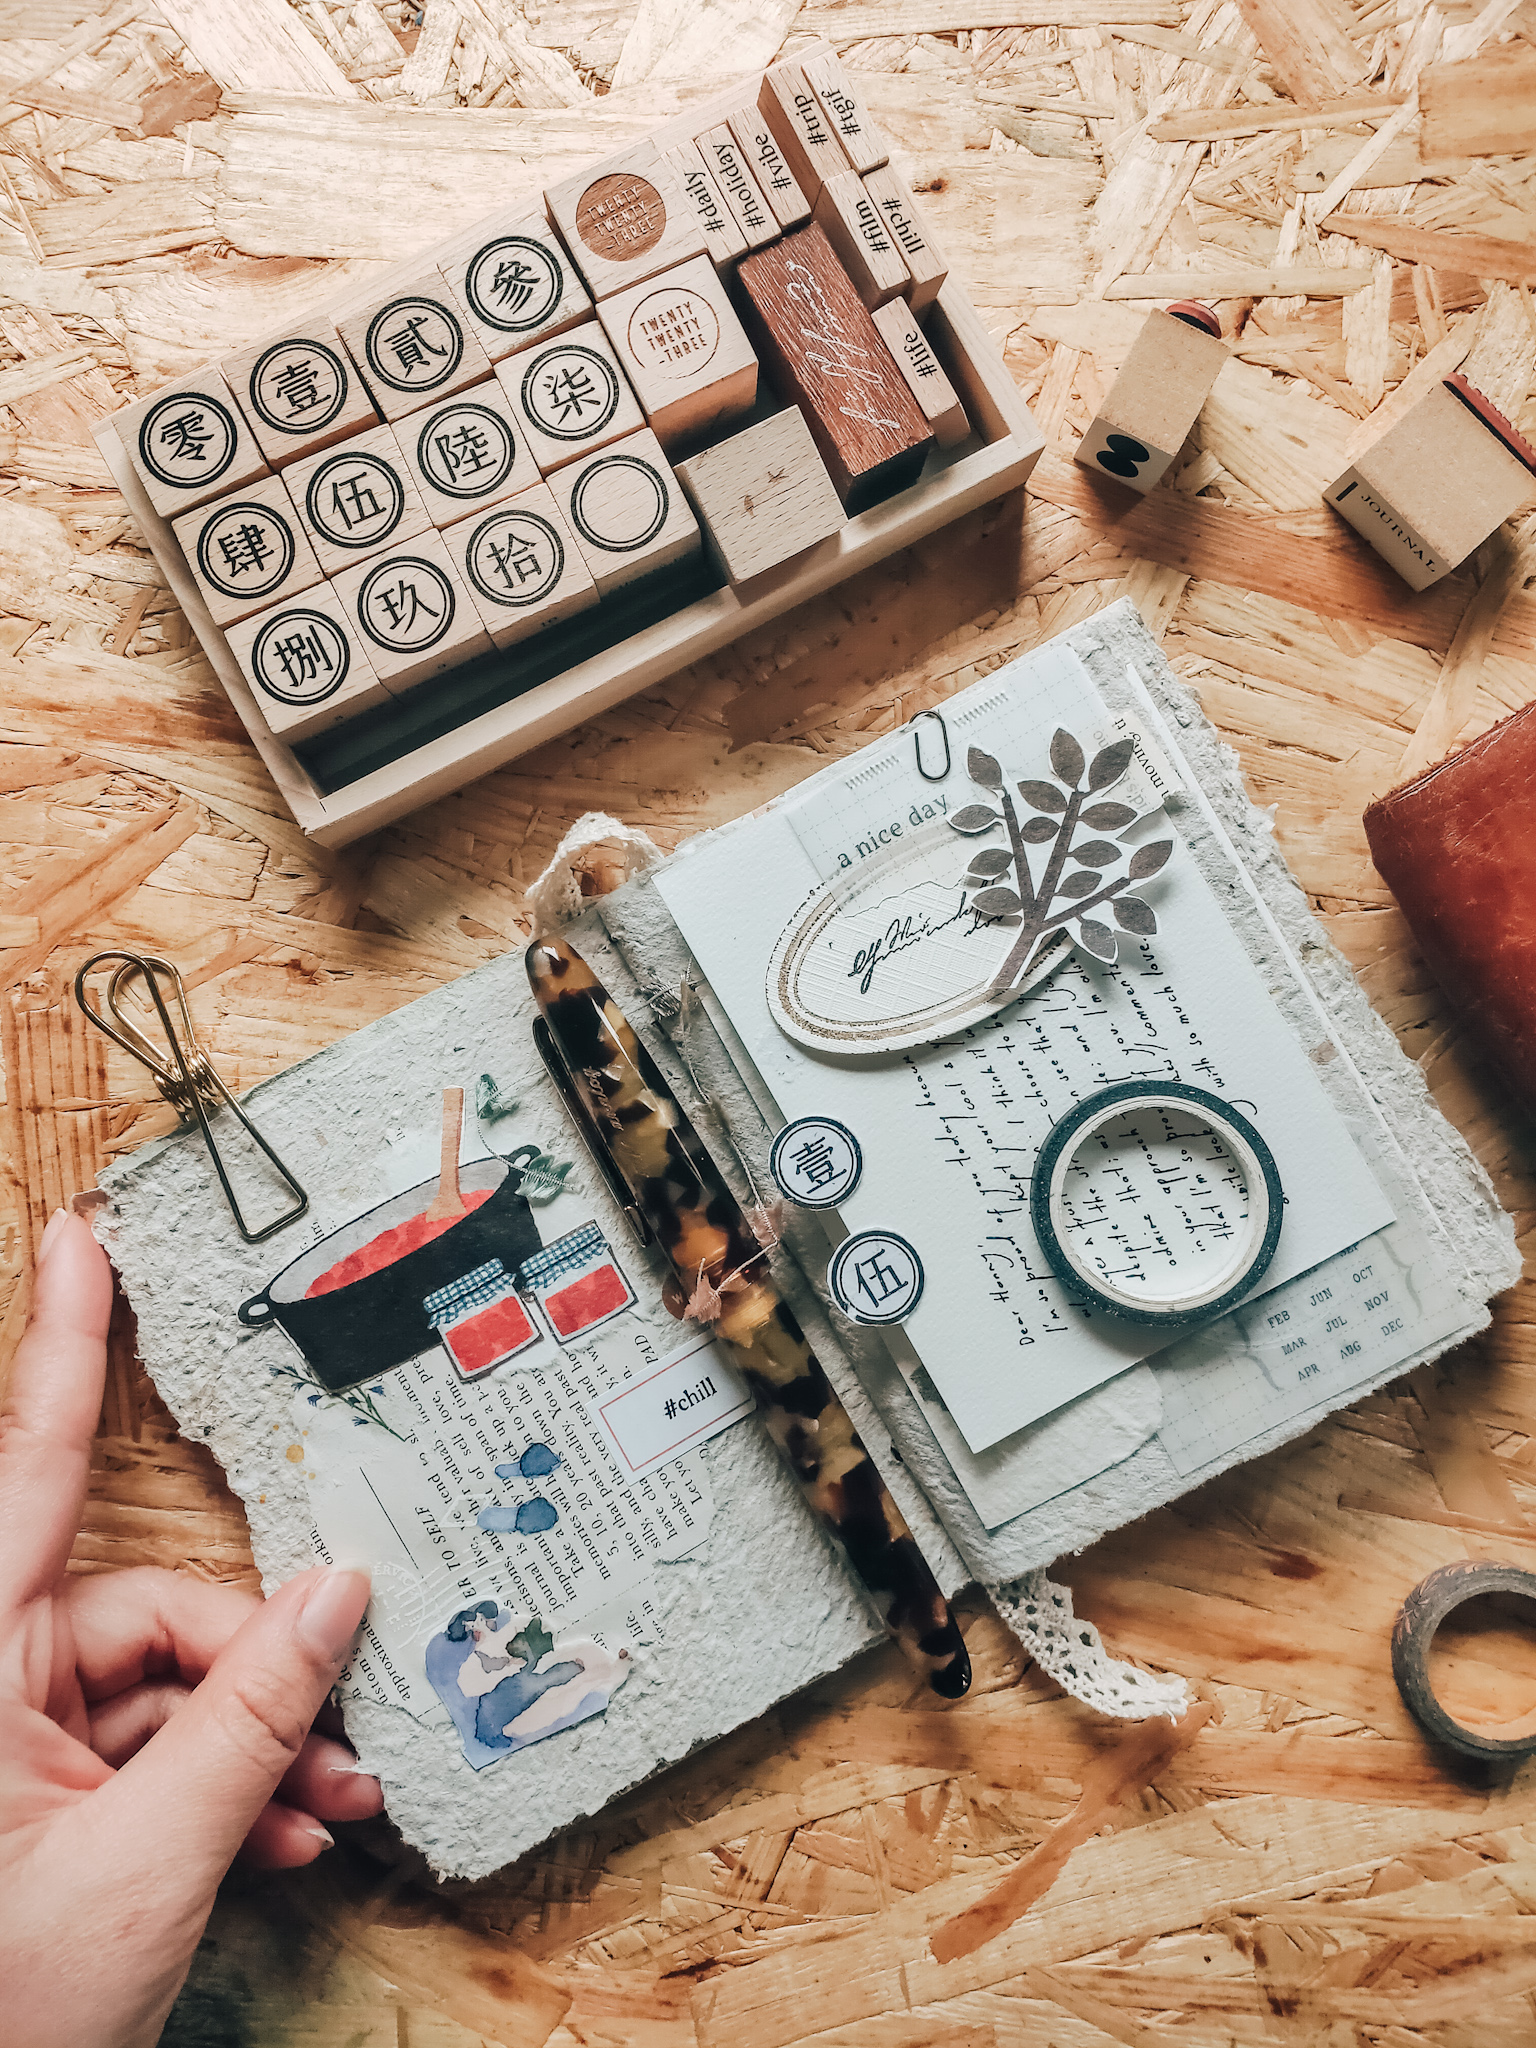
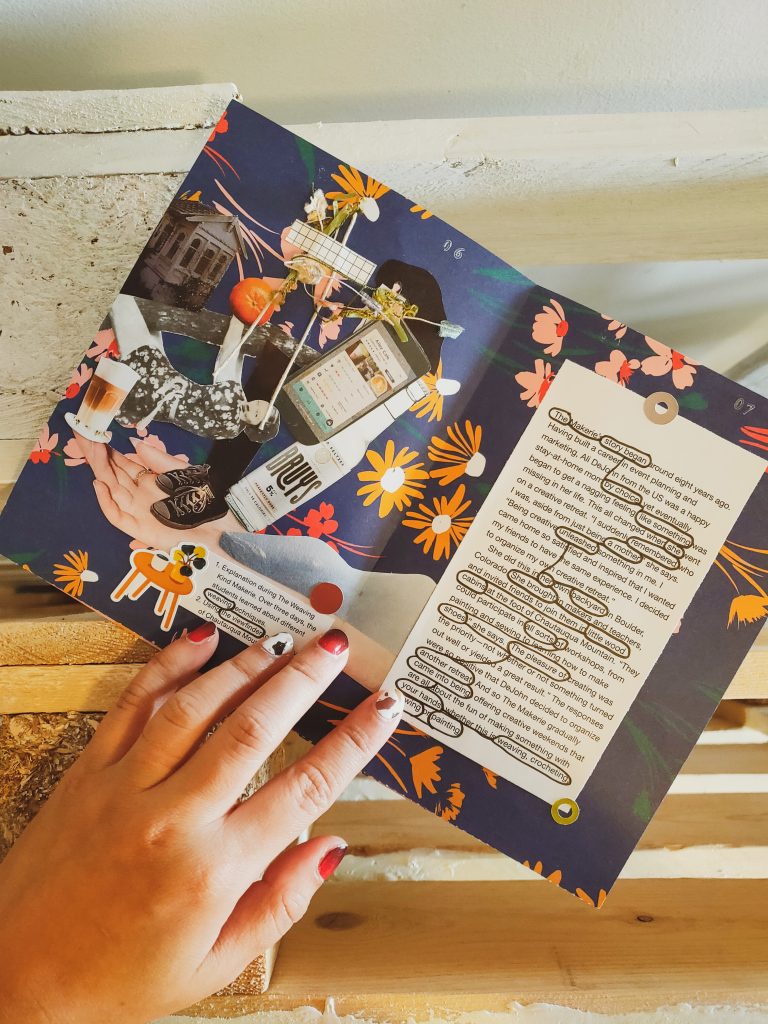
I’ve been enjoying these few weeks facilitating an intimate 3-week online workshop on Found Poetry & Collaging.
We’ve been working on our 12-page zine, featuring our takes on various Found Poetry & Collaging techniques learned during the workshop. This week, we’ll present our zine and share stories about our challenges, creative process, and things we learn about ourselves as writers/poets during the wrapping-up of this project.
I’m excited about it, about the fact that we’re creating a finished project together, challenging our creativity by imposing limitations and boundaries, and having conversations about our creative decisions.
Interactions like this make me think of sipping a glass of black coffee together with friends in a small warung somewhere, accompanied by fried banana and vegetable fritters.
We’re not in a hurry.
We have all the time in the world to wait for our coffee grounds to settle on the bottom of the glass.
>>> Click here to download my morning journaling prompt <<<
Morning journaling has become a part of my morning routine for years. I find this practice helps me to ease into my day gently, with more awareness and clarity about my state of being (how I feel, what I’ve been thinking, etc.) before the rush of the day begins. It’s a way for me to find my ‘calm’ in the morning, something that keeps me centered and grounded.
It took only 4.5 – 5 minutes for me to do this practice but it’s enough to help me approach and plan the day better. For instance, how I would structure and plan my day would be different for the days when I woke up feeling groggy, grumpy, and tired, and the days when I woke up feeling cheerful, inspired, and energized. This is my way of checking in and reconnecting with myself, to see what I need more or less of on a particular day.
This video explains more about my morning journaling practice, and the journaling prompts I use (that can be downloaded here):
Do you have any morning journaling practice? Do you journal in the morning or work on your morning pages? Feel free to share your practice and journaling prompts down below! I would love to hear from you!
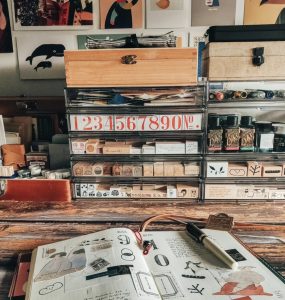
Happy #2020! The first thing I do on the 1st of January (apart from finishing left-over food from our NY dinner celebration) is to set up my bullet journal (Bujo) for the year! If you’re not familiar with bullet journaling, I would suggest you watch this video, or better, read the book The Bullet Journal Method by Ryder Carrol.
Personally, I love the book more than the videos, simply because the book gives a better overview of this method (as the subtitle suggested) to “track the past, order the present, and design the future”. I got a lot of nuggets and inspiration from the book to put my life in order, so I would recommend you to read it, even if you’re not going to use the bullet journal method itself.
As usual, this year, I am using my bullet journal mostly for things related to work/project/self-improvement. I don’t use it as a daily/personal journal (the way some people do), because I write and journal a lot (maybe too much!), so I have a separate journal to pour my heart out.
My previous bullet journals have always been so minimalist and straight-to-the-point, but this year I decided to have a playful one, with splashes of colors and illustrations I draw myself. I want to plan and have fun and draw a lot, thus, this is how I set up my Bujo 2020:
I love the paper quality and the number of pages in this notebook (serve me well for the whole year). Plus, it comes with two bookmarks (one blue, one striped); so I can refer quickly to 2 sections in my bullet journal.
In this post, I will refer to how I set up my bullet journal using this particular notebook (and how I divided the pages), but feel free to use any notebooks you have to host your bullet journal! If you have a random empty notebook lying around, use that instead! You can even make your own cute dangling bookmark to go with it—see the instructions here.
I decorated the cover with a sticker from Flow Magazine’s Book for Paper Lovers (most of the stickers/note papers used inside this bullet journal comes from that book) and write ‘Bujo 2020’ with a white marker.
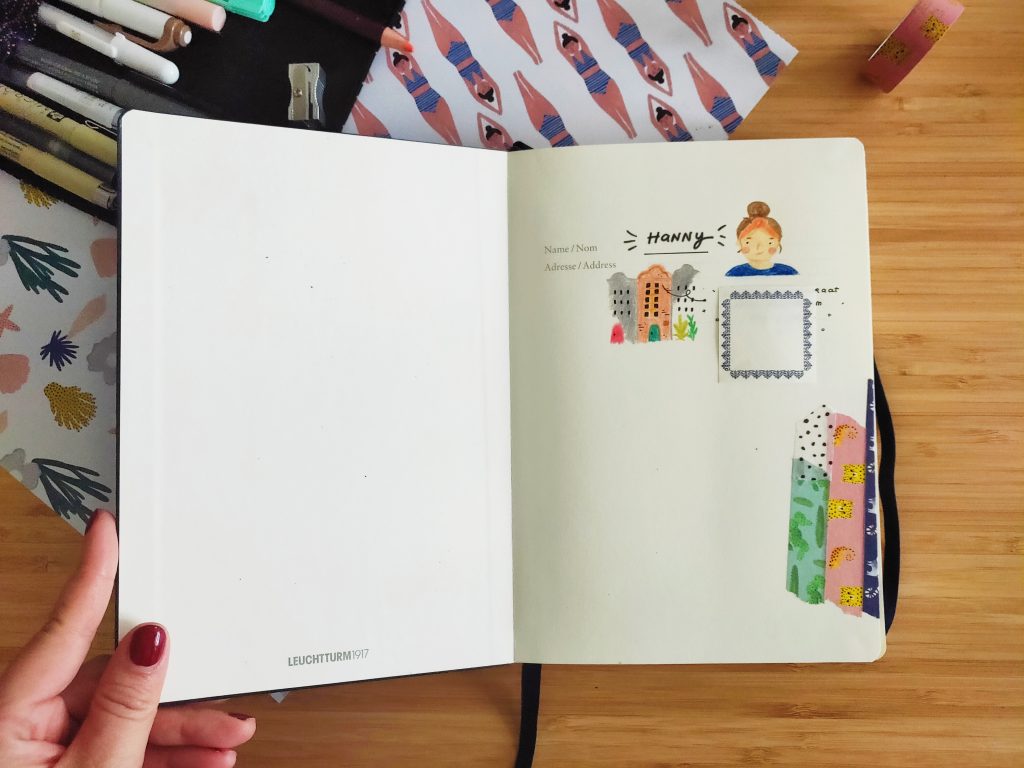
Contact Info Page
Next, I drew myself (and my house), then wrote down my name and address on the contact page. I also slapped down some washi tapes I got from HEMA (4 washi tapes for 3 euros!)—that I’ll be using to decorate/flag/page-mark this bullet journal.
Index Page
The Leuchtturm notebook I’m using comes with 3 index pages, so you can create a table of content of your own bullet journal. It helps you to find certain things/topics in your bullet journal easier.
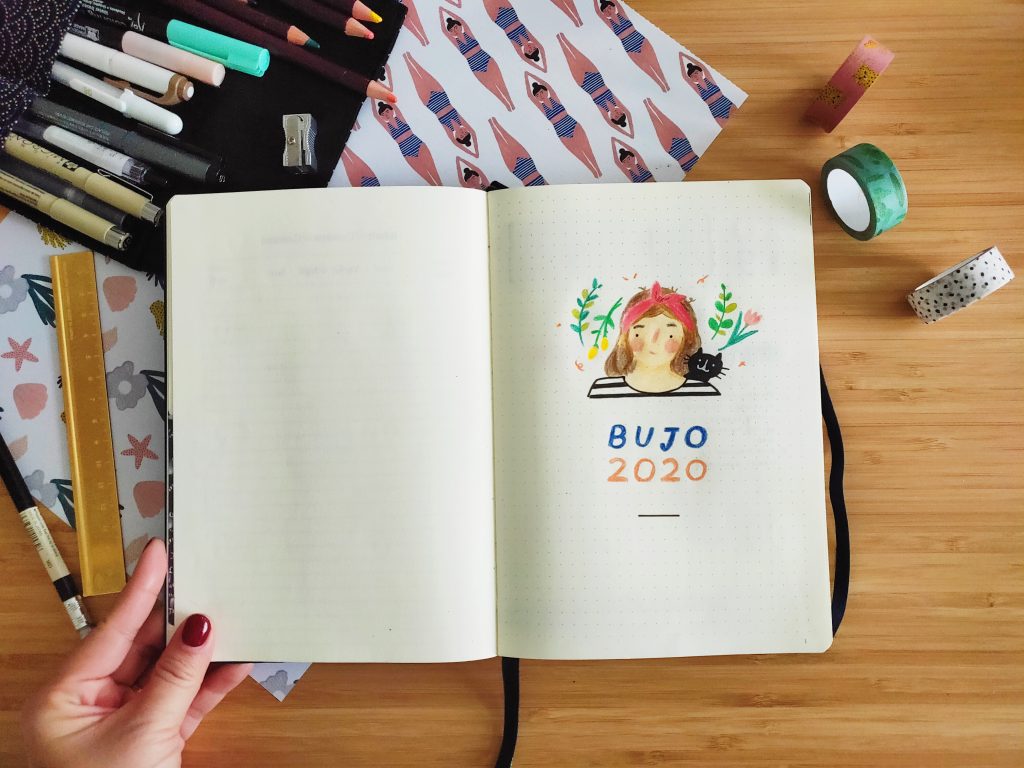
Page 1. Inside Cover Page
I just drew myself (along with my best friend Nia in her cat form!) and write ‘Bujo 2020’ with colored pencils.
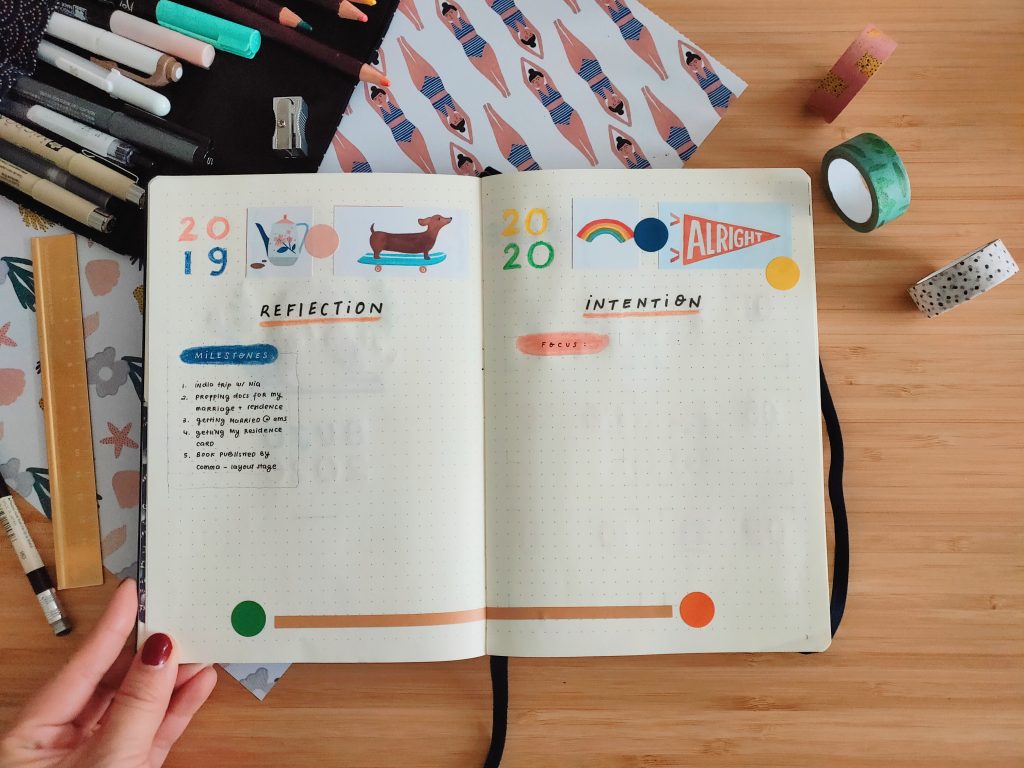
Page 2-3. 2019 Reflection + 2020 Intention
For my 2019 Reflection, I started out by writing some milestones from the previous year. Next, I’ll write down some stuff from 2019, including:
things I’m grateful for
things I’ve learned
people I’m thankful for
things that went well
I will also write some thoughts about how I would ‘summarize’ 2019. What do I like/dislike about it, what are some of the challenges I’m facing, and what are some of the things I could improve.
For my 2020 Intention, I will start by writing down some areas of life I’d like to focus on (i.e. strengthening my spiritual practice, experimenting with various ways of self-expression, etc.). I will also write down about my ‘ideal’ 2020 here. What are the things I’d like to experience, people I’d like to meet, achievements I’d like to accomplish? How do I want this year to turn out?
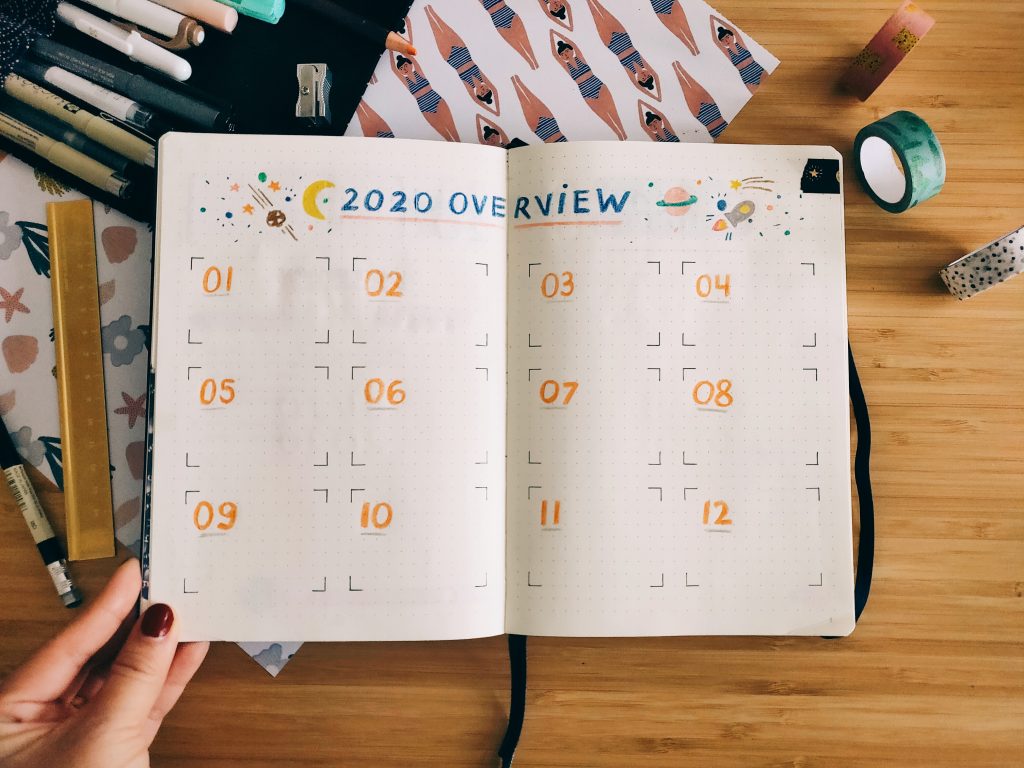
Page 4-5. 2020 Overview
At the end of each month, I will write 3-5 milestones or highlight from that particular month here. The idea is to look back at this page at the end of 2020 and being able to see my year at a glance.
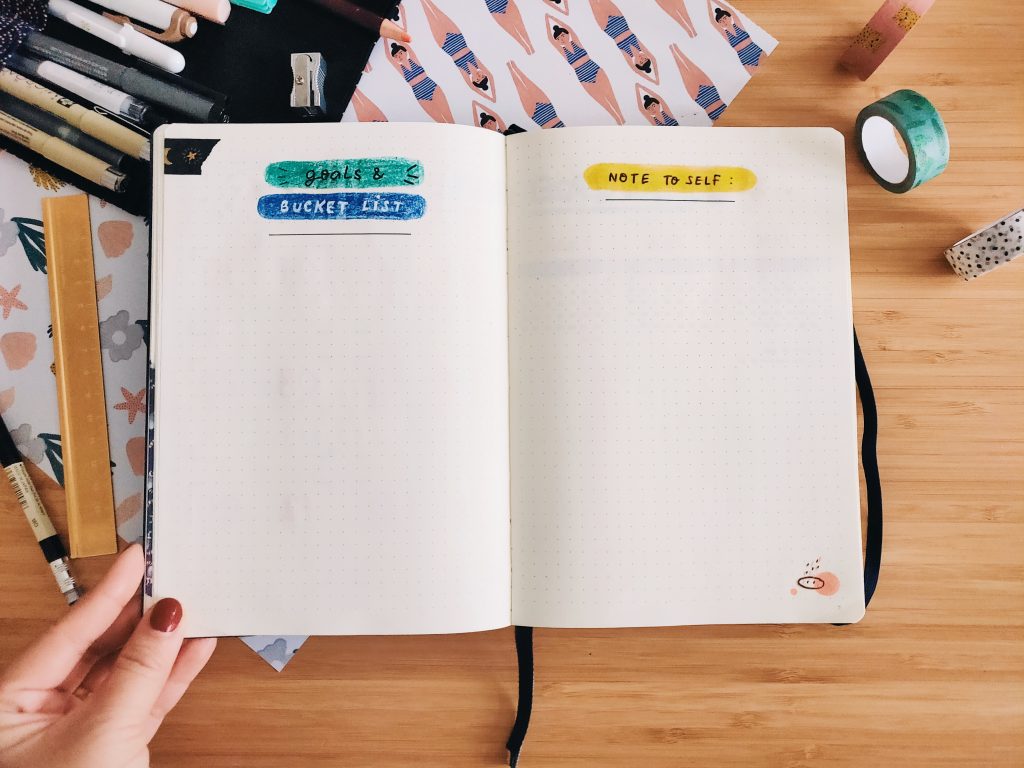
Page 6-7. Goals & Bucket List + Note to Self
For my goals & bucket list, I will write my goals for 2020 here, along with some things I’d like to have/experience. You can read this post to find out how I set up my yearly goals—and this post I wrote about why (most of the time) our New Year resolutions don’t work.
The note-to-self page will be filled with quotes & affirmations, as well as empowering words from myself, for myself. When I am in doubt or in need of encouragement, I can flip into this page and cheer up a little. I think of it as my tiny self-help page; a quick fix to brighten up my days and lift up my mood.
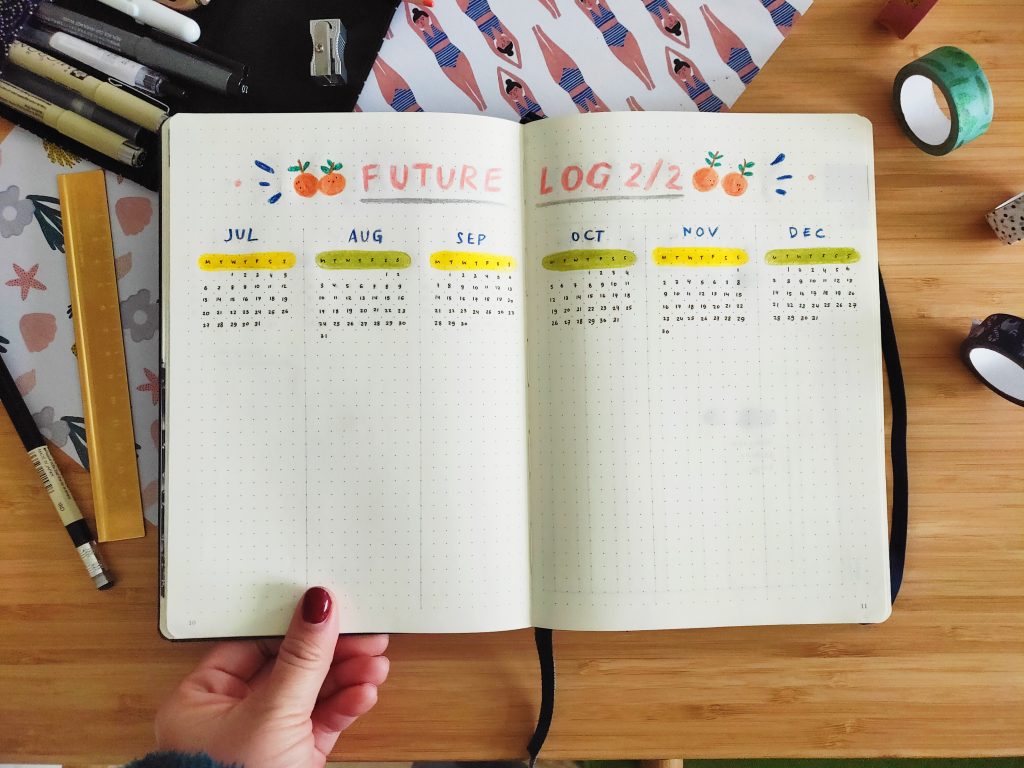
Page 8-11. Future Log
Here, you can find the tiny calendar of every month in 2020. I left the bottom part empty to write down some of the things that come up; as well as some tentative schedules/appointments. The things on these pages may happen or may not happen. They are not set in stones. It’s just my way to have a peek into the future and see what is waiting for me. For instance, I’d like to finish the first draft of my new book in May 2020, so I may write it down underneath the month of May in pencil.
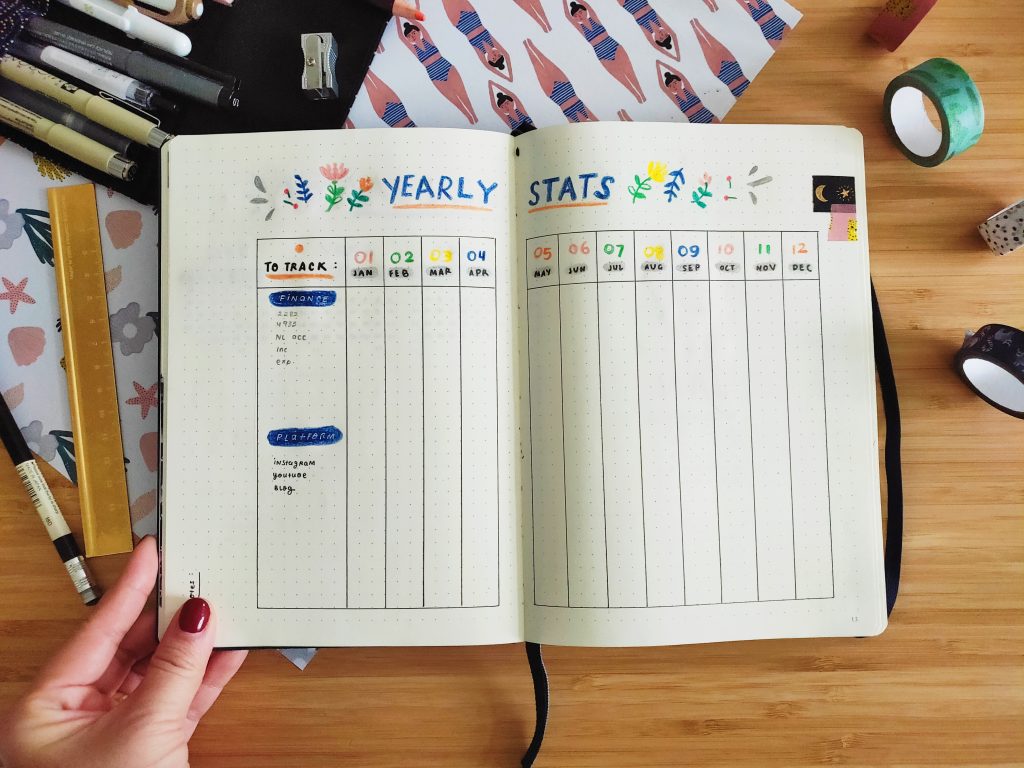
Page 12-13. Yearly Stats
There are some things I’d like to track each month this year, so I make this spread to track them and see them all in one go. At the moment, I see two main areas I’d like to keep a close eye on: my finance and my platforms. I’d like to write down the latest stats of these two things by the end of every month and as the year progress, I can also see how things grow (or plummet!) from one month to the next.
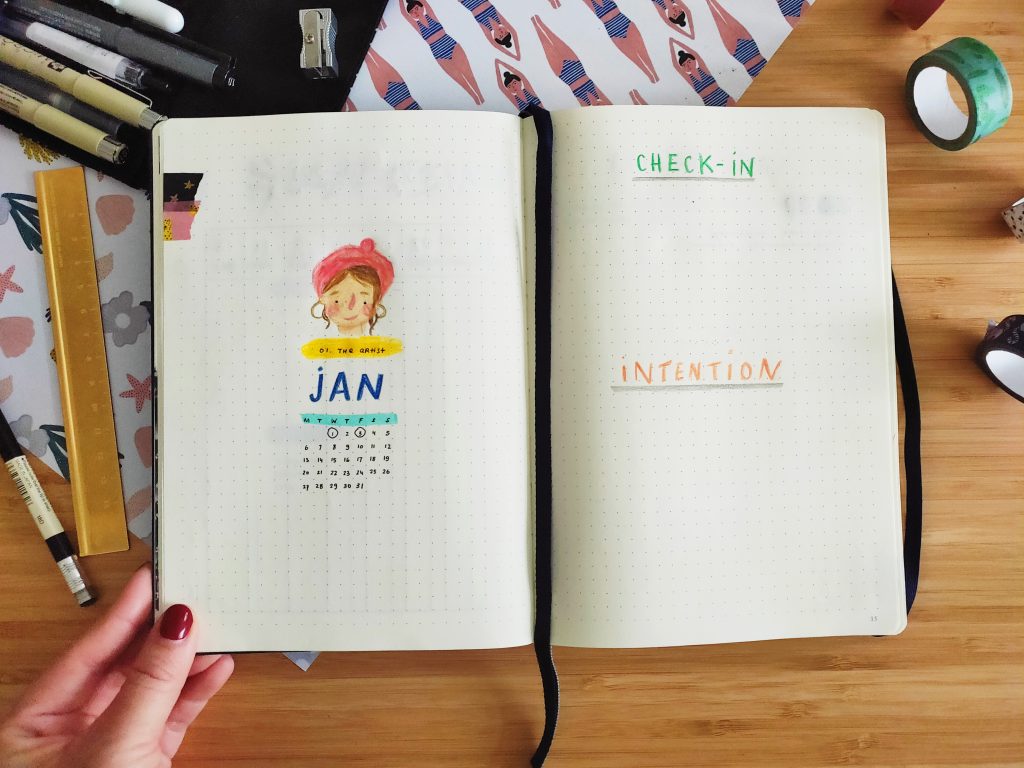
Page 14-15. January Monthly Persona + Monthly Check-in & Intention
On page 14, I drew myself as ‘an artist’. Throughout the year, I want to draw myself as different personas, the ‘imaginary’ me who are living a different lifeline or having different professions. ‘The Artist’ is my monthly persona for January.
The goal is basically to ‘get out of your head’ and try to imagine another possible version of you; to open yourself up to the possibilities of being you in a different light. If you watch Netflix’s Sense8, think of it as something similar to that!
A lot of us use our weaknesses to make excuses to do/not to do something, but what if we leave who we are, and ask what our alter ego would do instead? For me, this month, I’ll think of the daily routines, strengths, quirks, or qualities of ‘The Artist’ version of myself, and experience living this month from that perspective.
On page 15, I will do my January check-in; writing about my state of being entering this month of January. How do I feel, what am I happy/unhappy about, what excites/worries me, etc. And then I will write my January intention: how I would like this month to turn out? What are the things I’d like to happen this month so I can feel fulfilled?
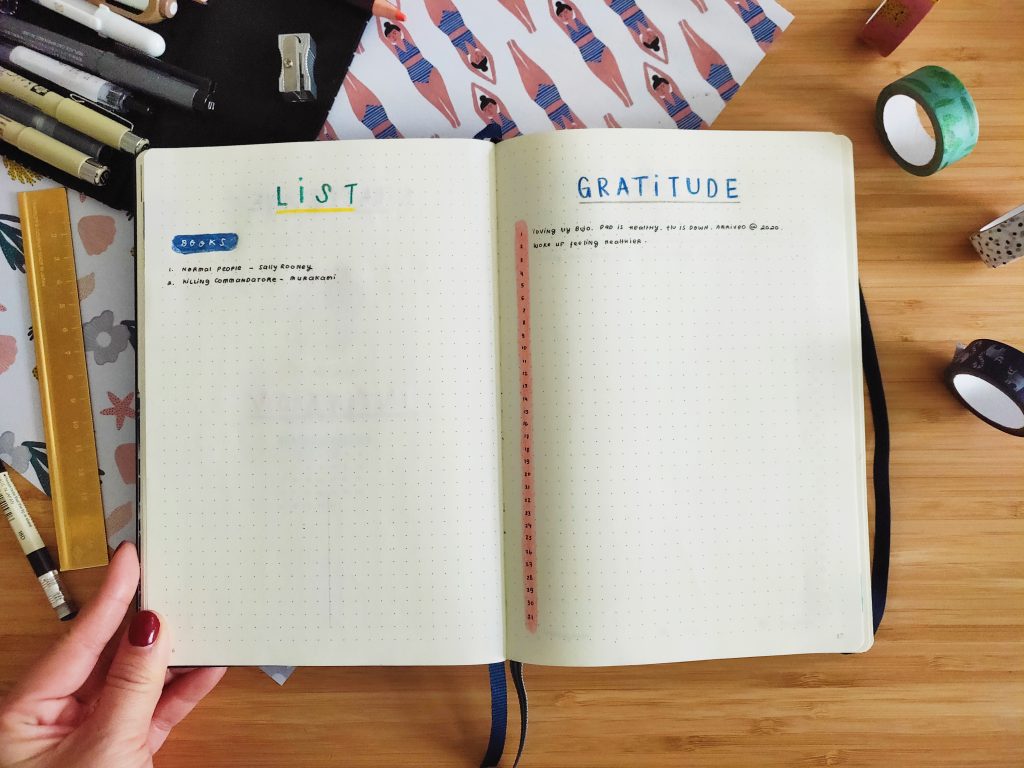
Page 16-17. January Monthly List + Gratitude
On my monthly List page, I will write down the books I read this month; some podcasts I listen to or some courses I followed on Skillshare or Domestika. If I watch a really good movie/documentary, I may note the title down as well.
On the Gratitude page, I write down the dates of each day in January, and every day, I will write some of the things I’m grateful for. I have been keeping my gratitude practice close to heart. It’s a very simple thing to do, but it has helped me to stay humble and grounded.
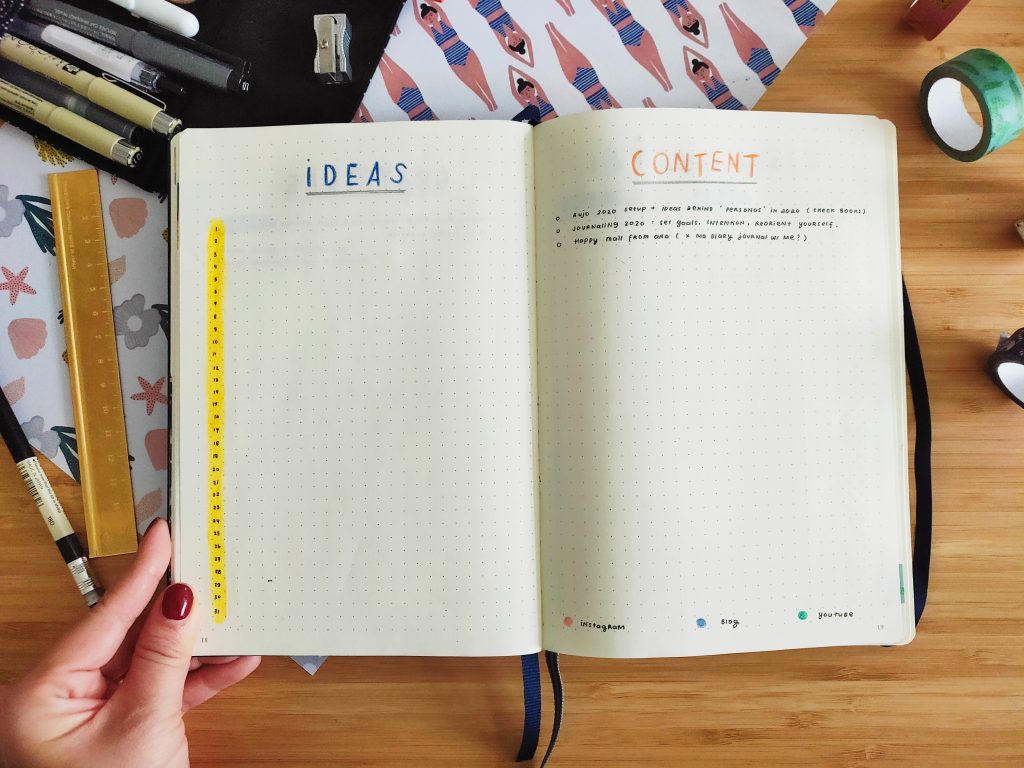
Page 18-19. January Monthly Ideas & Content Ideas
I have such a busy mind, and I get daily sparks of inspiration and ideas that will be forgotten if I don’t write them down. So on my Ideas page, I write the number of each day in January to note some random ideas that cross my mind that day (I may or may not execute the idea; it’s just nice to look back at all those random bursts of ideas!).
Next to it is my Content page, where I will write down some random content ideas or topics I have in mind. I color-code it with pink for Instagram, blue for Blog, and green for YouTube, so I know where I publish/share a particular content (if I decide to work on it).
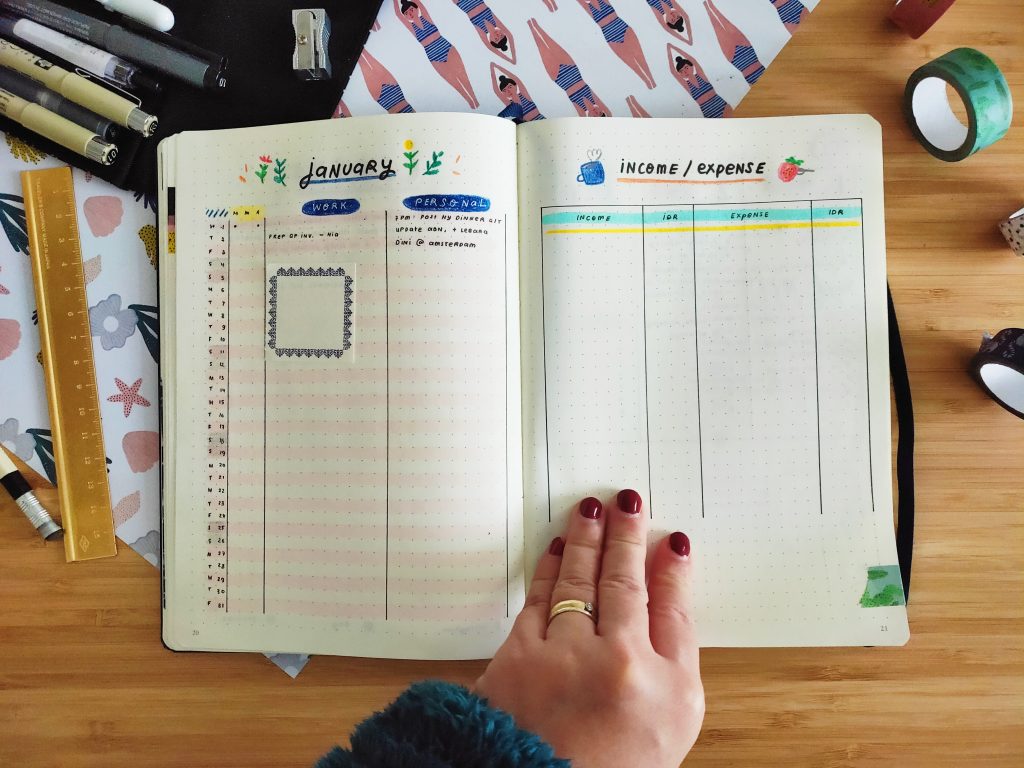
Page 20-21. January Tracker & Planner + Income/Expense
On page 20, I have my January Tracker & Planner. Next to the day/date, I have a column with 3 habits I’d like to track this month: meditation, movement, and art practice. I know it’s tempting to build and track loads of good habits at the beginning of the year, but I always find it too overwhelming. I decided that I will concentrate on a maximum of 3 things/habits to track per month. In the next two columns, I have my Work Planner and Personal Planner, where I list down work/project deadlines and work/personal appointments.
On page 21, I have my Income/Expense tracker; and it’s pretty straightforward. Just a simple table to keep me accountable for my finance!
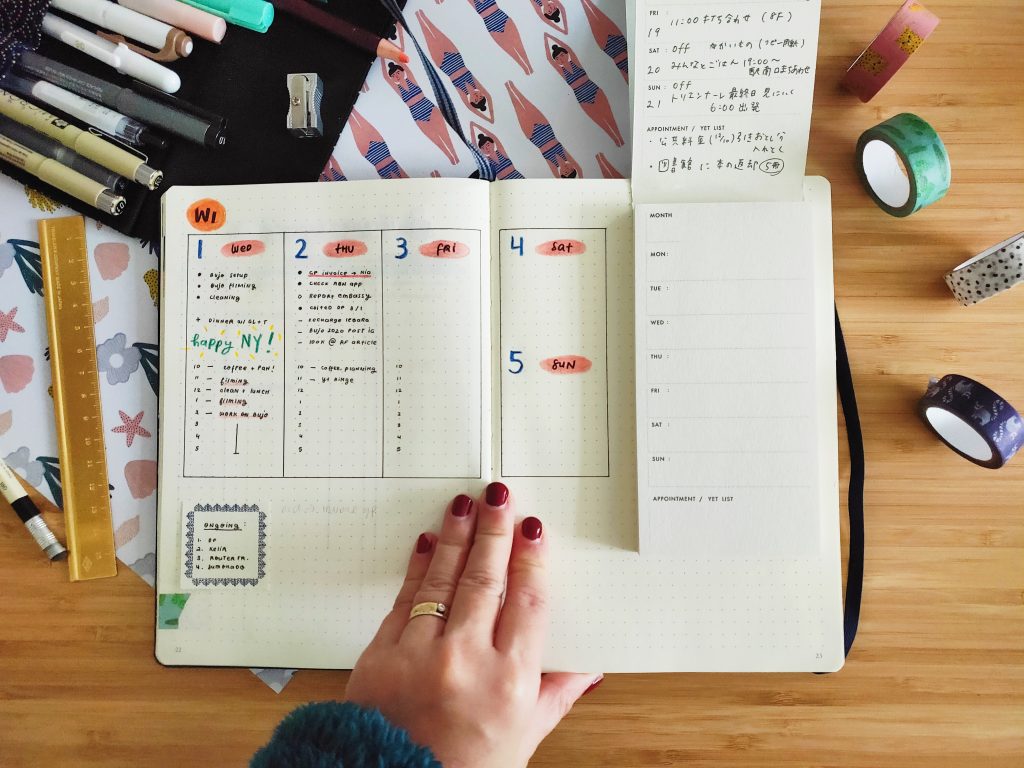
Page 22. January Weekly/Daily Planner
This is my Weekly/Daily Planner where everything happens as I go about my days: I log my plans, deadlines, appointments, to-do lists, weekly intentions, ongoing projects, notes… basically anything I need to write down to stay on track and organized. I usually fill up 2 pages every week. If I need more pages to jot down things, I can just tape a scrap paper or a memo paper on this page with washi tape.
For each day, I also write down my ‘effective working hours’ from 10 am to 5 pm, to track and evaluate what I am doing during these (supposed to be) productive hours.
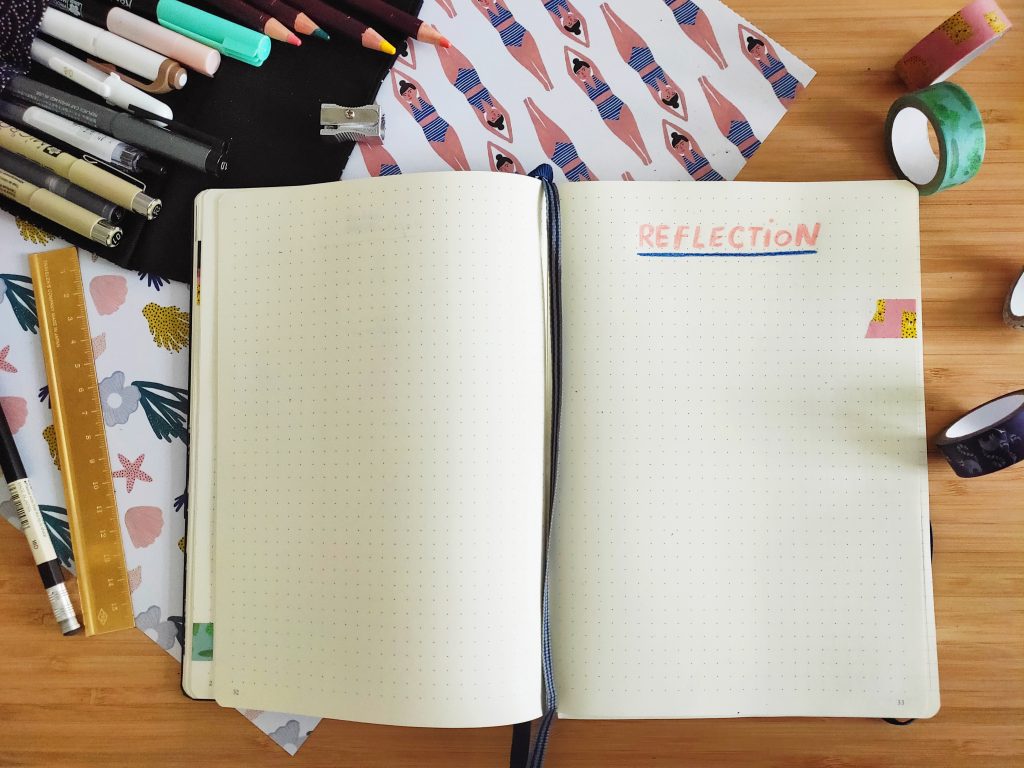
Page 33. January Reflection
I left enough pages for my whole weekly/daily planner in January plus some empty pages for notes and braindumps, until page 33 where I will write down my Monthly Reflection at the end of the month. I will write some highlights/achievements from the month along with how I feel about the month in general. Am I happy about it? Am I proud of myself? What went well and what can be improved?
The template is repeated for each month throughout the year 2020, and I have divided my notebook into equal page counts, so it will last until the end of the year (plus some extra pages for random notes): Page 34 – February, Page 54 – March, Page 72 – April, Page 90 – May, Page 108 – June, Page 126 – July, Page 144 – August, Page 162 – September, Page 180 – October, Page 198 – November, Page 216 – December, Page 234 – Reflection of 2020, Page 235-249 – Random Notes.
Do you bullet journal? Do you have a planner? Do you use any other system to stay on track and organize your day? Let me know in the comments, I would love to hear from you.
In my writing workshops (either fiction or non-fiction), I always highlight the importance of writing practice to the participants–and encourage them to make a reasonable schedule they can follow to do this practice. I don’t require them to do their writing practice every day, but there is supposed to be a little bit of structure around it.
Think of writing practice as an exercise; just like working out.
You exercise and work out not only because you’re a professional athlete or want to participate in a competition. You don’t have to be great in sports to exercise. You don’t have to break a record or achieve something amazing when you’re exercising.
You exercise because you know it is good for your body, it will train your muscles, and although you may not like the process as much, you know you’ll feel good and accomplished afterward.
You don’t have to exercise every day to benefit from it, but you know if you don’t exercise at all, it won’t serve you good in the long run. The best is to have a certain schedule that can work for you–either once a week, twice a week, or maybe three times a week; for 20 minutes, 30 minutes, or maybe an hour. You don’t want to exercise too much or push yourself too hard as well; because you can injure yourself. Or you may get fed up with exercising altogether.
When you have skipped exercising for a while, it’s going to feel a bit harder to get back in the game. You may get tired quickly and your muscles are going to be really sore. You may find that you are not as strong, as flexible, or as fit as you used to be. But it’s okay, that’s why you’re back exercising, right?
Similarly, writing practice is like that.
***
But, what should you do during your writing practice? What can you write about?
Well, technically, you can focus your writing practice on some areas you think you’re having difficulties with. If we go back to the exercising-and-working-out analogy–if you know or feel that your legs are weak, you may want to do some exercise to make your legs stronger.
However, these are the 3 things I usually concentrate on during my writing practice:
1. CHARACTER
I love watching people and I can do this for hours.
If you’re in a mall, in a cafe, in a waiting room, in a coffee shop–pick some people as your ‘characters’ and describe them in detail: what are they wearing, what do they look like, do they have any obvious physical traits, how do they carry themselves, how do they speak, how do they call the waiter, do they hesitate before paying at the counter?
Notice even the smallest details about these people. Just write down your observations as facts, without judgments.
When you’re done, it’s time for your imagination to take over. If you have to guess, what do you think will be their backstories? What are their vices and virtues? What do you think they do for a living? Are they married or single? What do they aspire to be? What are some of their biggest challenges in life? If they have a dark secret, what would it be?
When you’re finished, examine your guesses and compare these wild speculations with your detailed description of the ‘characters’. Can you see why you are led to conclude or speculate a certain backstory for a certain character?
2. SETTING
Wherever you are, try describing that place. Make sure that you only write facts from your observations. Notice everything: shape, color, smell, shadows, sounds.
When you’re done, now try to write about this place from a point of view of someone who has just gone through a heartbreak; someone who just got fired; someone who has just won a lottery; someone who is in love; someone that is about to die. Or, how would a chef, a lawyer, or a celebrity describe this place?
How would they ‘see’ the same setting differently based on who they are or what they’re struggling with?
3. DIALOGUE
Listen to (well, eavesdrop) a conversation; and write the conversations down the way they are being spoken. If you can’t write that fast, use abbreviations. Above all, I would suggest not to observe the people who are speaking but concentrate on writing down their conversations only.
After a few minutes, stop and leave–until you can no longer hear these conversations or see who is speaking.
Read the dialogue and based on the word selections, the umm and err, the dialects, the jargon; what can you guess about speaker number 1 and speaker number 2? Who are they? What can you tell about their origin, upbringing, education, profession? If you cannot see them and can only read the way they speak, can you guess what they look like?
What can this conversation reveal about their personality? Based on the dynamics of the conversation, how do you think one feels about the other? Is there a feeling of mutual trust, jealousy or rivalry, or maybe you can tell that one truly admires the other? How can you make this guess or come up with this conclusion? Which dynamics in the conversation give you the hint?
***
I like to focus on these 3 things during my writing practice because I think they are quite essential. Either you’re writing fiction and non-fiction, you can always benefit from knowing how to build your character, your setting, and your dialogue.
If you have done this exercise several times, I am sure you will get a better understanding of how to distinguish a character, setting, and dialogue that works.
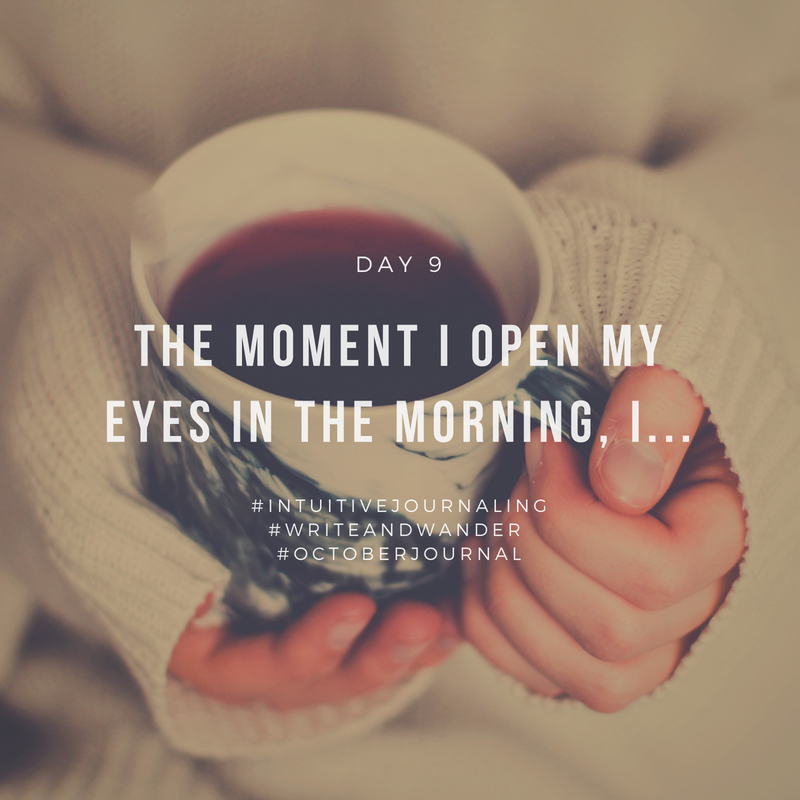
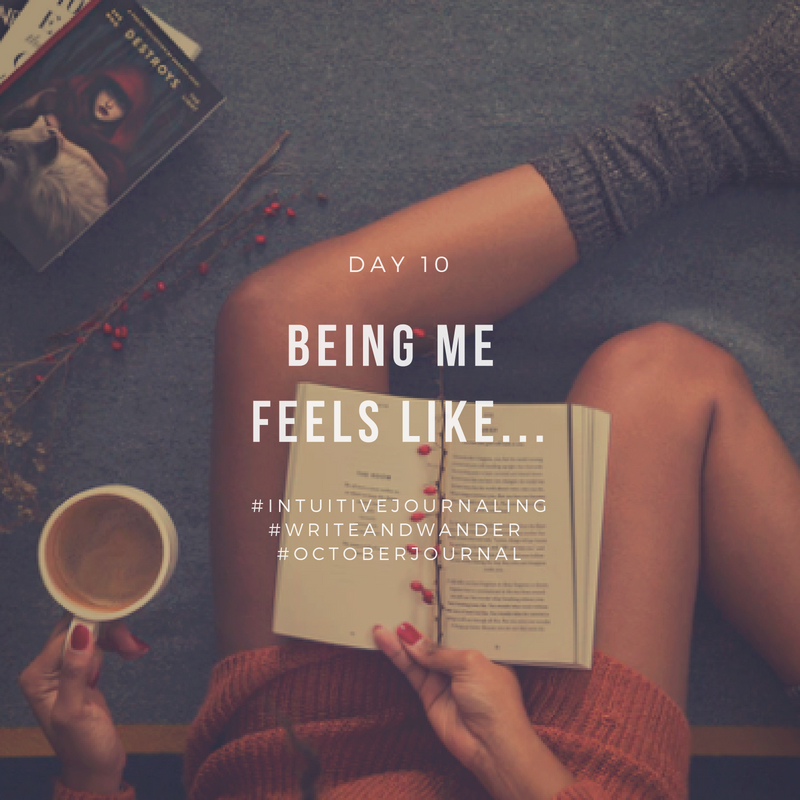
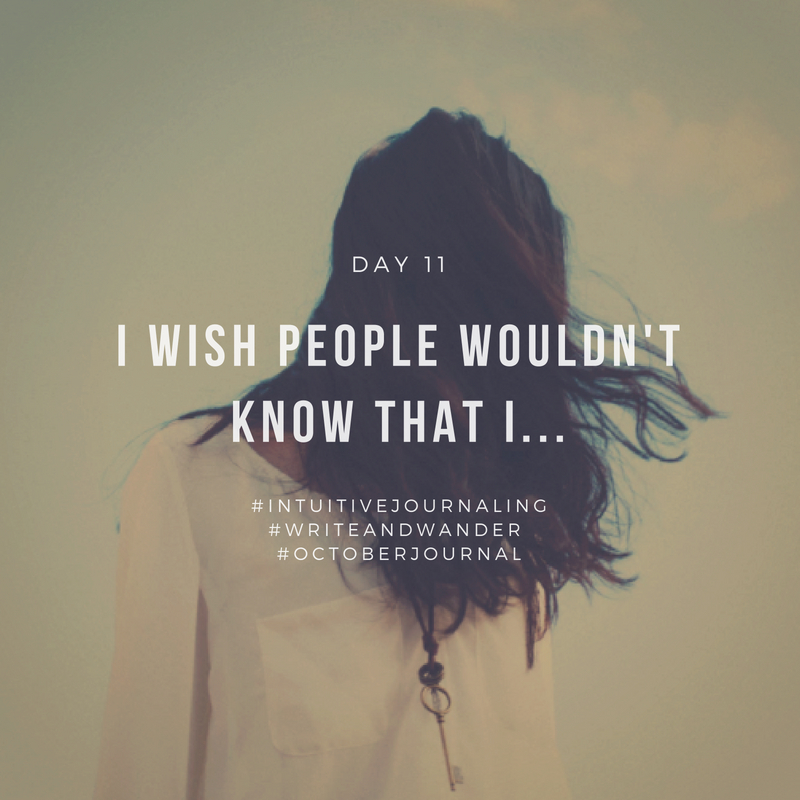
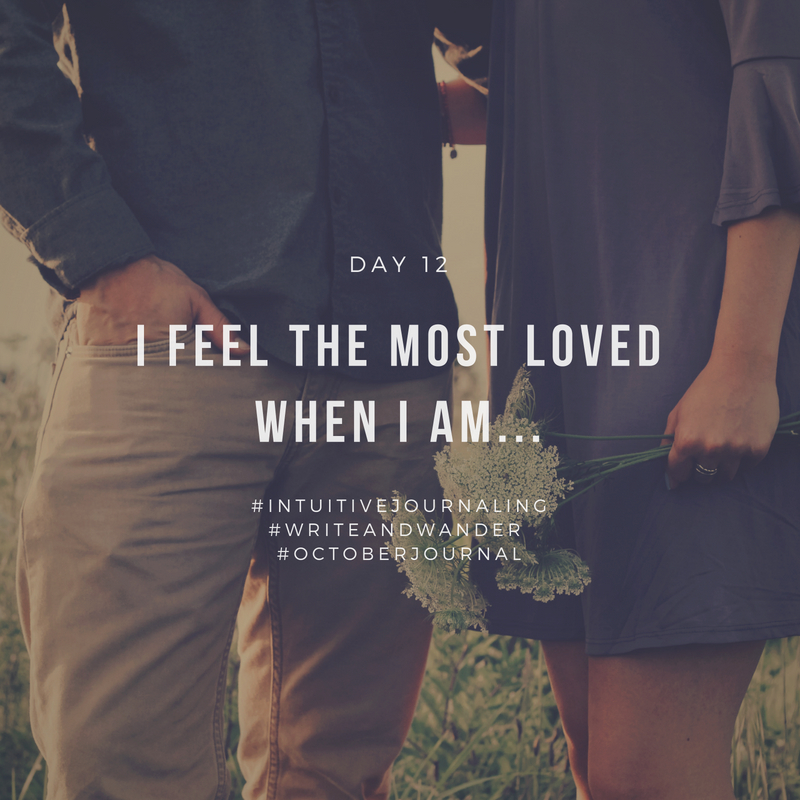
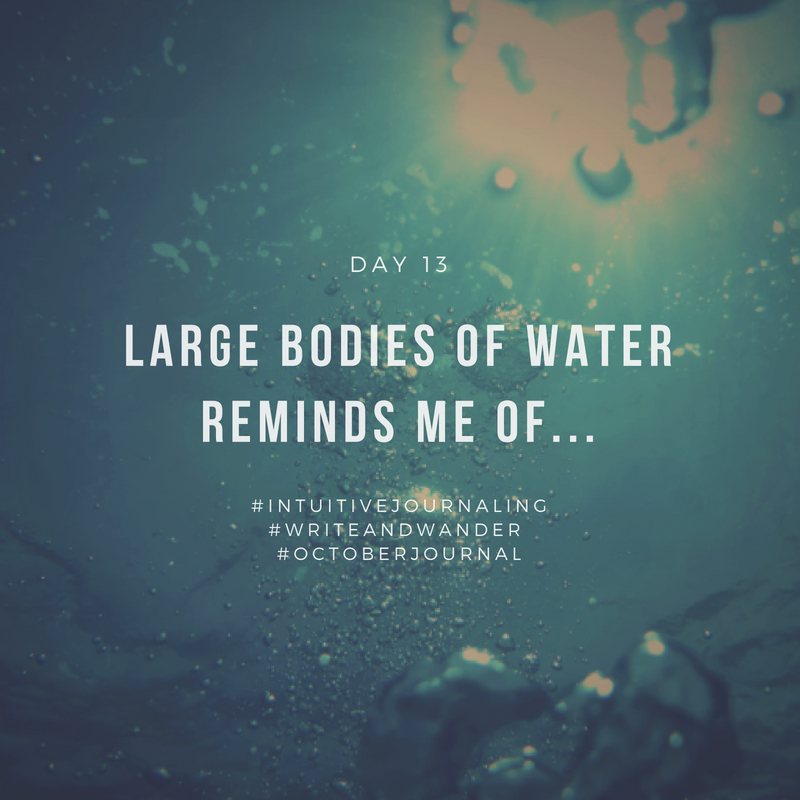
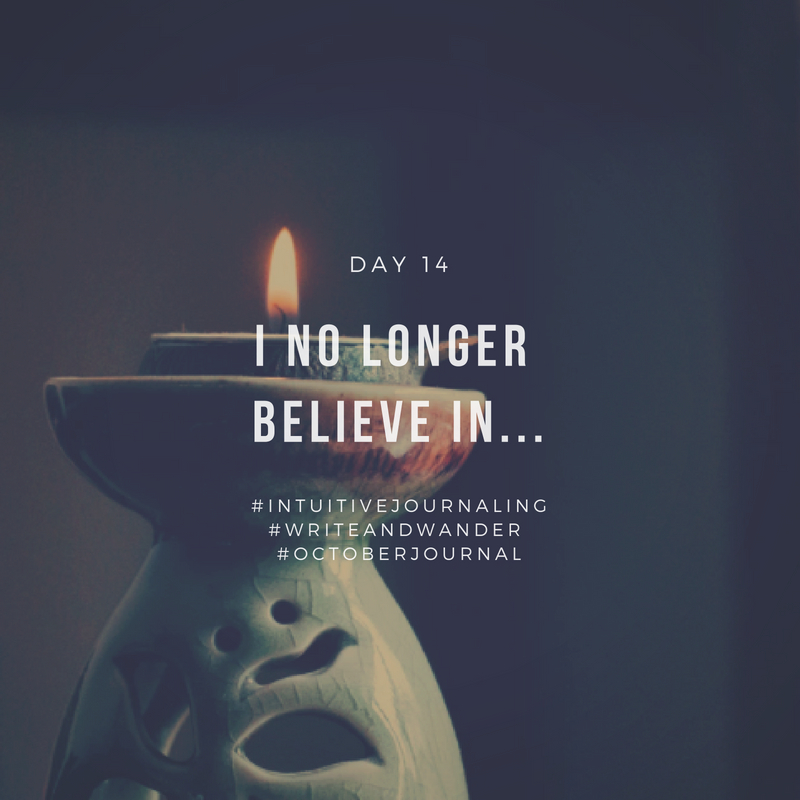
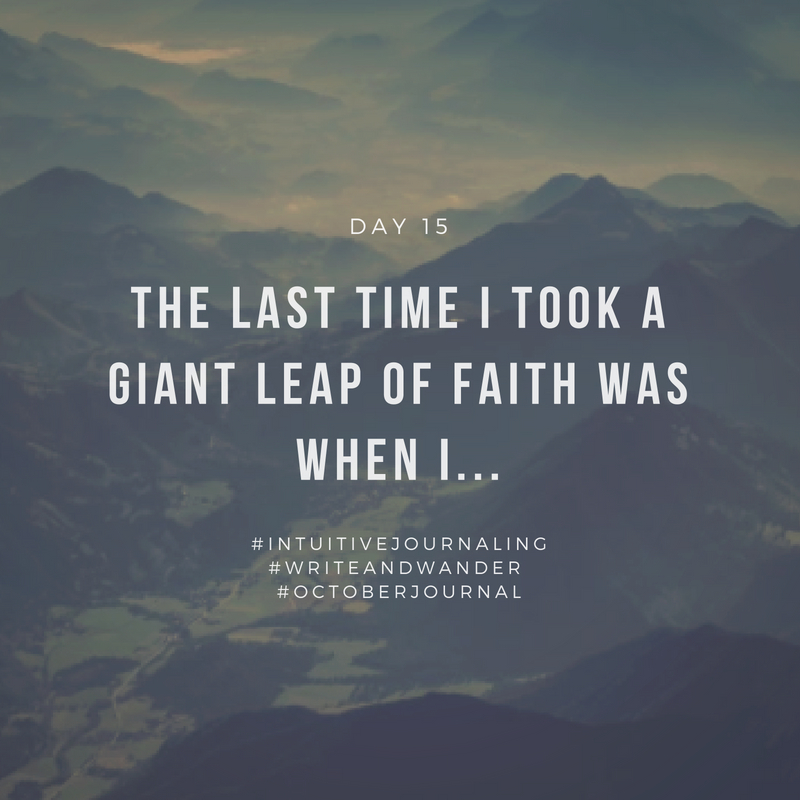
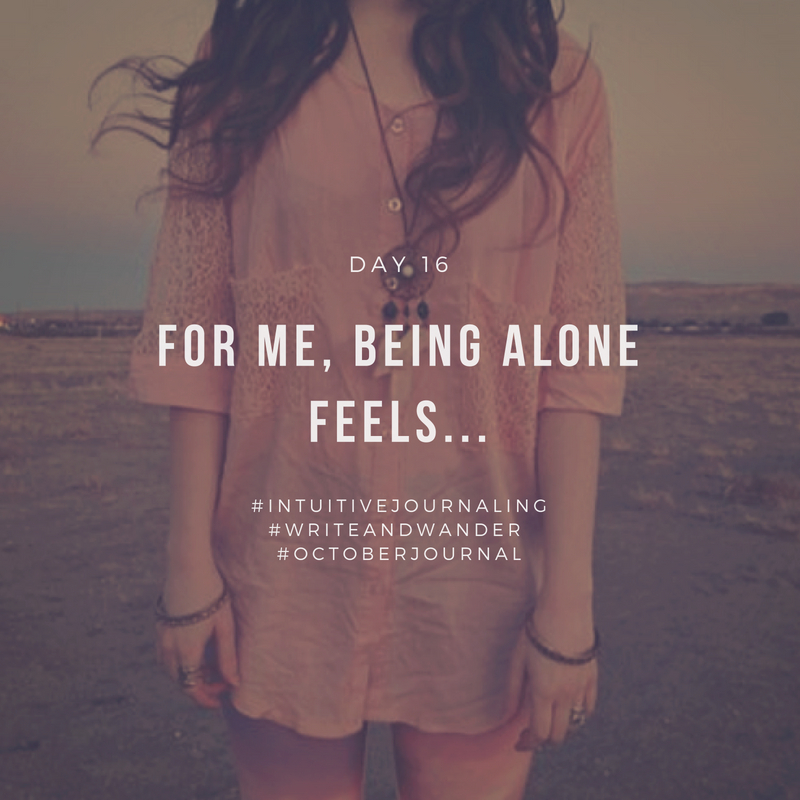
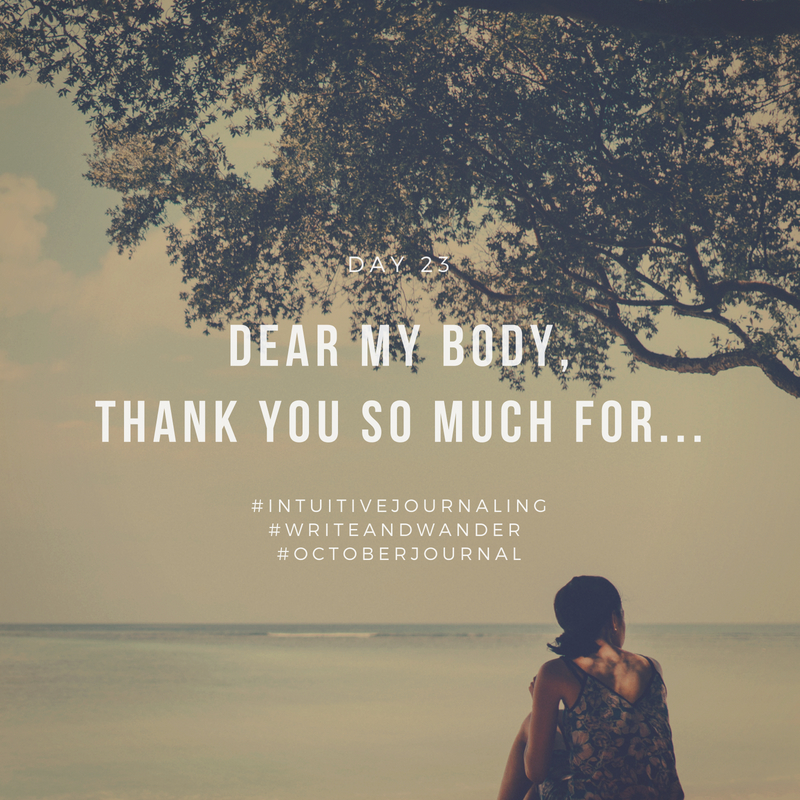
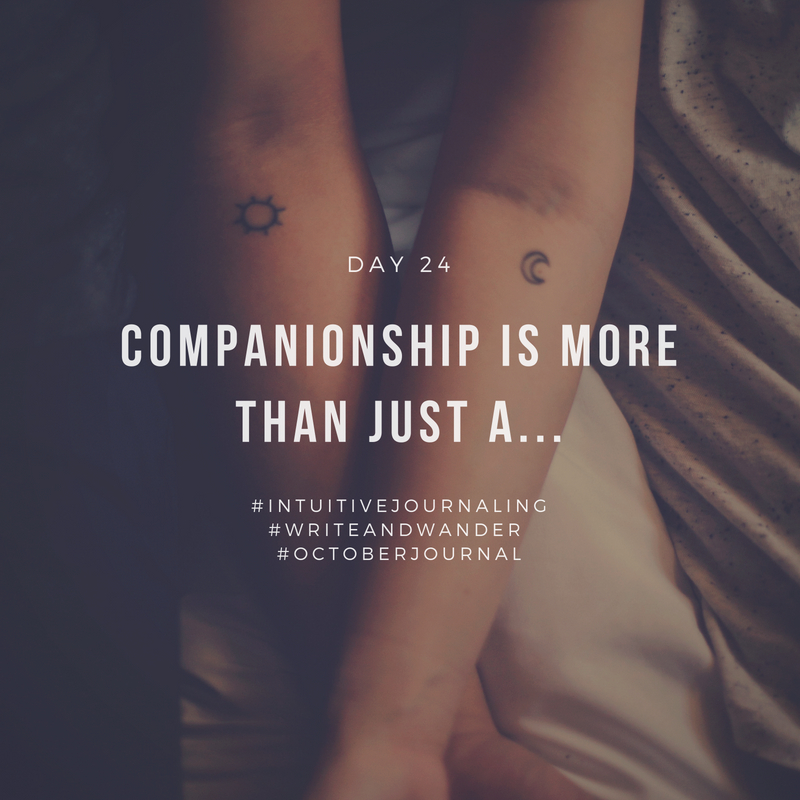
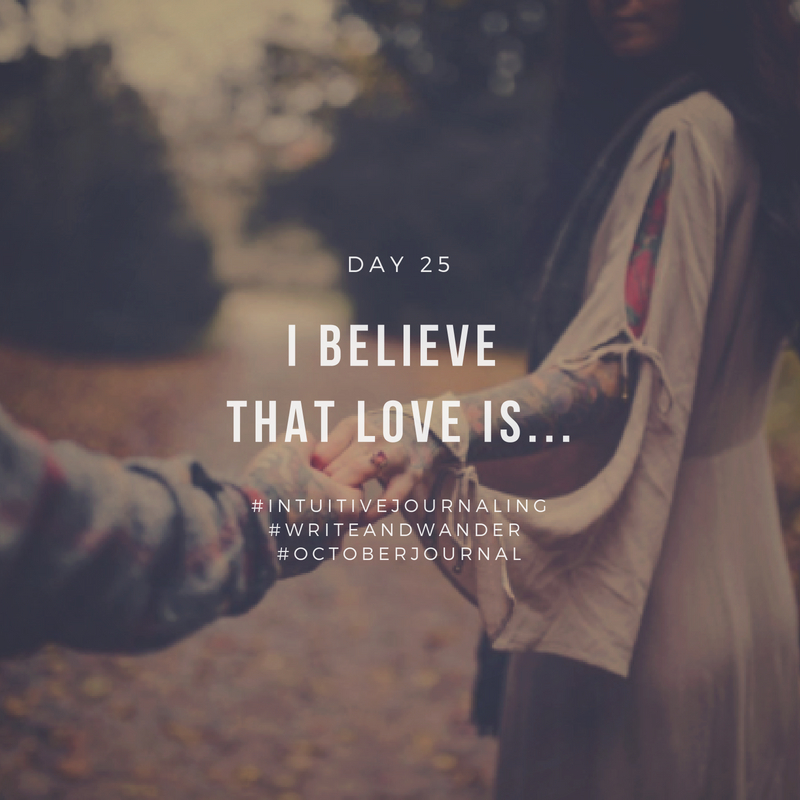
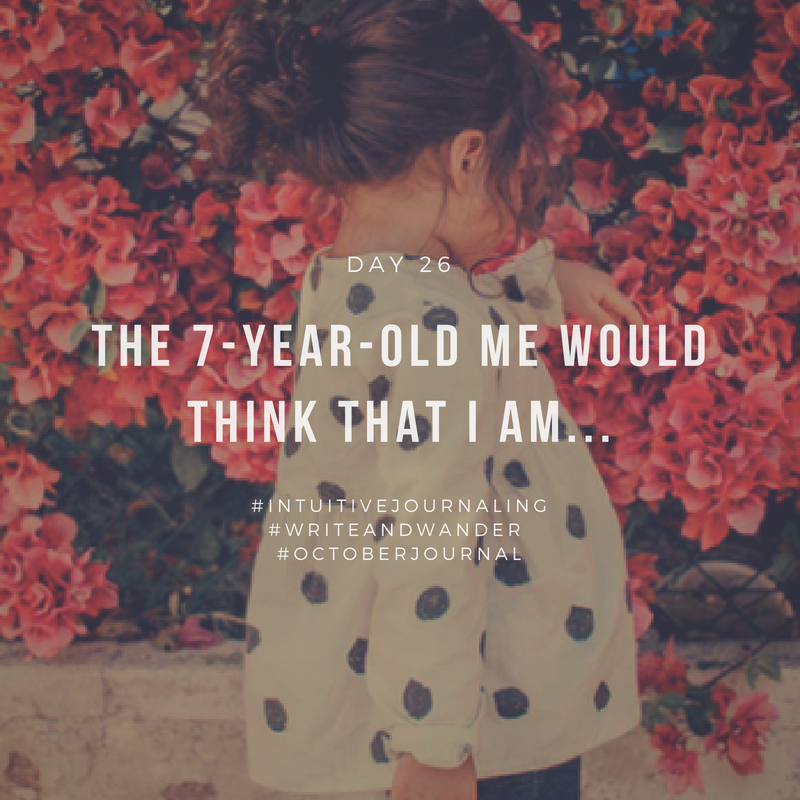
Well, first, it was because of #inktober–the 31-day challenge in the art community to draw something with ink throughout October. I was thinking of joining, but I wasn’t sure that I could actually do it for 31 days. Drawing (or painting) is still something quite new to me, and I’m still trying to get a hang of it.
I was trying to come up with something that won’t take a lot of time to do and won’t need any specific tools/supplies; when it suddenly dawned on me that in 3 months, we’d say goodbye to 2018! How time flies! So, I thought, why not having a journaling exercise that will help us to reconnect and discover something new (or old) about ourselves–thus, we have 2 more months to prepare for our smooth transition to 2019?
Some refer to it as freewriting or automatic writing. The idea is to set a timer for a certain period of time: one minute, three minutes, five minutes, ten minutes up to you (although for this challenge, we’ll do a 3-minute session per day).
As the timer starts, begin writing (with pen and paper) in your journal, without really thinking, without really stopping.
Write whatever crossed your mind.
It doesn’t matter if things appear to sound weird, funny, or senseless.
The idea is to translate your tangled and busy mind into the paper.
Here’s the secret: DO NOT stop as you write, not even for a split second. Do not think. Just write until your time is up. Follow the chaos of your mind and write everything down. Everything.
You could even write something like, “I don’t know why I am doing this, oh, I’m so hungry, like so, hungry and my foot itches and what should I write this is strange really…”
It’s OK.
Keep writing no matter what until your timer beeps.
I like to call this technique ‘intuitive writing’ or ‘intuitive journaling’ because after doing this practice for a while, you will notice the magical moment when your intuition starts talking to you from the chaos of the page.
This is exactly why you need to relax and let go of the need to control; set aside the urge to think, to edit, to look for the right words or sentences.
When you’re still trying or thinking, you are not letting your intuition take over.
So, let it flow. Let whatever needs to come out from within you find its way onto the page.
How to Join This Intuitive Writing Challenge and More.
Here’s how it’ll play out:
All you need is a pen, a notebook to write, and a timer (you can use the timer on your phone). Set the timer to 3 minutes to start your intuitive journaling session. Can you do more than 3 minutes a day? Sure. However, remember that we tend to go strong at the beginning of a project and then lose our drive a little bit more every day. Personally, I believe that completing the challenge by writing 3 minutes a day for 31 days will benefit you more than writing for 15 minutes a day, but stopping after the first 7 days. And please only write by hand! Why? Find the answer here.
Every day, before 8 am, I will post your intuitive journaling prompt on this page (at the end of this post). I don’t want to post all the prompts right away, because I think it will be overwhelming. Plus, there will always be that temptation of “thinking” about what to write for tomorrow’s prompt, which is something that will beat the purpose of intuitive journaling. So, every day, when you’re ready to write, open this page and see that day’s prompt. I will also share the prompt via my Instagram Stories.
If you want, you can share your experience of going through each challenge or even share what you write. But you don’t have to do this. Just know that you’ll benefit from it even if you want to keep the journal to yourself. Don’t feel the obligation to share if you don’t feel like it.
I am using the hashtag #intuitivejournaling #writeandwander and #octoberjournal to talk about this challenge/project on social media. I might not share what I have written throughout the challenge, but I might want to share some lessons, memories, or sentiments that come up when necessary. You can also share your experience by using those hashtags, so we can find each other. Know that you don’t have to share or use the hashtag if you don’t want to. You know I’m not fussy about those kinds of things 🙂
Have fun, and don’t forget to set your intention to use this challenge as a way to discover something about yourself, or to hear the message you need to hear.
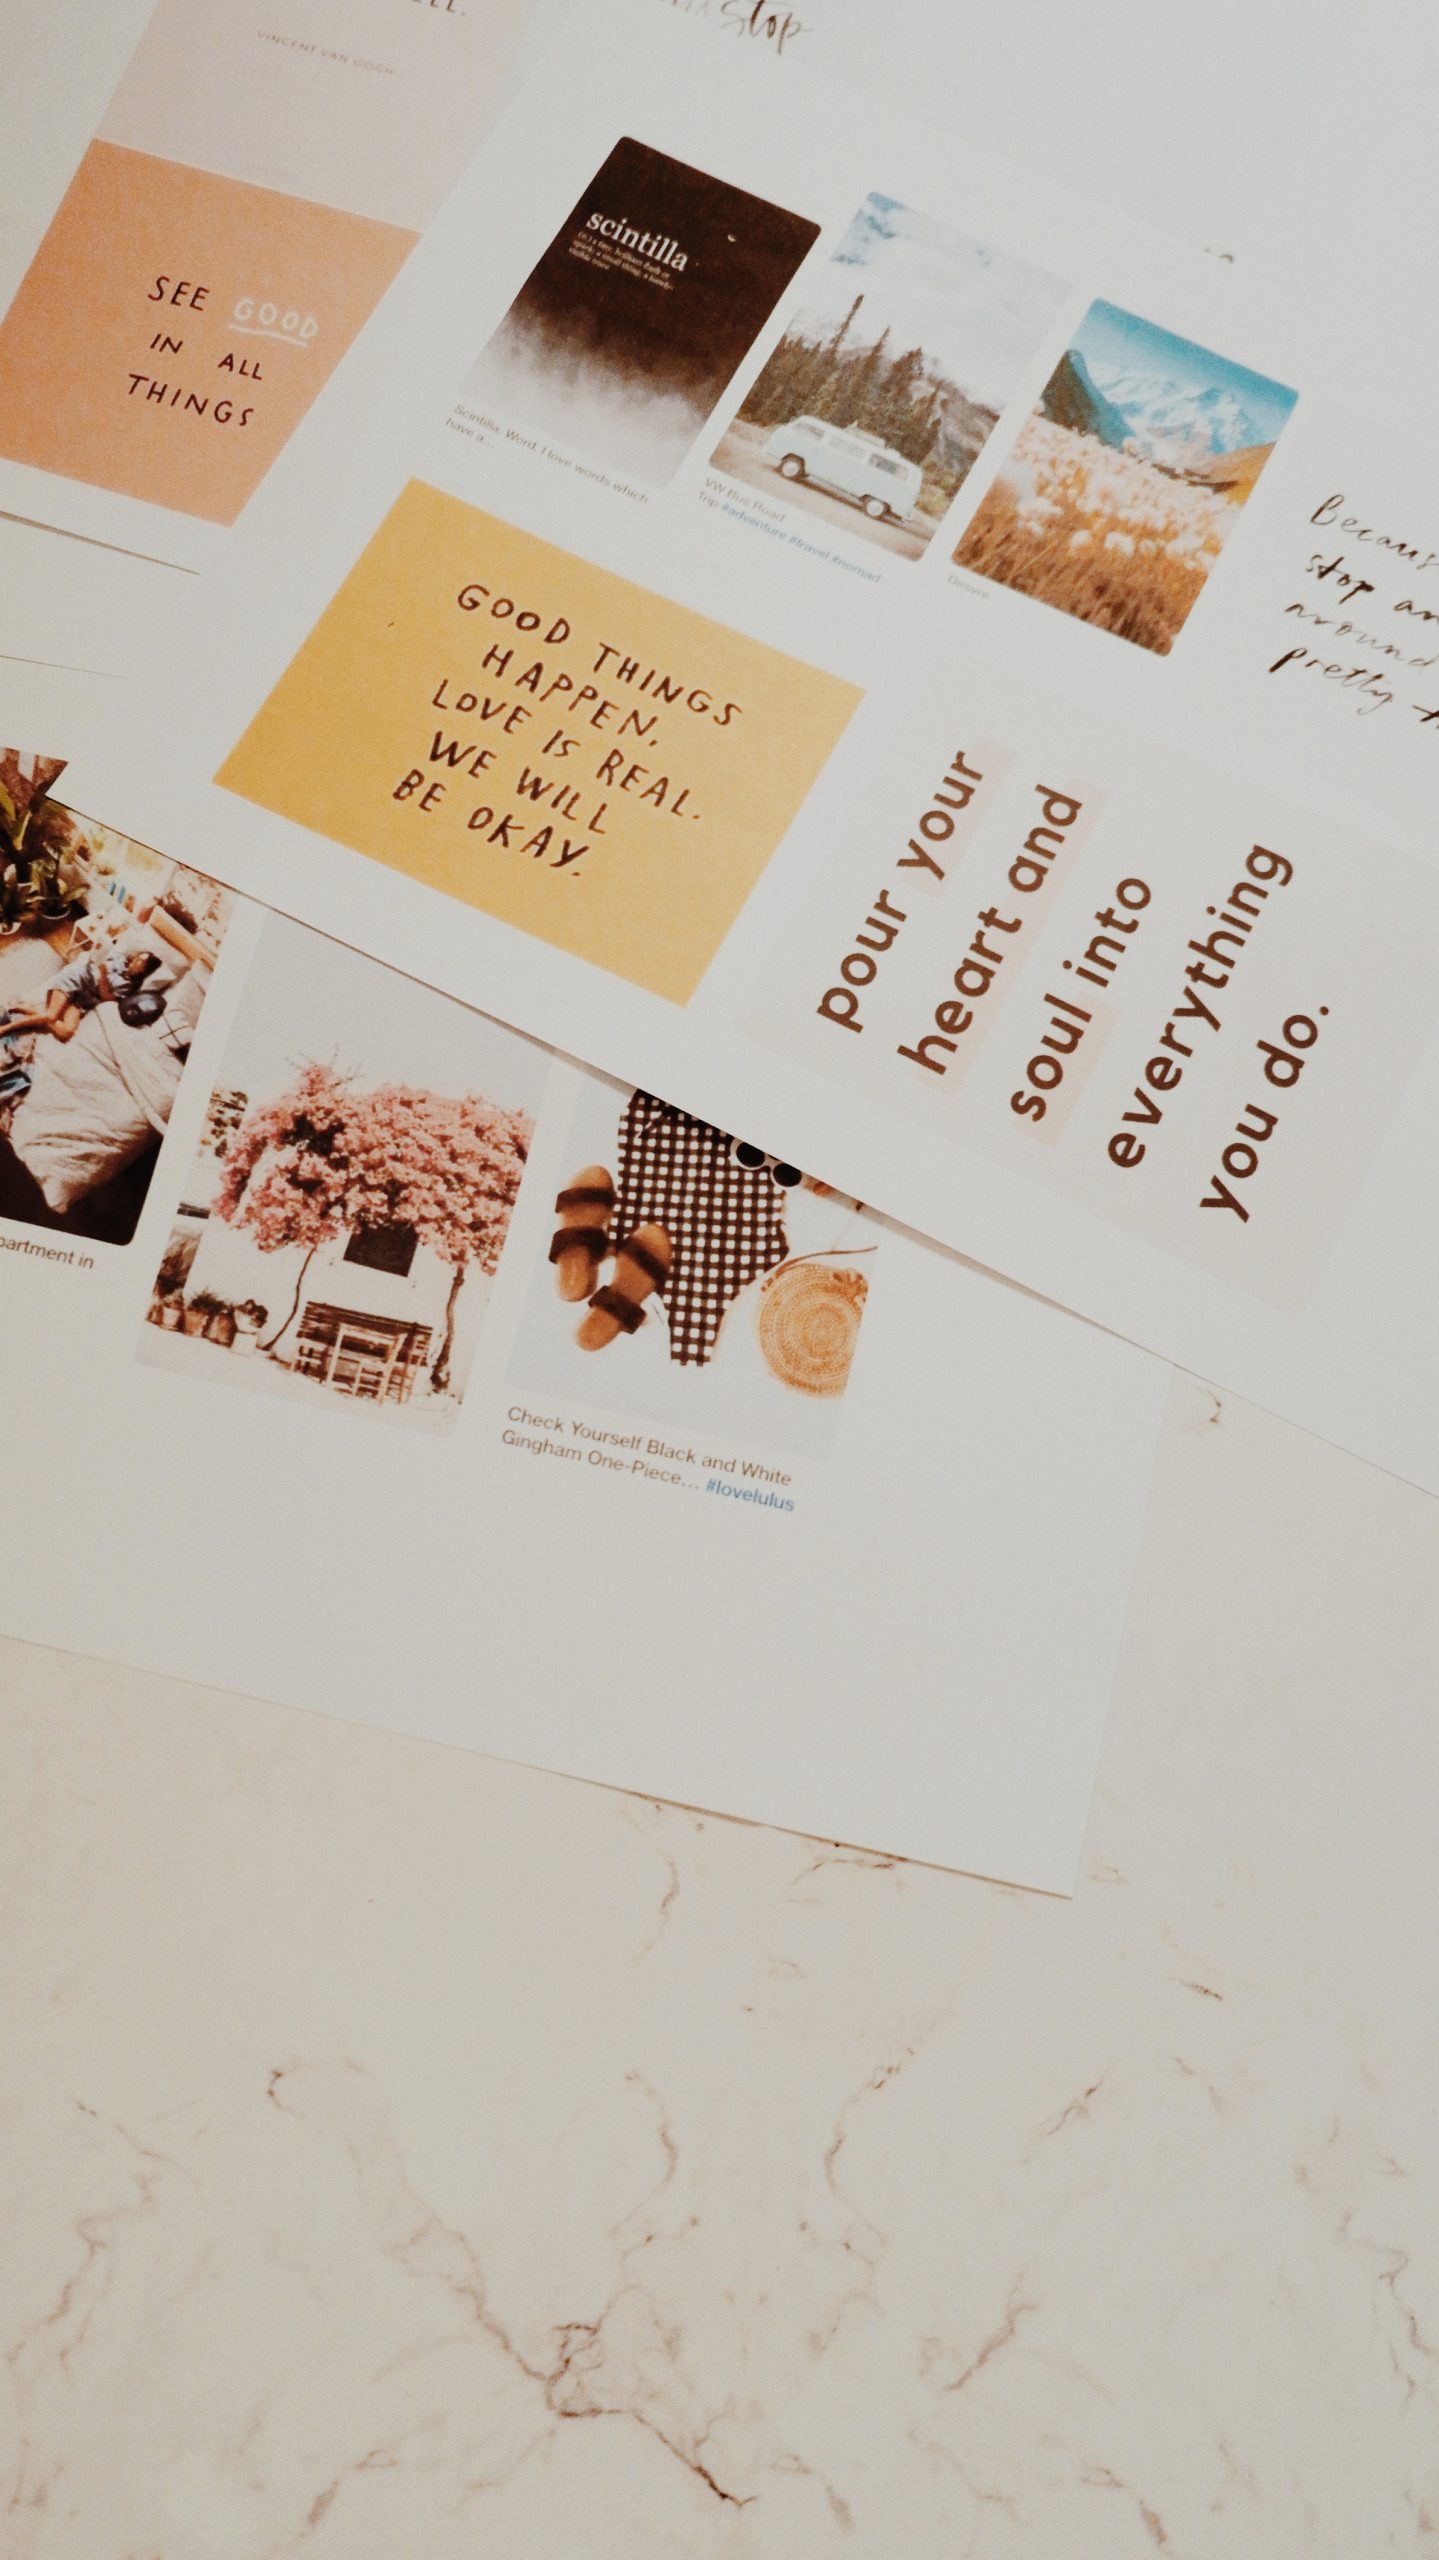
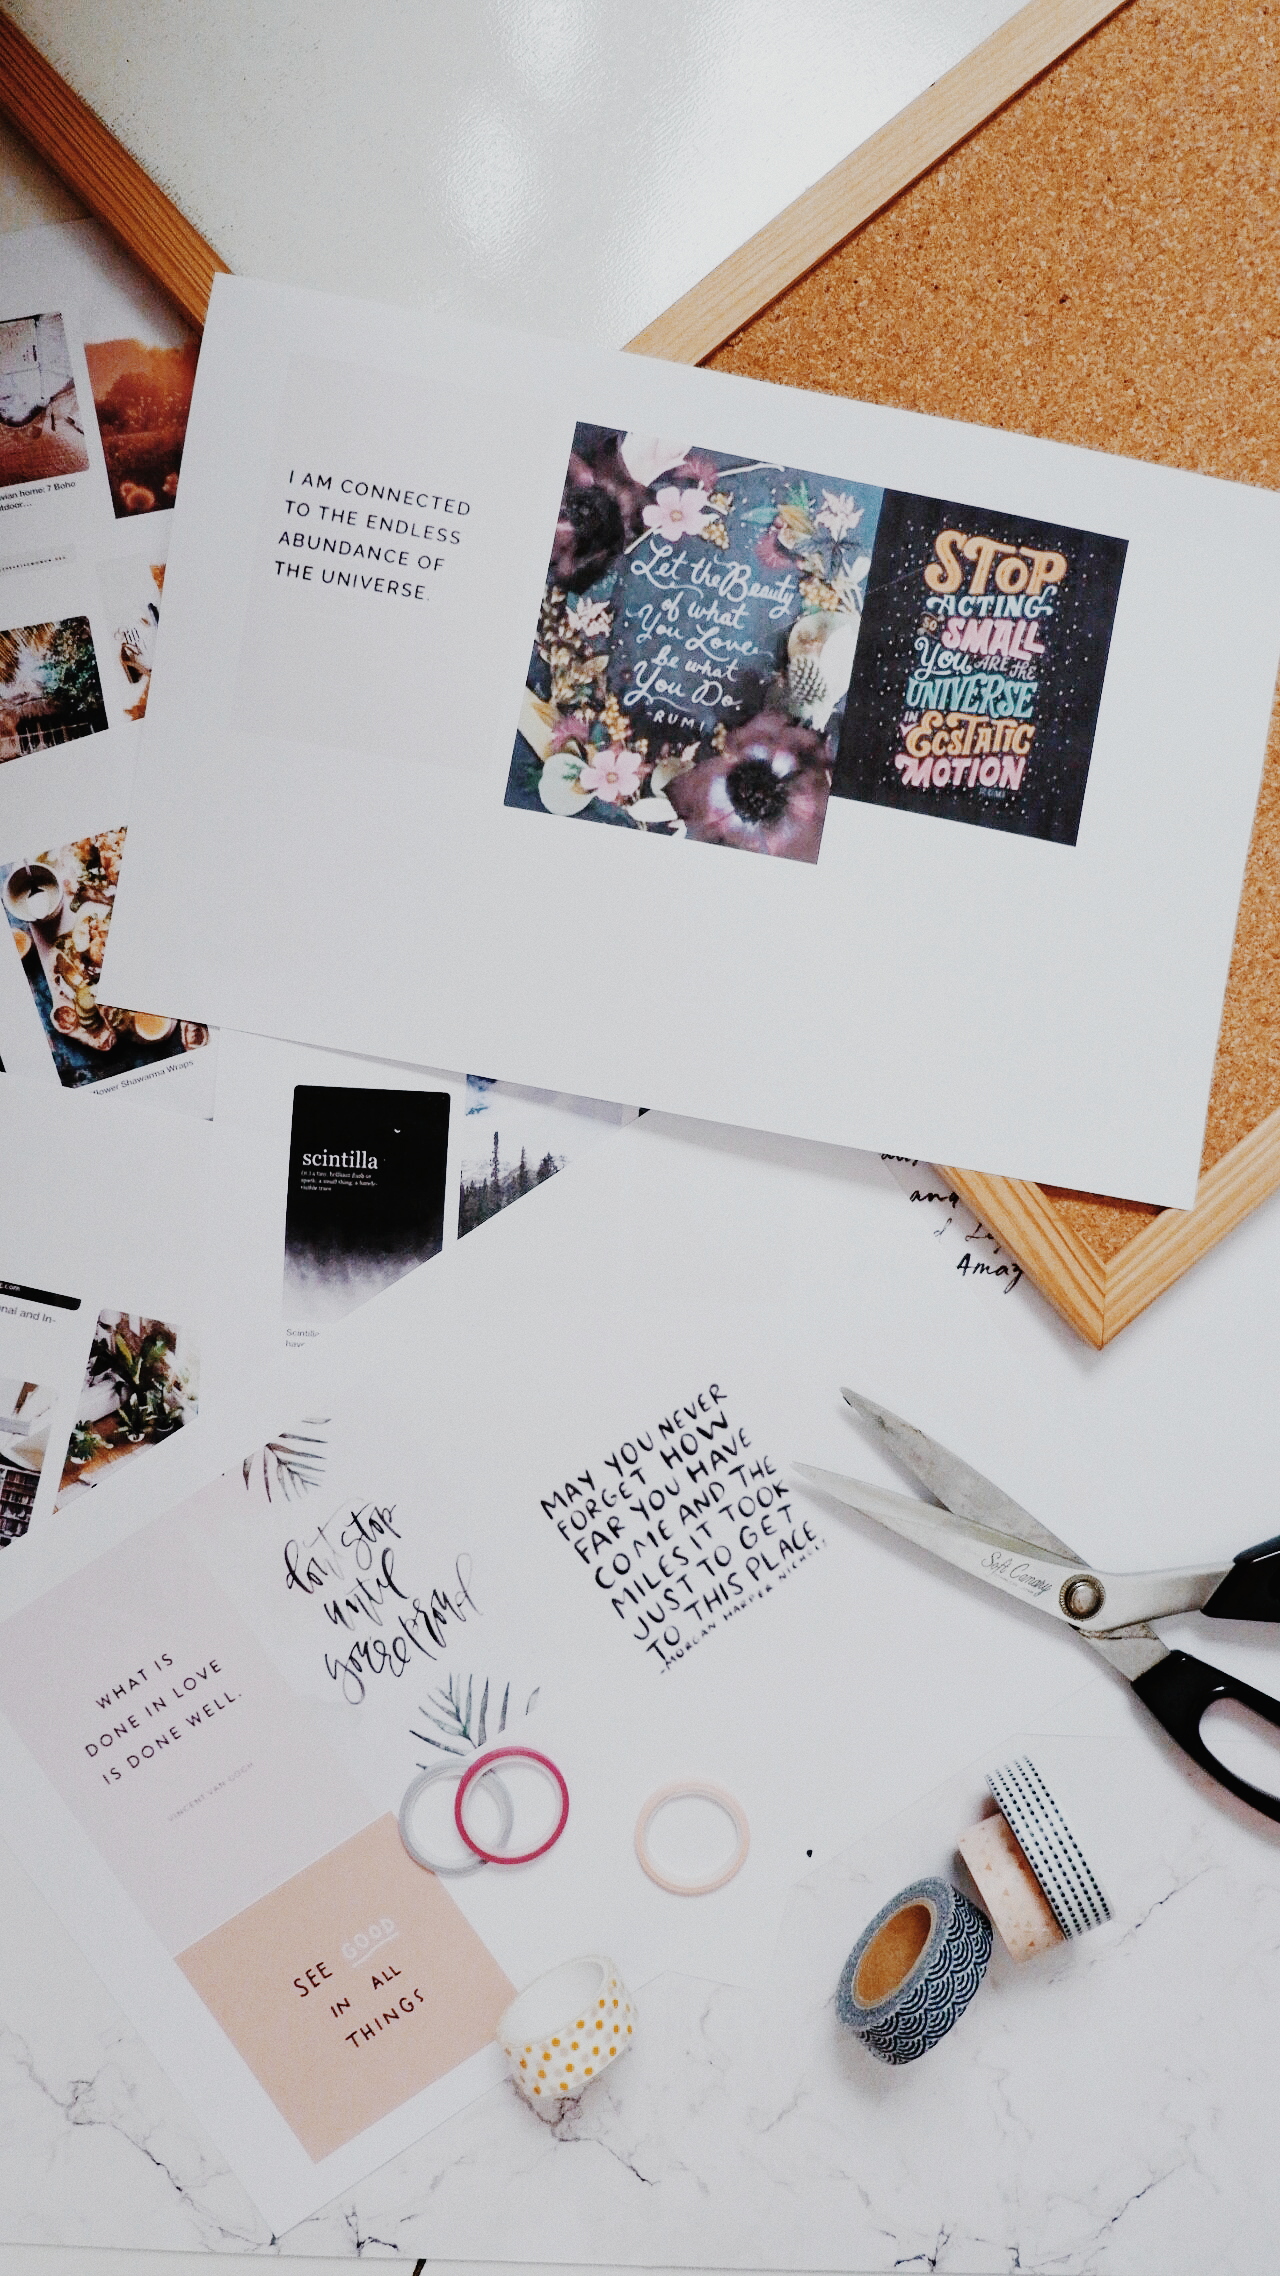
I read too many self-help books growing up (I read self-help books of Canfield & Carnegie since high school—maybe that explains why I grow up like this!). And it was from those books that I absorbed the ideas of a vision board and the power of thoughts.
I created my first vision board in my first year in college. I did it on an A4 page that I inserted into a clear envelope inside my ring binder.
It was pretty straightforward and there was nothing aesthetic about it: basically, I just cut out some pictures from old magazines—pictures that represent the things I want in life. At the time, these are pictures of handsome guys, lovey-dovey romantic scenes, and branded goods (plenty of them in the magazine’s ads!). I scribbled some affirmations on top of it with a gel pen. Something along the lines of ‘You’re Beautiful’ or ‘Guys Like You!’.
I guess you could see where my priority lies back then.
“A collage of images, pictures, and affirmations of your dreams, goals, and things that make you happy. It can also be called a dream board, treasure map, or vision map. Creating a vision board can be a useful tool to help you conceptualize your goals and can serve as a source of motivation as you work towards achieving your dreams.“
After my college days, I kept on creating vision boards, at least once every 1-2 year(s). I no longer made it in my ring binder, though. Sometimes I made a spread of my vision board inside my journal. Other times I created my vision board as a desktop wallpaper so I can see it every time I open my laptop. And about 10 years ago I bought a writing board in a bookstore: half of it is a corkboard and the other half is a whiteboard. I used it to create my vision board ever since.
To me, apart from trying to figure out what kind of life I want for myself, making a vision board is simply a fun activity—especially when I am stuck at home with nothing better to do. It’s a bit like daydreaming (or hallucinating), but this time you could actually see what you’ve been daydreaming about right there, on the board (or paper, or whatever medium you choose).
Collect words, images, and pictures for your vision board.
Because I have stopped hoarding magazines, these days I go to the Internet to find pictures and images for my vision board. My favorite go-to places are Unsplash, Storyblocks, and Pinterest. However, when it comes to selecting words, pictures, or images, there is one thing I learned from my previous mistakes in creating a vision board(s).
Previously, I was very literal when it comes to my vision boards. If I wanted to lose weight, I would find a picture of a girl with a fit and well-toned body. If I wanted to be in a relationship, I would find a picture of a happy couple. If I wanted a house, I tried to find a picture of a beautiful house. If I wanted more money? Exactly. I would find a picture of a huge pile of money.
I did this for quite some time only to realize that I usually lost my interest in my vision board after 2-3 weeks (which means I would take down my vision board from the wall and hide it behind my cupboard). Somehow, seeing those things on my vision board weighed me down with the realization that I do not have them. Every time I looked at my vision board, I felt a bit stressed out, as if I was forced to work hard to make them a reality; or else I would end up a failure.
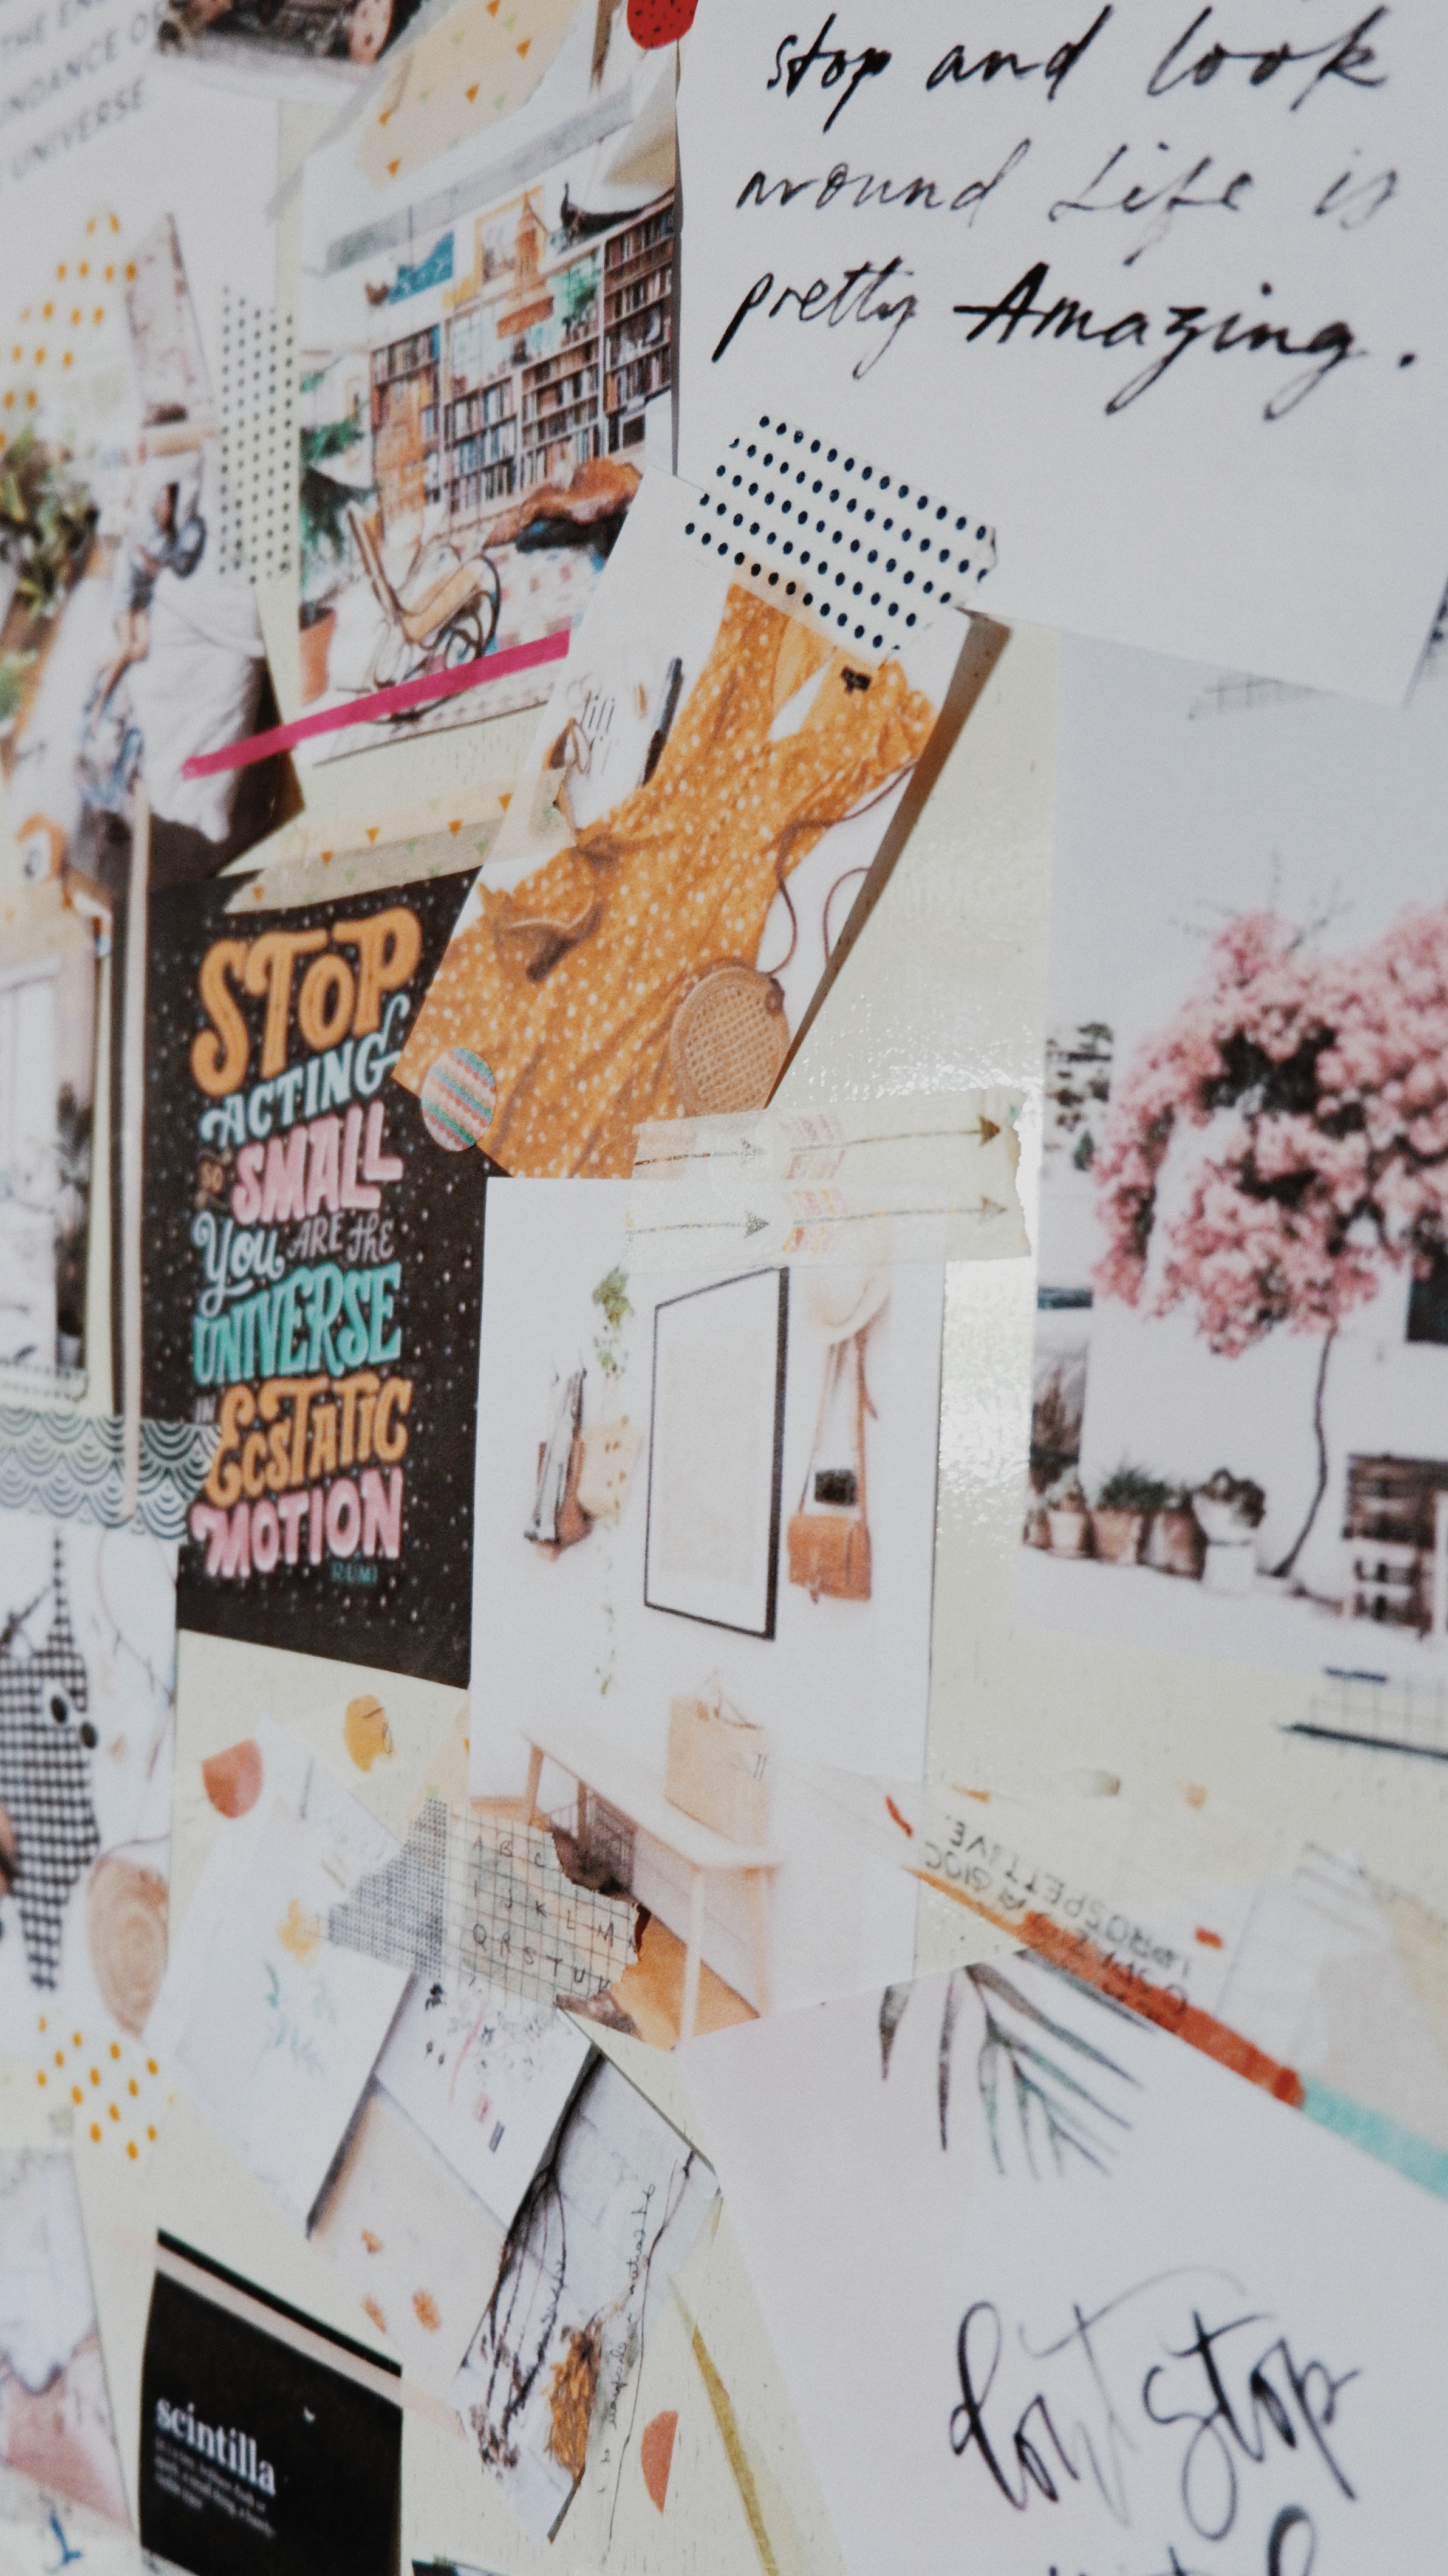
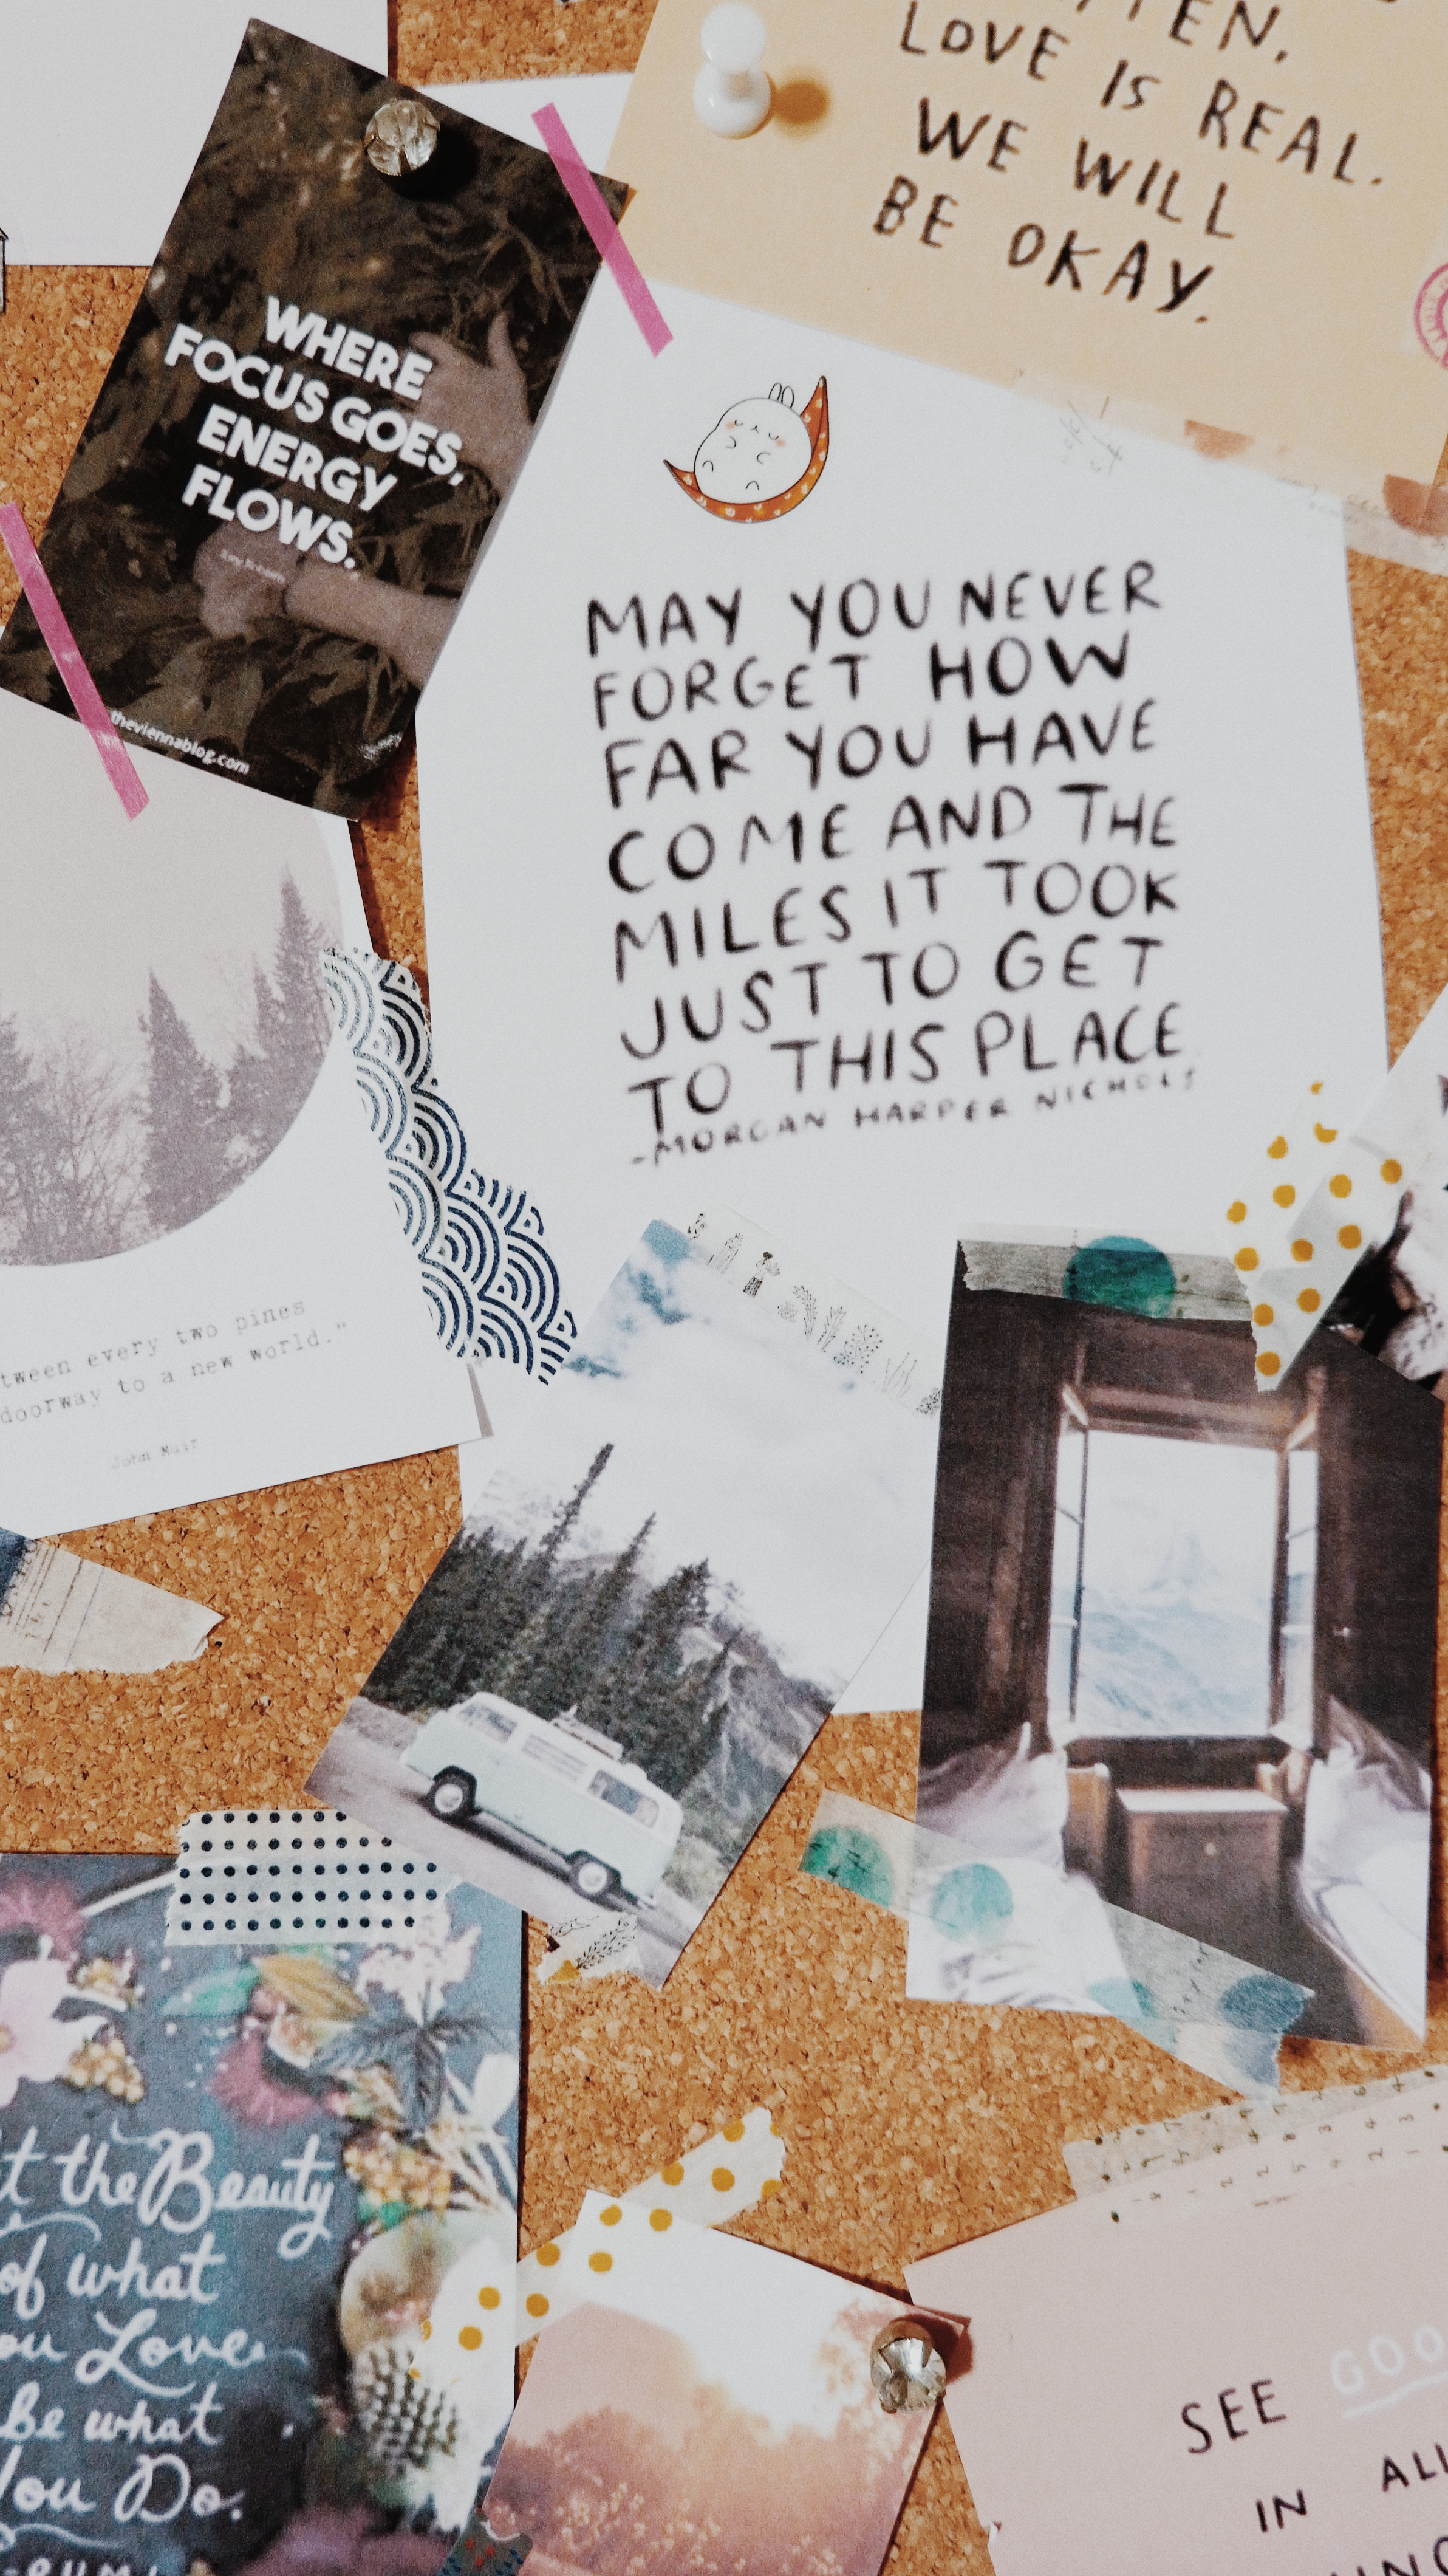
So, here’s how I created my vision board today: instead of focusing on finding the images of the things I want, I am focusing on finding pictures, quotes, or images that stir a happy and comfortable feeling inside of me. That’s it. No more images of a bunch of branded goods, a pile of money, or a first-class cabin–if seeing them don’t make me feel happy or comfortable.
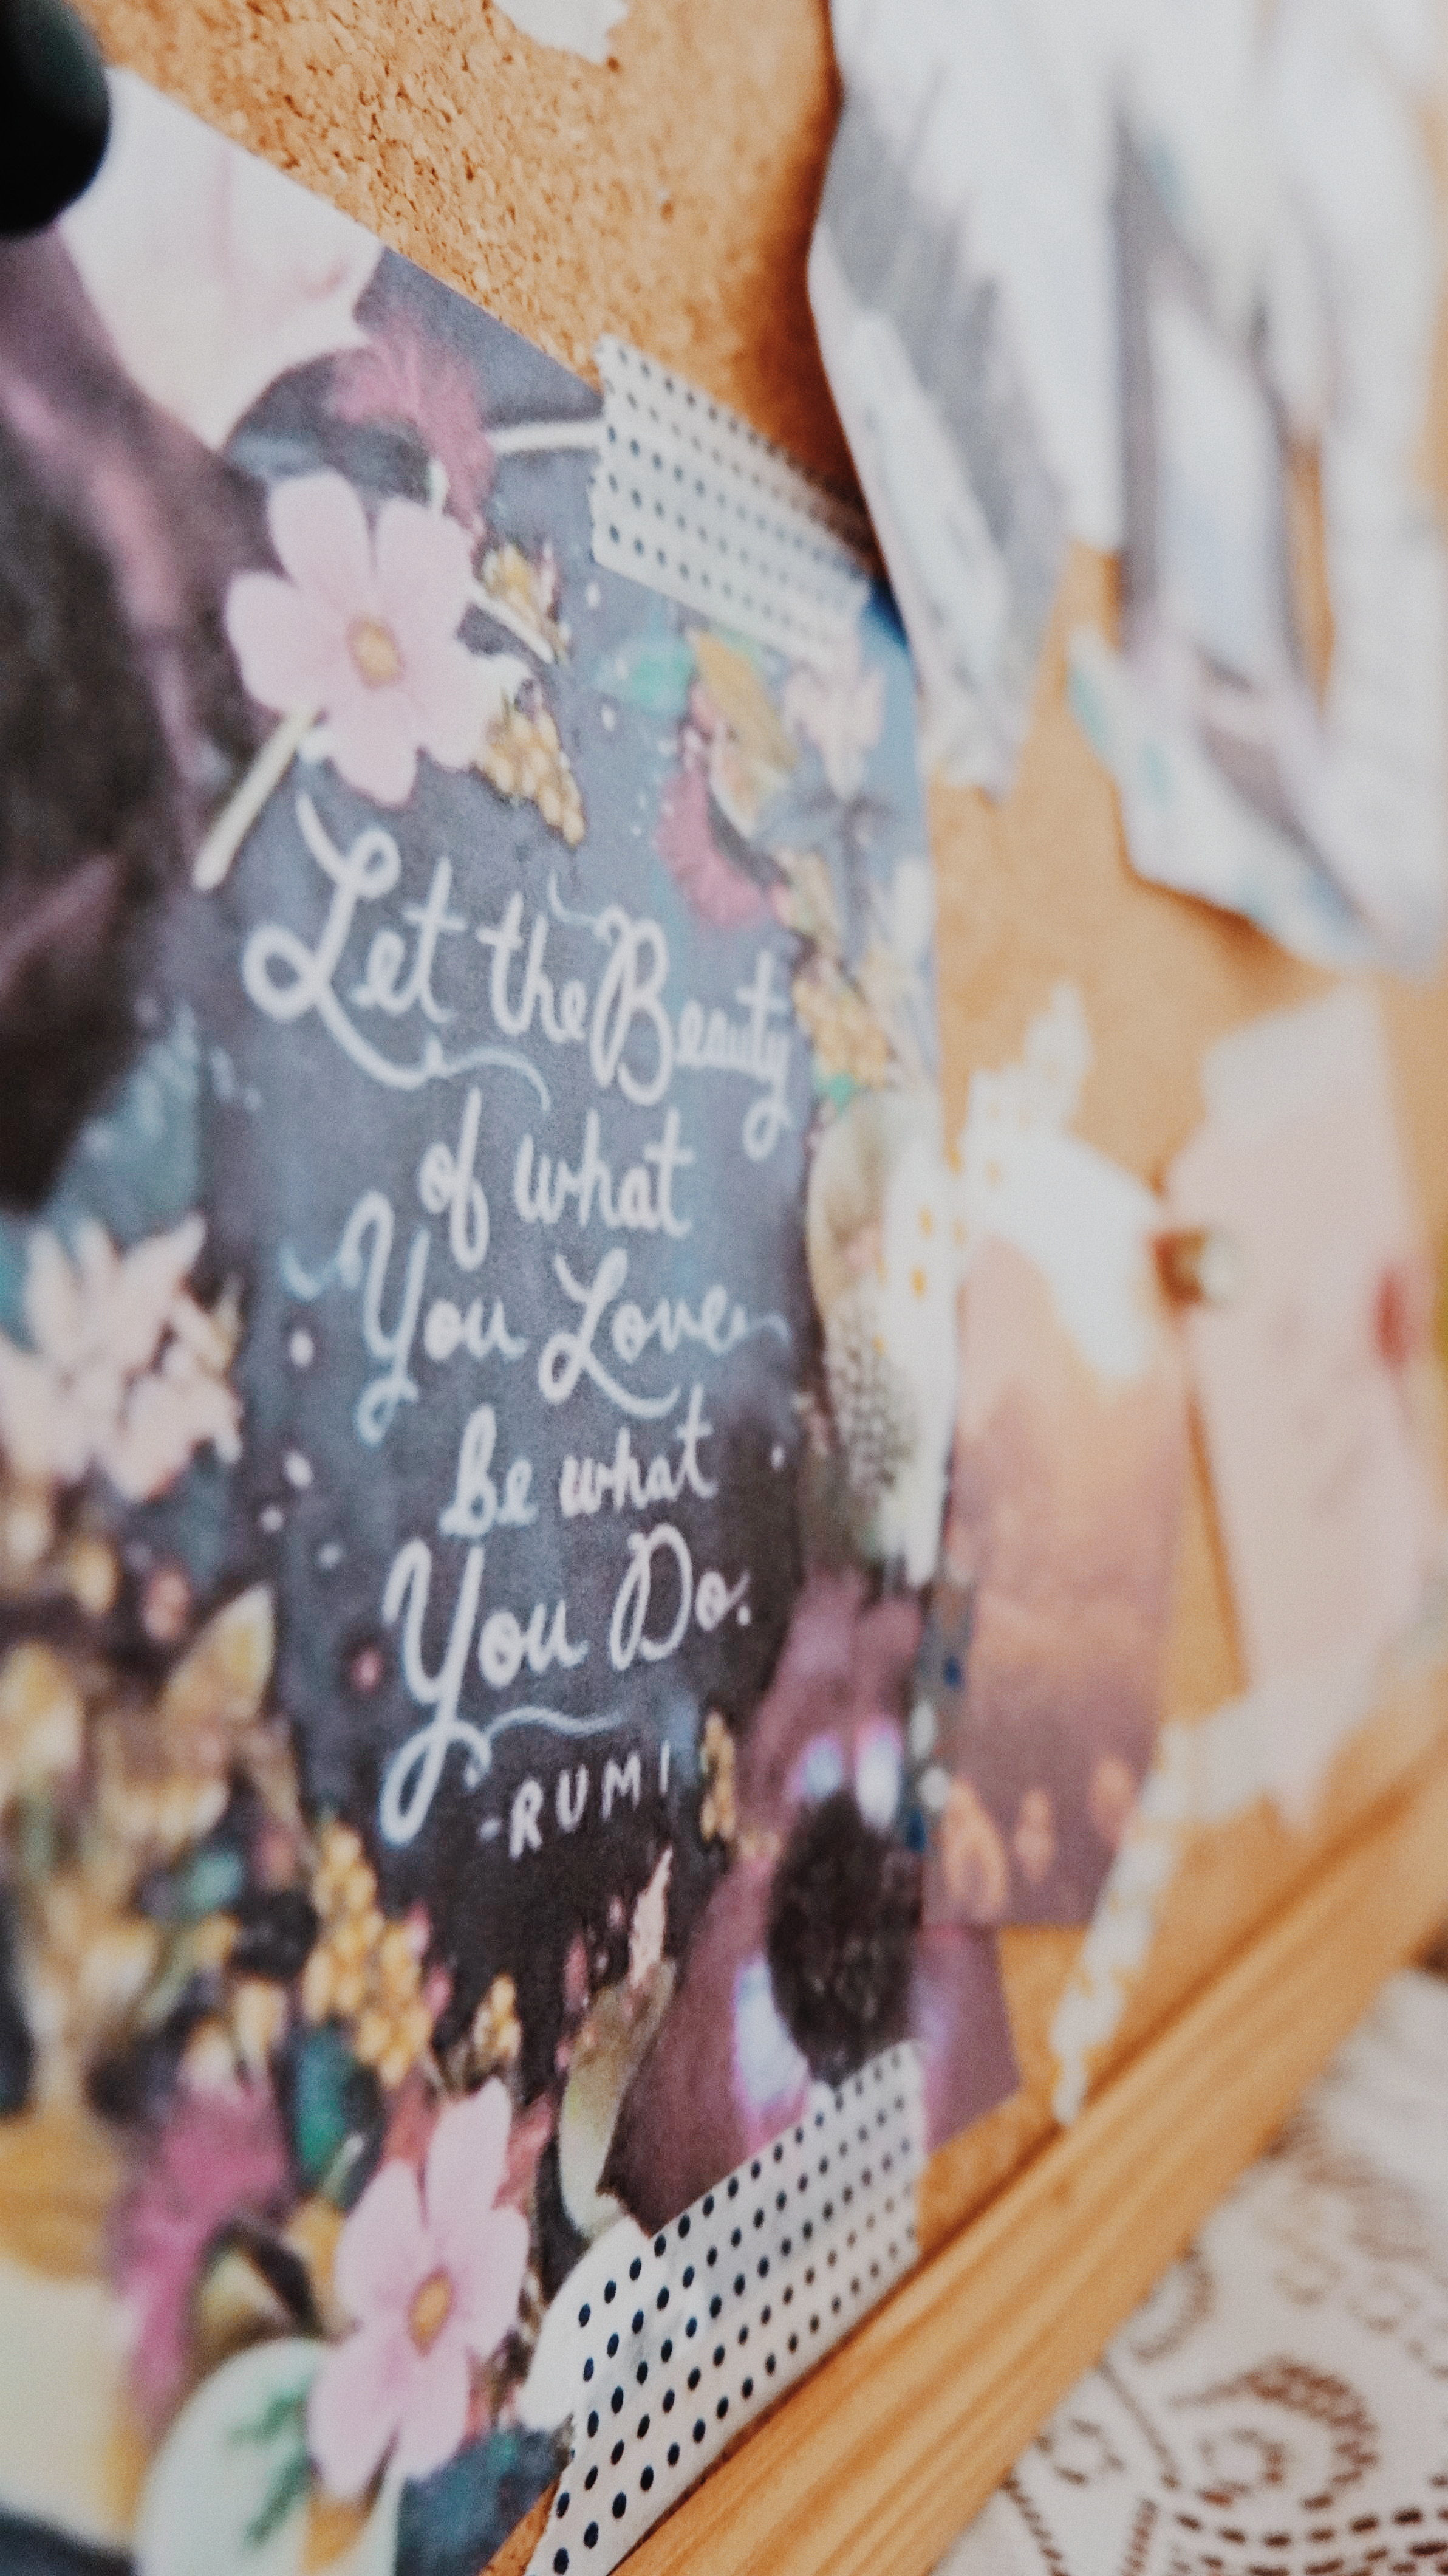
The same goes for finding a quote. If my heart melts when I read the quote, the quote ends up on my vision board.
I realized that this is the approach that works best for me: to concentrate on feelings instead of things.
I want to be able to look at my vision board and feel happy instead of stressed out from thinking about how I would get all those things I didn’t have. I want to look at my vision board and be reminded of the feeling I have always wanted to feel in life: happy, content, peaceful, creative, free, loving, safe.
A vision board works best for me when it focuses on feelings instead of things.
If you think you’re someone like me, you might want to try this approach for your vision board. However, if you think you’re more motivated, driven, and inspired when you know you’re chasing things instead of feelings, by all means, create your vision board that way!
The bottom line is to create the vision board you’ll love, that will make you feel happy and inspired after seeing it instead of stressed out and demotivated. Find out which type of person you are, and create a vision board that will serve you best!
Using your vision board.
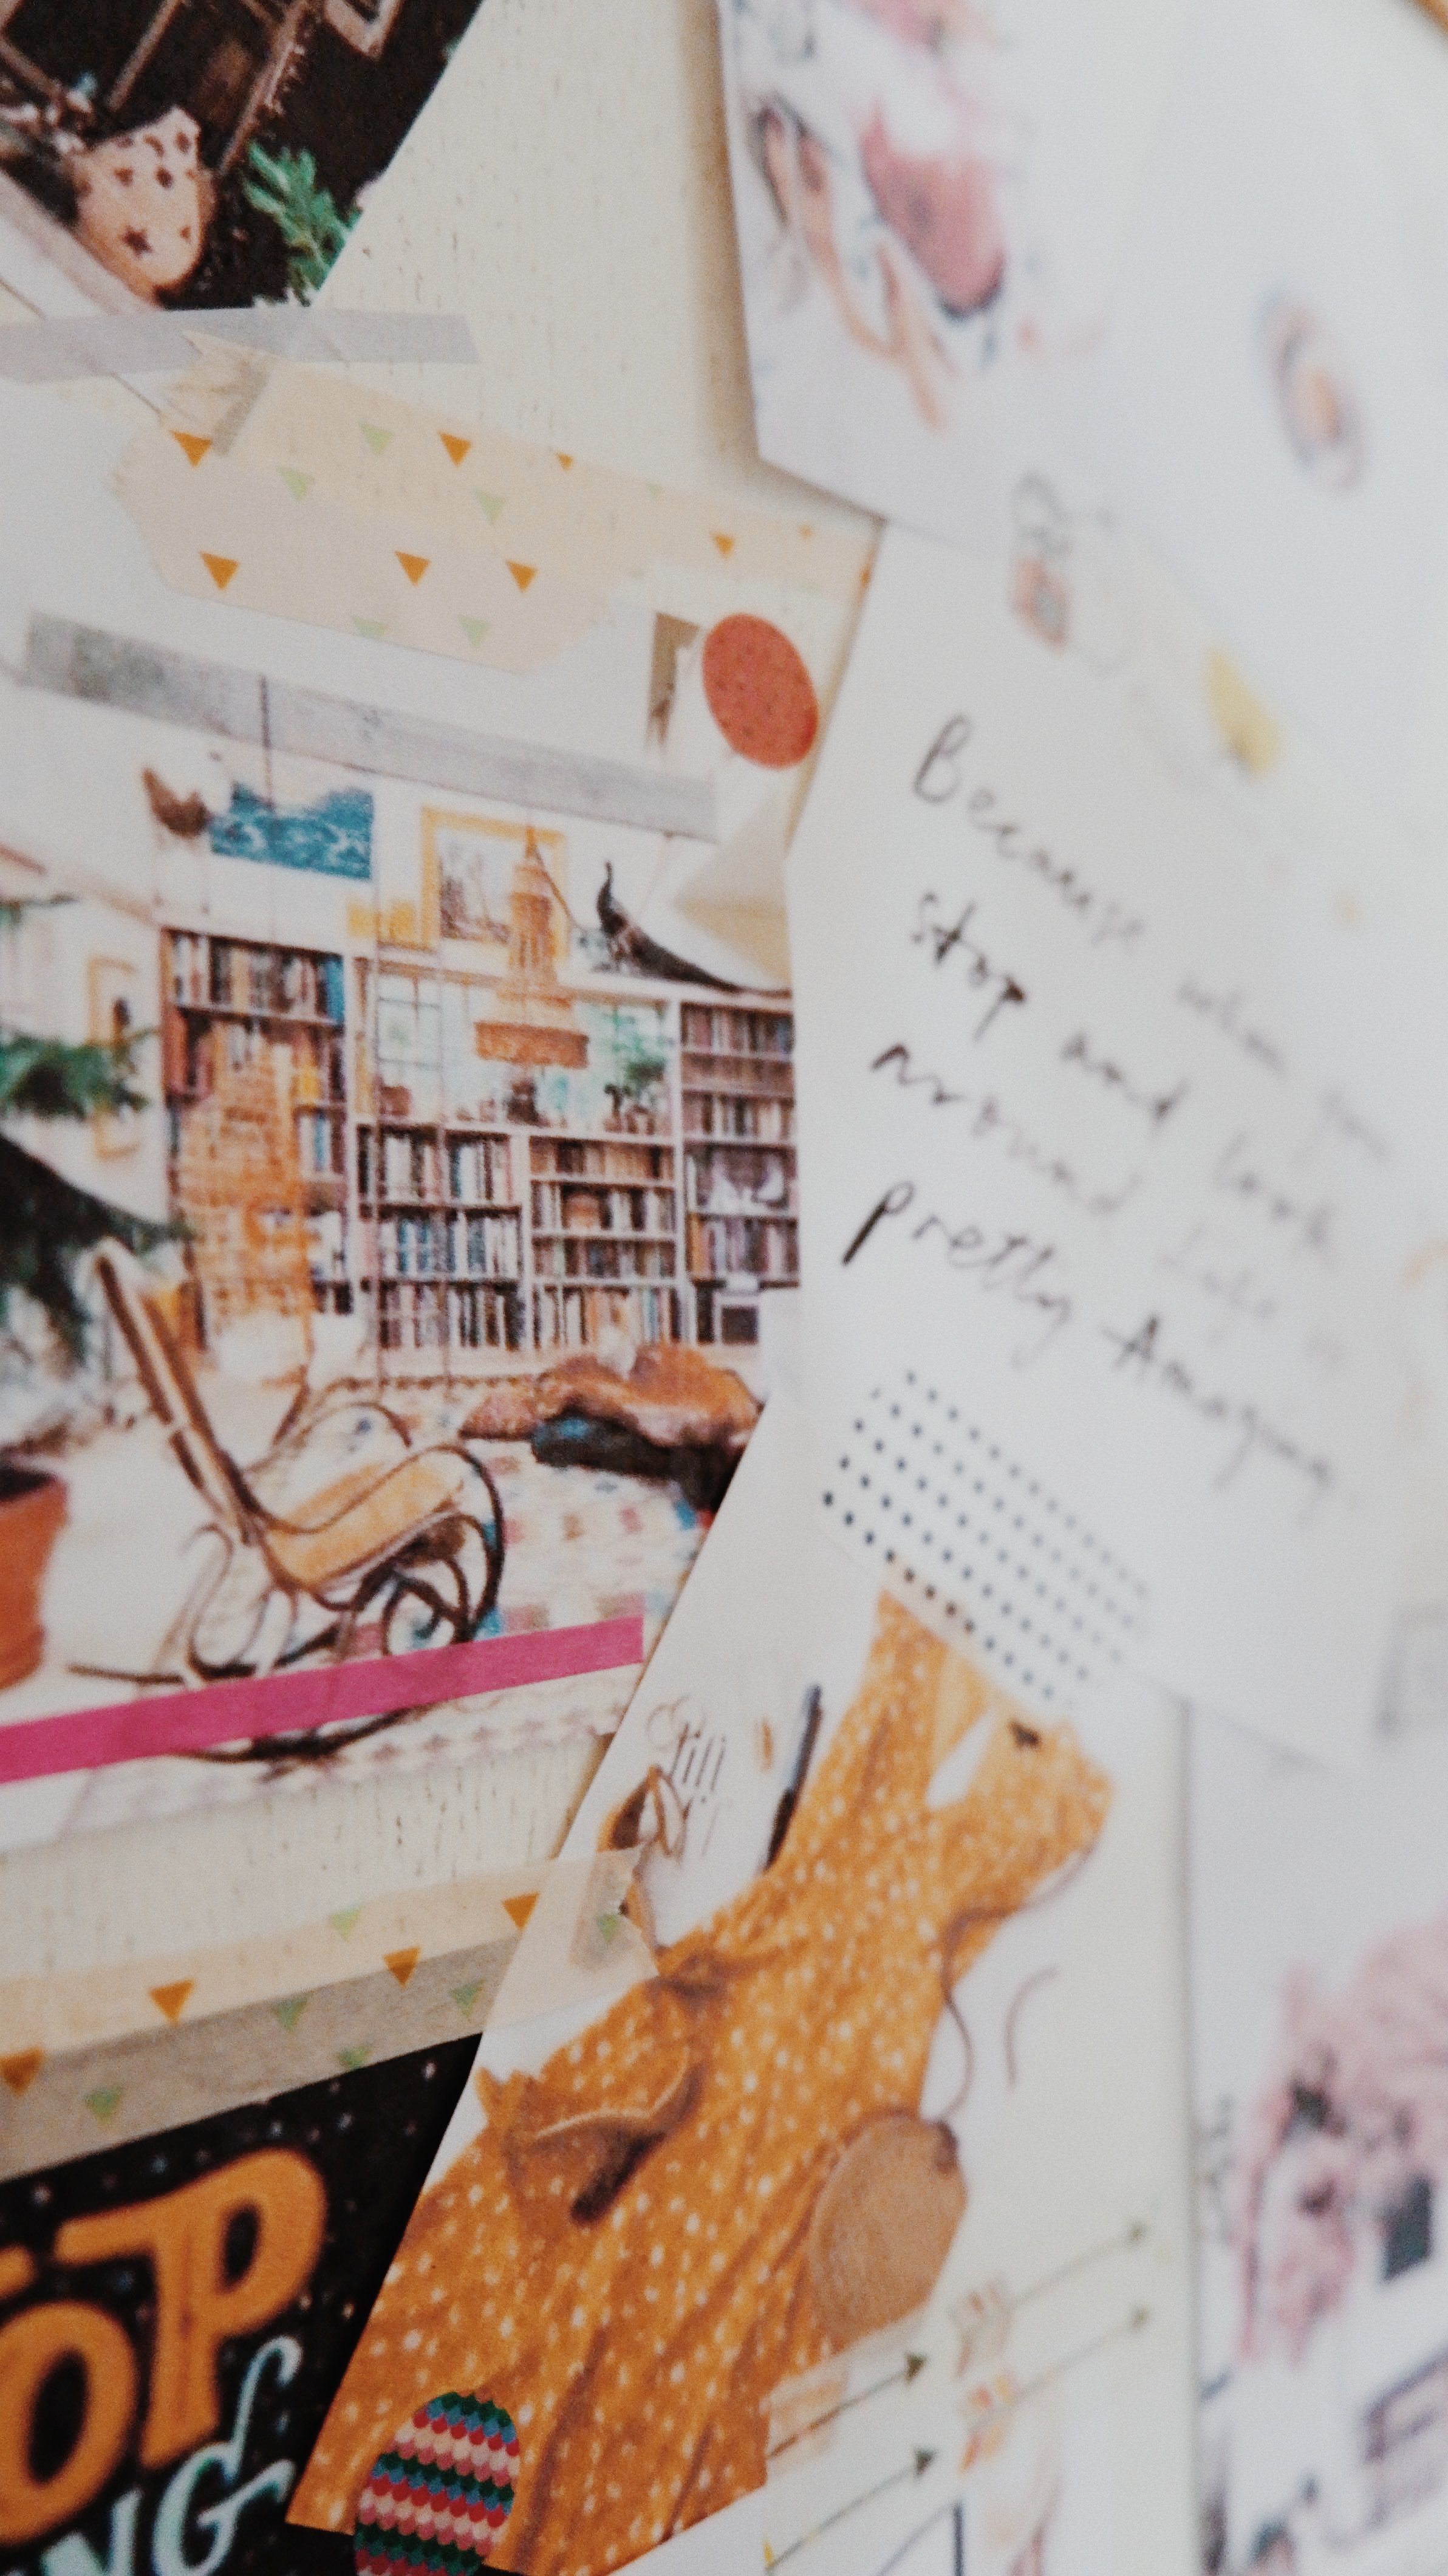
After finding all the pictures, images, and words or quotes I want to use on my vision board, I usually print them all (I use usual photocopy paper) and then cut them out. Then, I will try to find the best layout for the cut-outs to be displayed on the board. I mostly use washi tapes and cardboard pins to do this (instead of glues or double-sided tape). I want to make sure that I can reuse the board again the following year.
Once I’m done with my vision board, I display it in a spot where I can see it often, on a daily basis. If I find some particular pictures or quotes that annoy me somehow, I take them down or replace them with something else.
I like to see my vision board as a living organism that grows with my state of mind and my state of being. So, I allow myself to change things here and there when I feel the urge to do so. Plus, the idea of having this vision board is to lift up my mood! So, I want to make sure that I like what I see and can feel an instant boost of happiness just by looking at it.
Keeping a vision journal as a company.
Whenever I feel inspired (usually on a relaxing Sunday evening), I will pick an image or a quote from my vision board, look at it, and write down whatever goes through my mind about that particular image or quote. It helps me to access the feeling of each picture or quote evokes in me and clarify what the image/words actually represent.
Why does this particular image/quote feel good to me?
What does this image/quote remind me of?
What does this image/quote represent in my life?
What can I do, daily, to recreate the feeling this image/quote evoke in me?
What would my days look like if I have experienced everything that is represented by this image/quote?
How would I be a different person if I have experienced everything that is represented by this image/quote?
How would my outlook on life change if I have experienced everything that is represented by this image/quote?
To me, answering those questions help to gain clarity on the kind of life I aspire to have and the kind of person I’d like to be. It feels easier because I don’t have to start writing from nothing: I have a picture I want to write about and some questions related to the picture! Now, all I need to do is answer those questions honestly.
I actually find this journaling activity relaxing. It really helps me to bring something abstract into a more concrete pen-on-paper kind of thing. Whenever I reread the journal, I was reminded again of the feelings I want to invite into my life.
It serves as a compass that keeps on pointing to the North whenever I feel like I’m disoriented or about to get lost.
Creating a vision board together.
Creating a vision board doesn’t have to be a solitary activity. If you like, you can also work on a shared vision board with a group of friends, with your spouse, or even with your colleagues.
When I was still working full-time, I created a ‘professional’ vision board together with everyone else from my division. The end result was our division’s vision board, representing everyone’s professional wishes and dreams. Once we completed the board, we took turns to point out the images or quotes we’ve pasted. Each person told everyone else what their images/quotes represent; both for the division and for his/her professional development.
It was a really interesting exercise because it stirred fun and relaxed conversations about things that are not usually talked about! Professionally, we’re usually talking about what we want (promotion, opportunities, flexible office hours, payrise) instead of why we want them. Discussing the images and quotes in the vision board by answering some of the journaling questions listed above can really help us to understand others better: to know what’s important for them and find out what really moves or motivates them in life.
So, feel free to work on your vision board as a group or a pair!
—
Anyway, I’ll be very happy to hear your stories about creating a vision board or keeping a vision journal. Let me know if you’ve tried this and what kind of vision board works best for you!
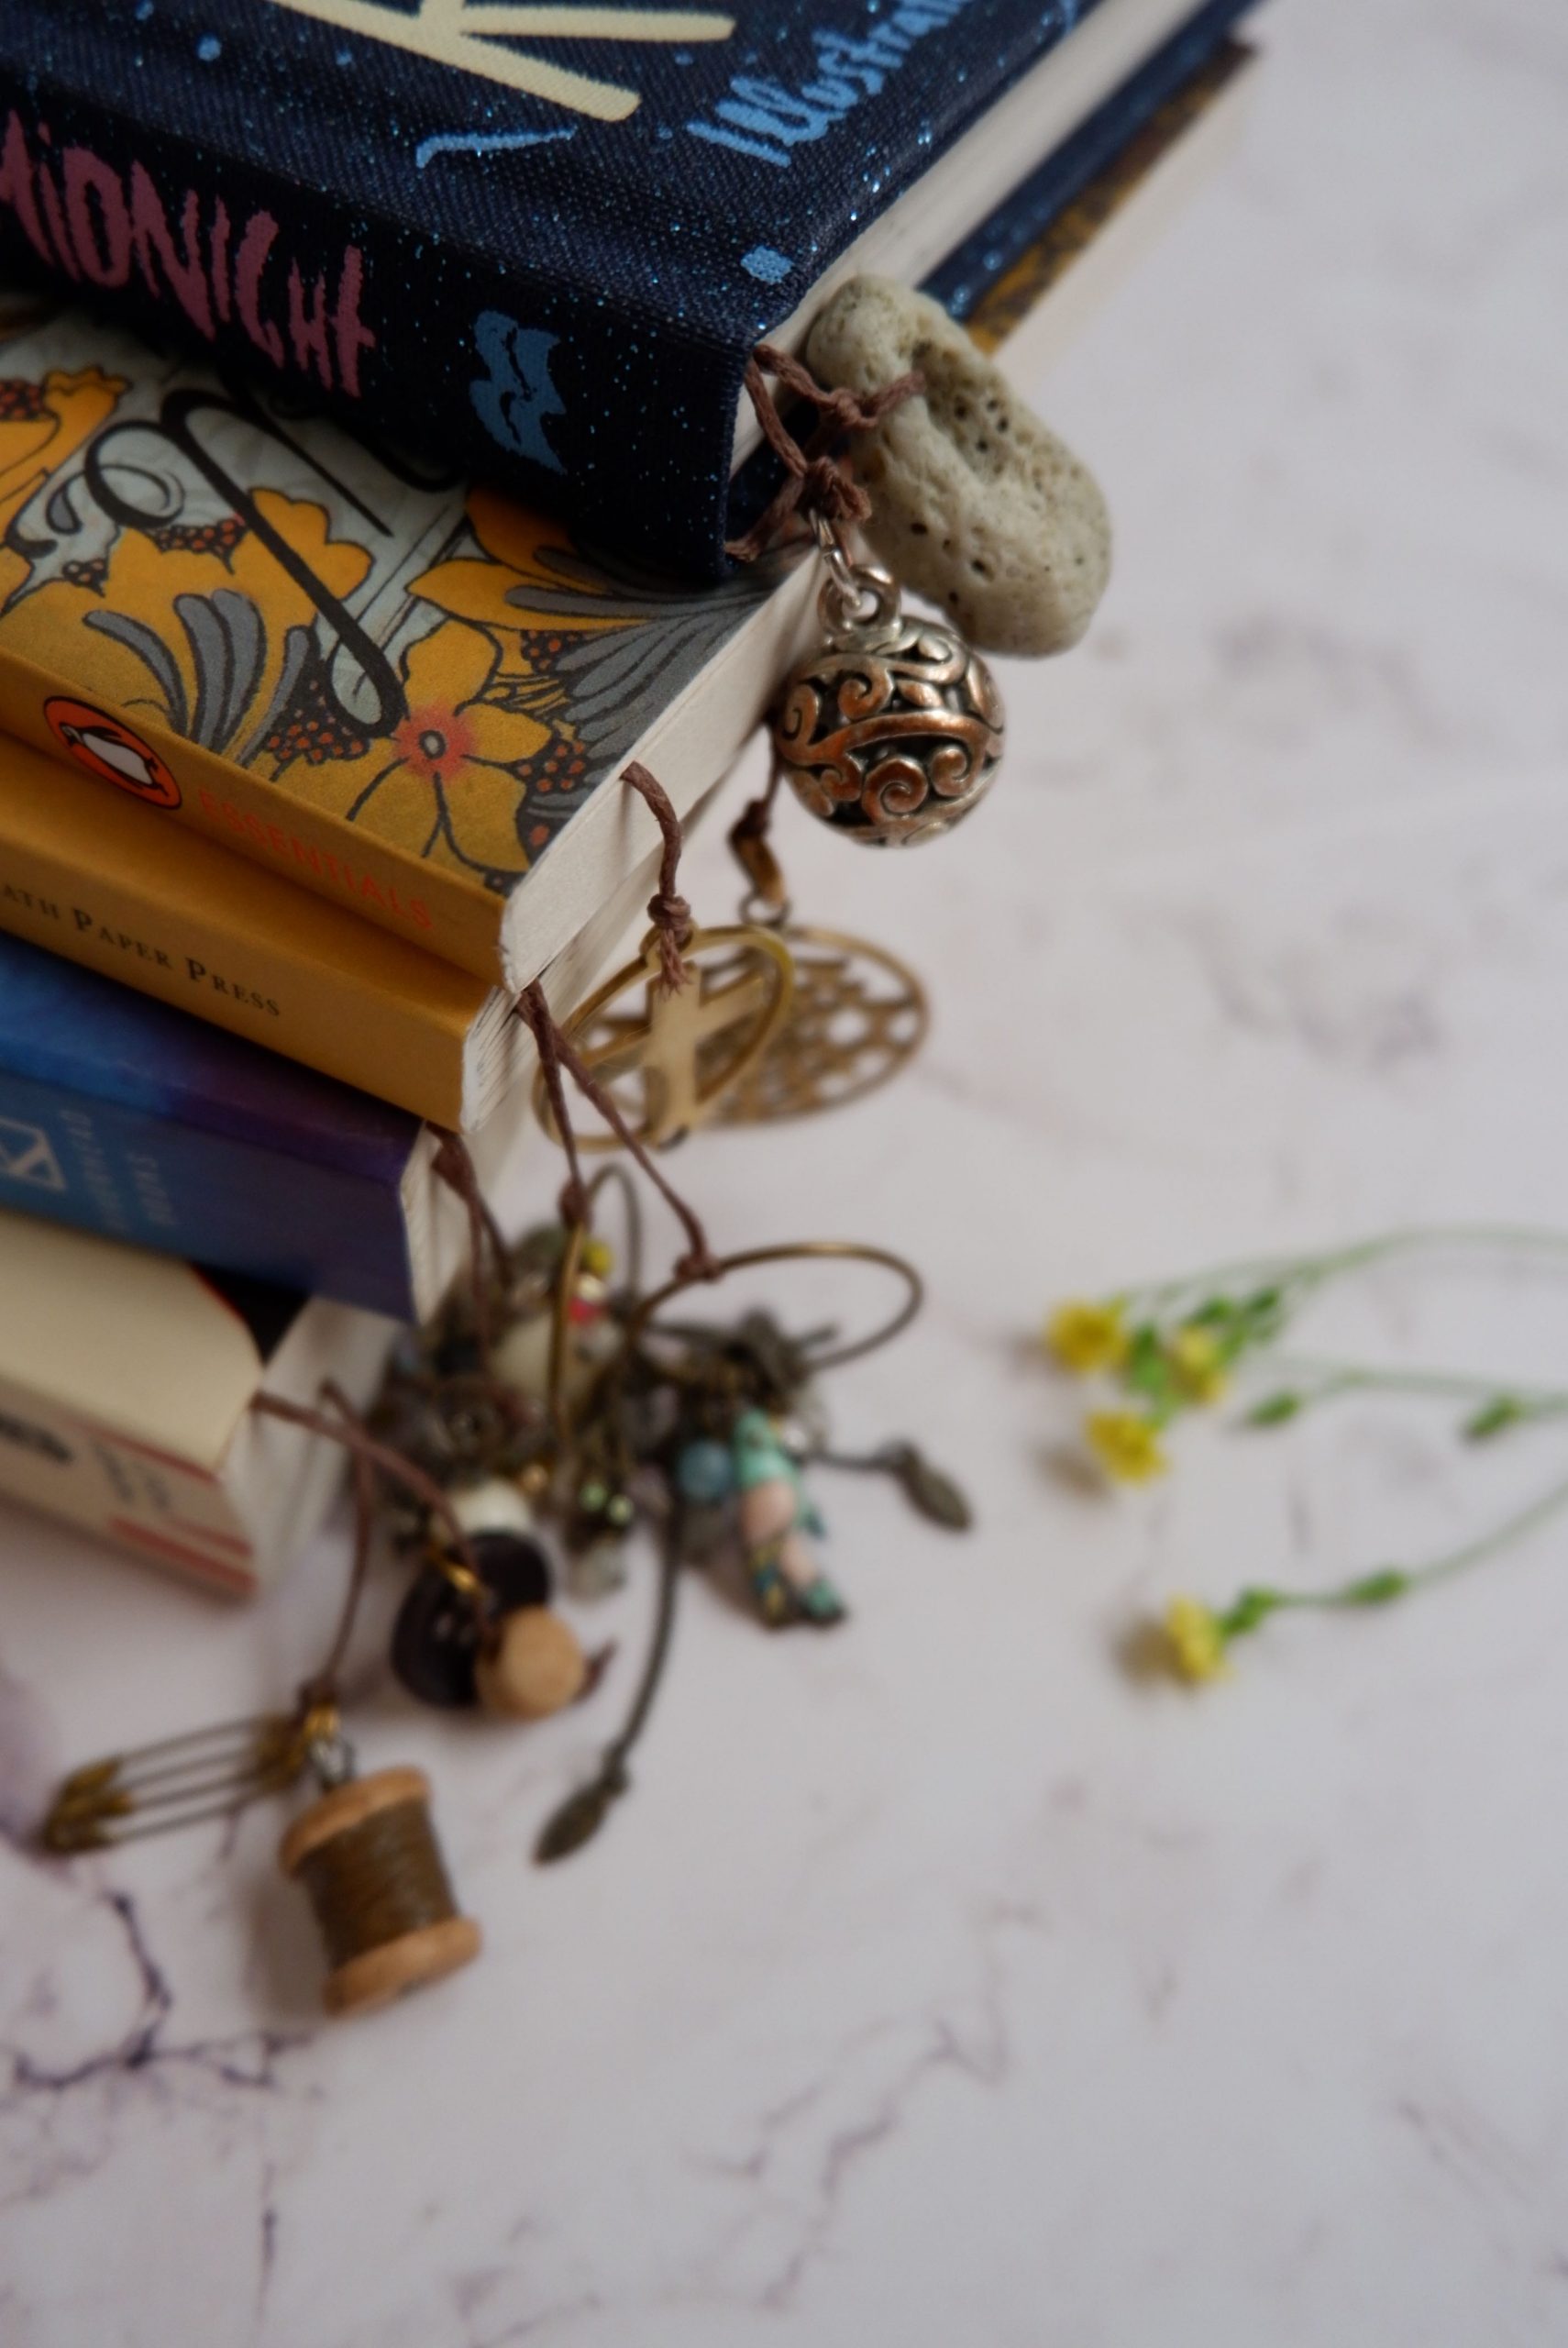
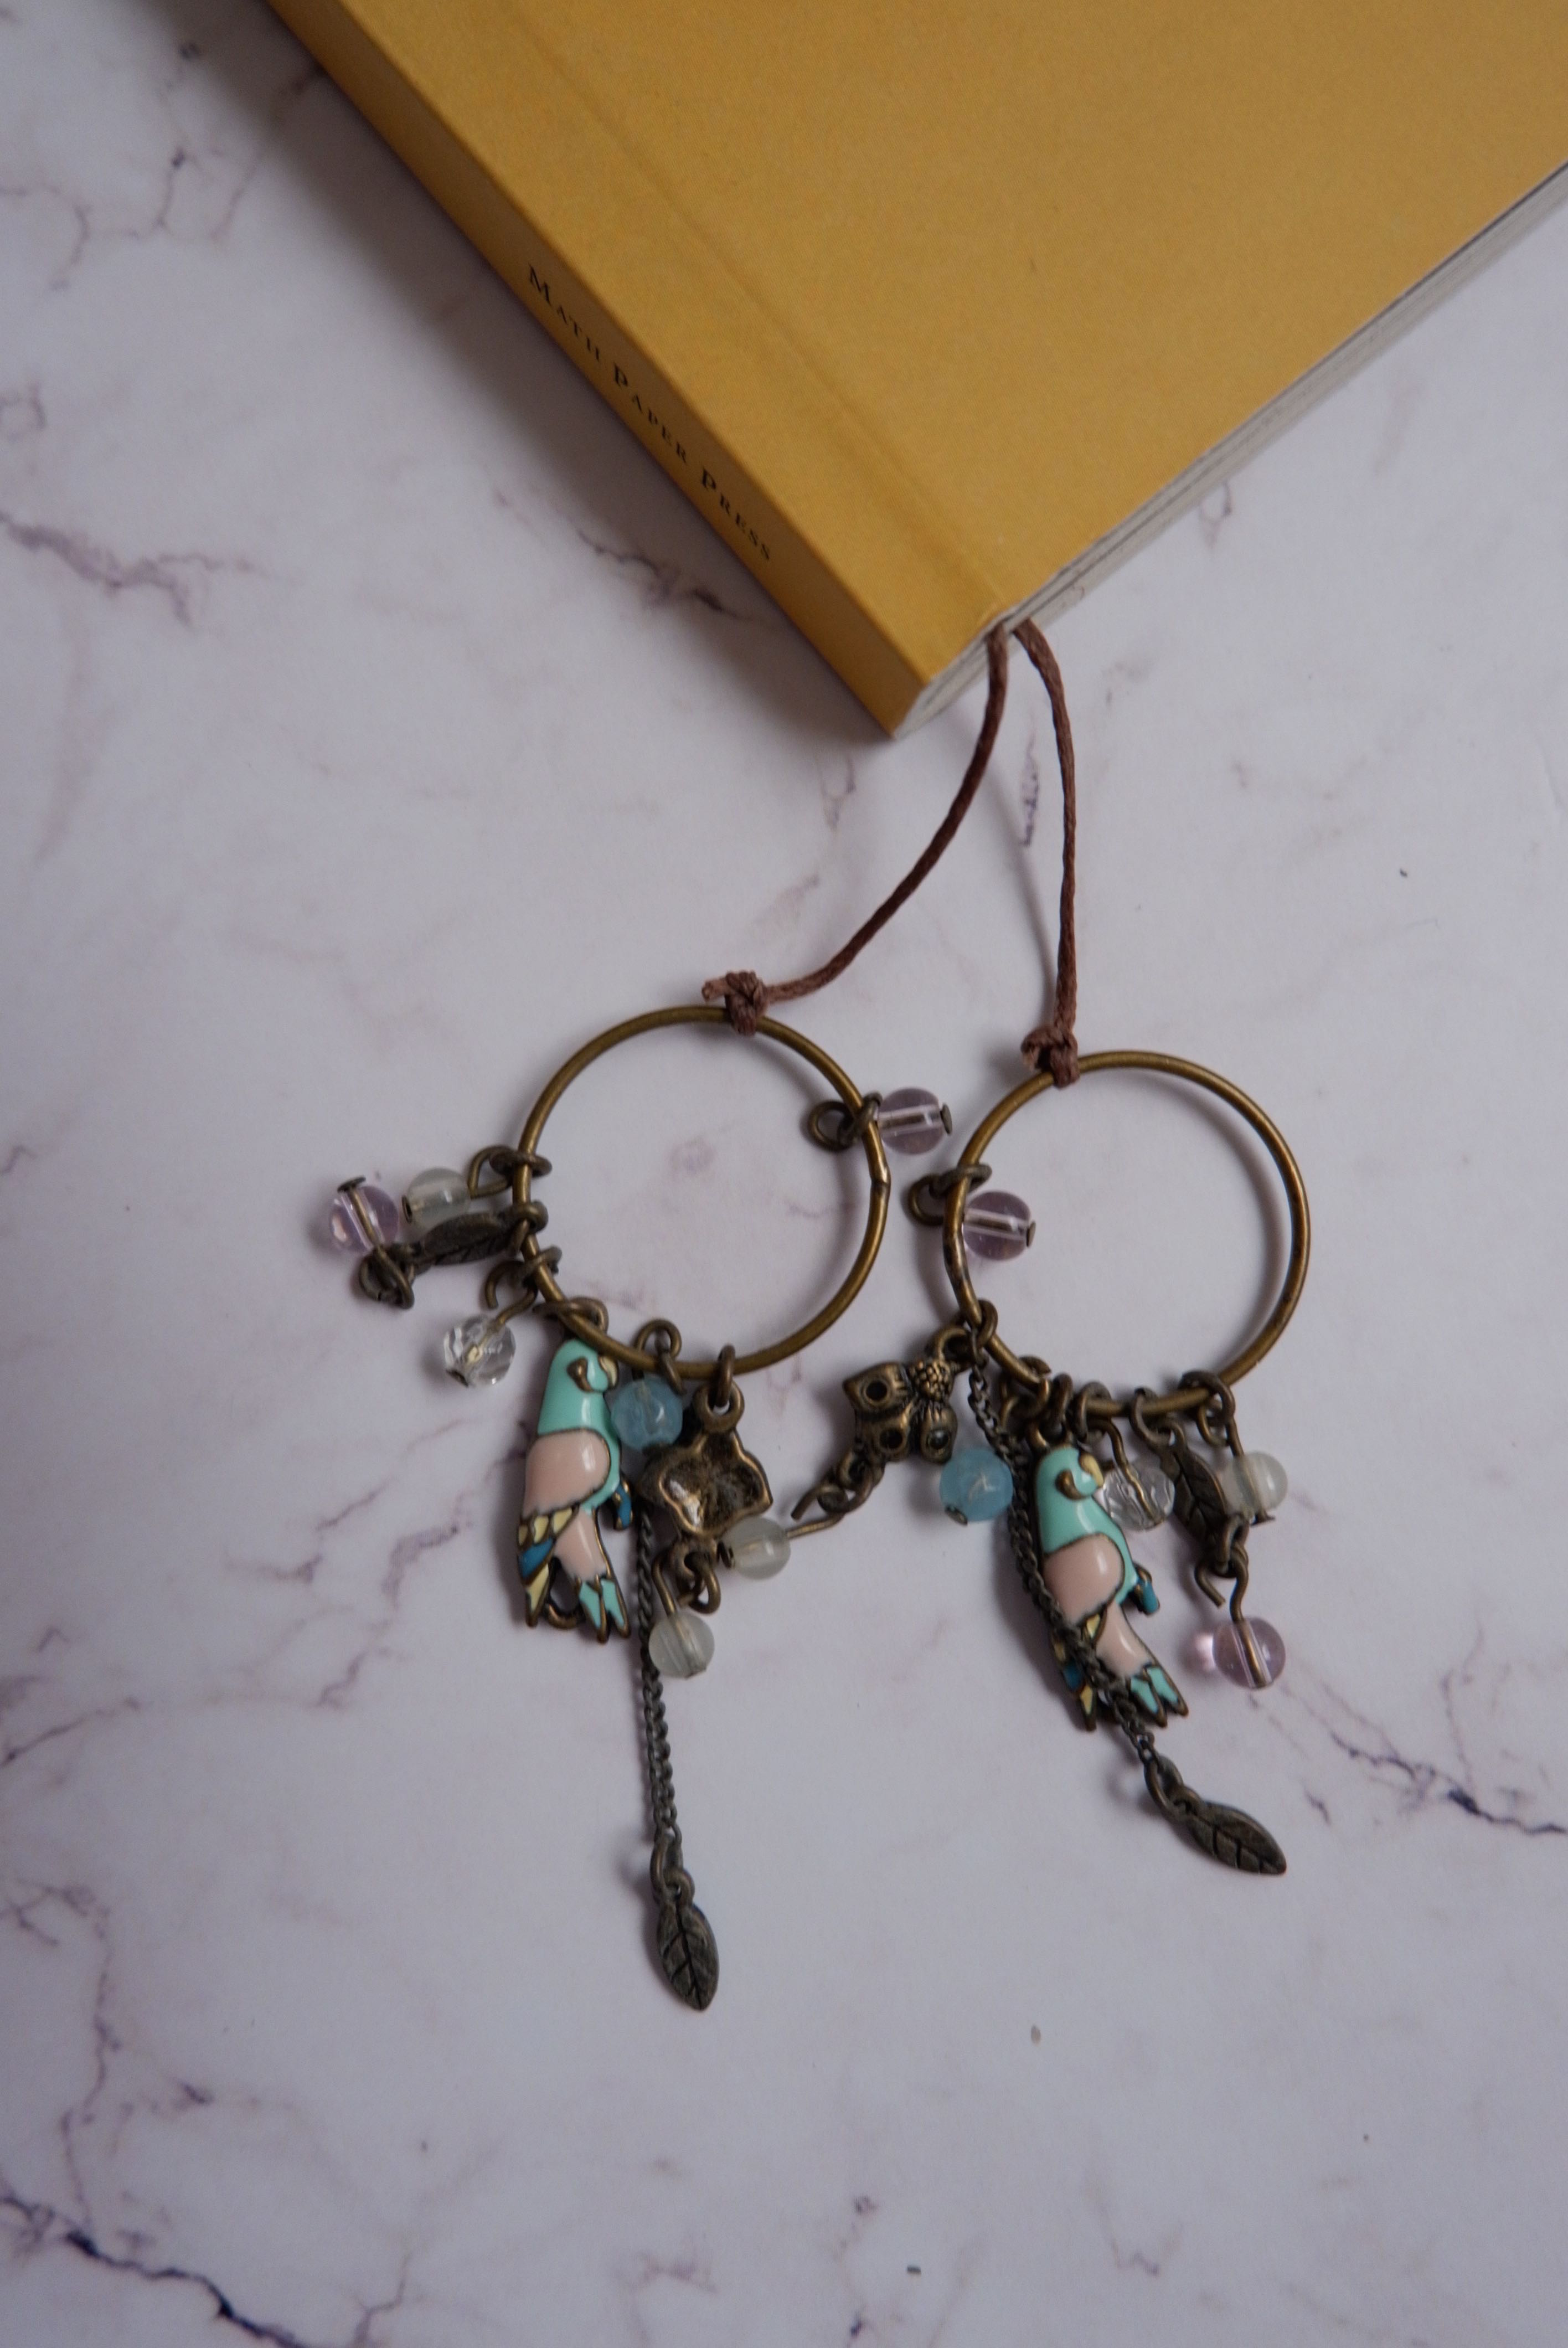
DIY Dangling Bookmark: For A Leisurely Weekend at Home
Hi, Lovelies!
If you’re thinking of spending a leisurely weekend at home reading books, I hope you’ll love this easy DIY dangling bookmark project as much as I do!
A few days ago, I was binge-watching some YouTube videos from Traveler’s Notebook community and ended up in Ali Brown‘s channel—where she made a tutorial on making dangling bookmarks for her journals.
After creating mine (which I loved), I realized that this can actually be a great bookmark not only for my journal, but also for the books I’m reading! I’m the kind of person who reads multiple books at a time, so a bookmark always comes in handy.
However, regular bookmarks frustrate me because: 1) they slip and fall easily from the book inside my bag; 2) slipping the bookmarks in and out when I travel caused me to misplace the bookmarks or end up losing them; and 3) sometimes when I finished reading a book, I accidentally left a bookmark between the pages, and couldn’t find this bookmark until one day I reread the book again and voila—my ‘missing’ bookmark was there!
I realized that dangling bookmarks solve those problems: 1) they don’t slip and fall easily; 2) I don’t have to slip the bookmark in and out because I can just read the book while the bookmark is dangling right there, looking pretty; and 3) because the bookmark is dangling from the page, I would definitely notice it and take it out before storing the finished book—no more ‘missing’ bookmark hidden between the pages of a long-forgotten book!
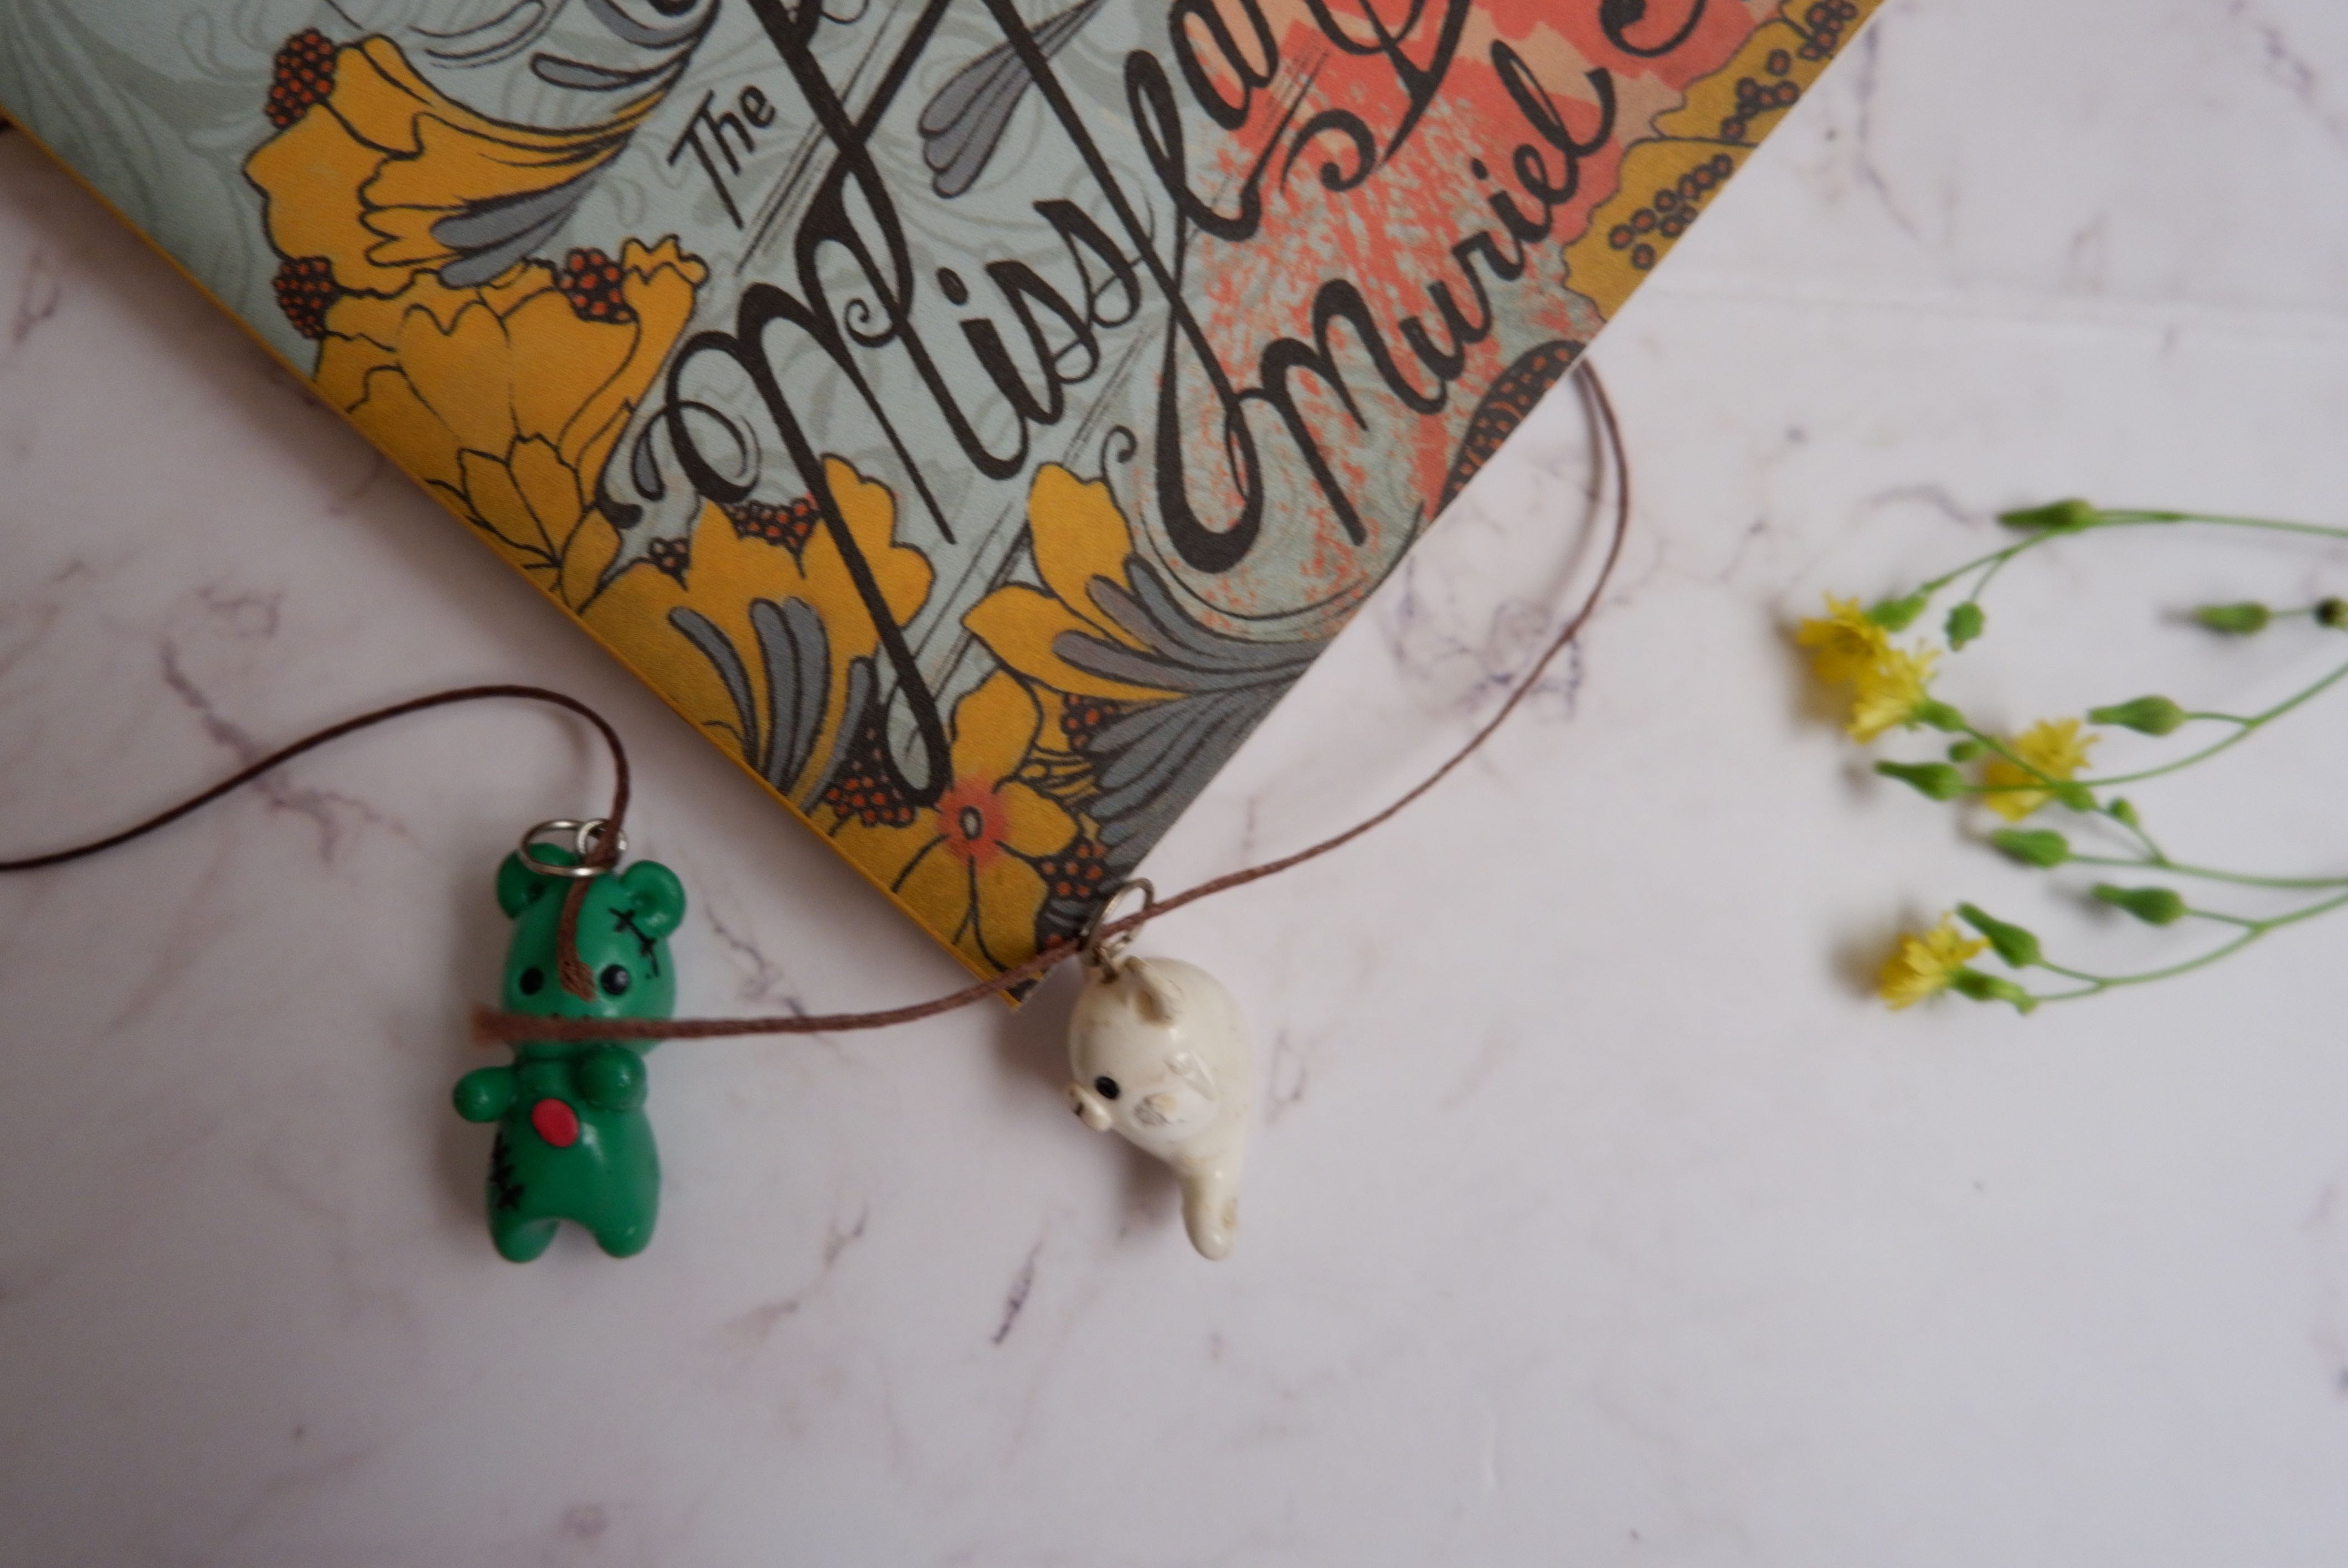
So, I decided to create several dangling bookmarks for the books I’m reading this month (will add the list down below). They are so easy to make, and I even make some as gifts for my fellow bookworms!
Dangling Bookmark: Tools + Supplies + How-to
Basically, you only need:
a string (this is the one I use; I love it because the knot is very tight and it has been treated with wax)
some charms, beads, or broken accessories you can upcycle
a pair of scissors
That’s it!
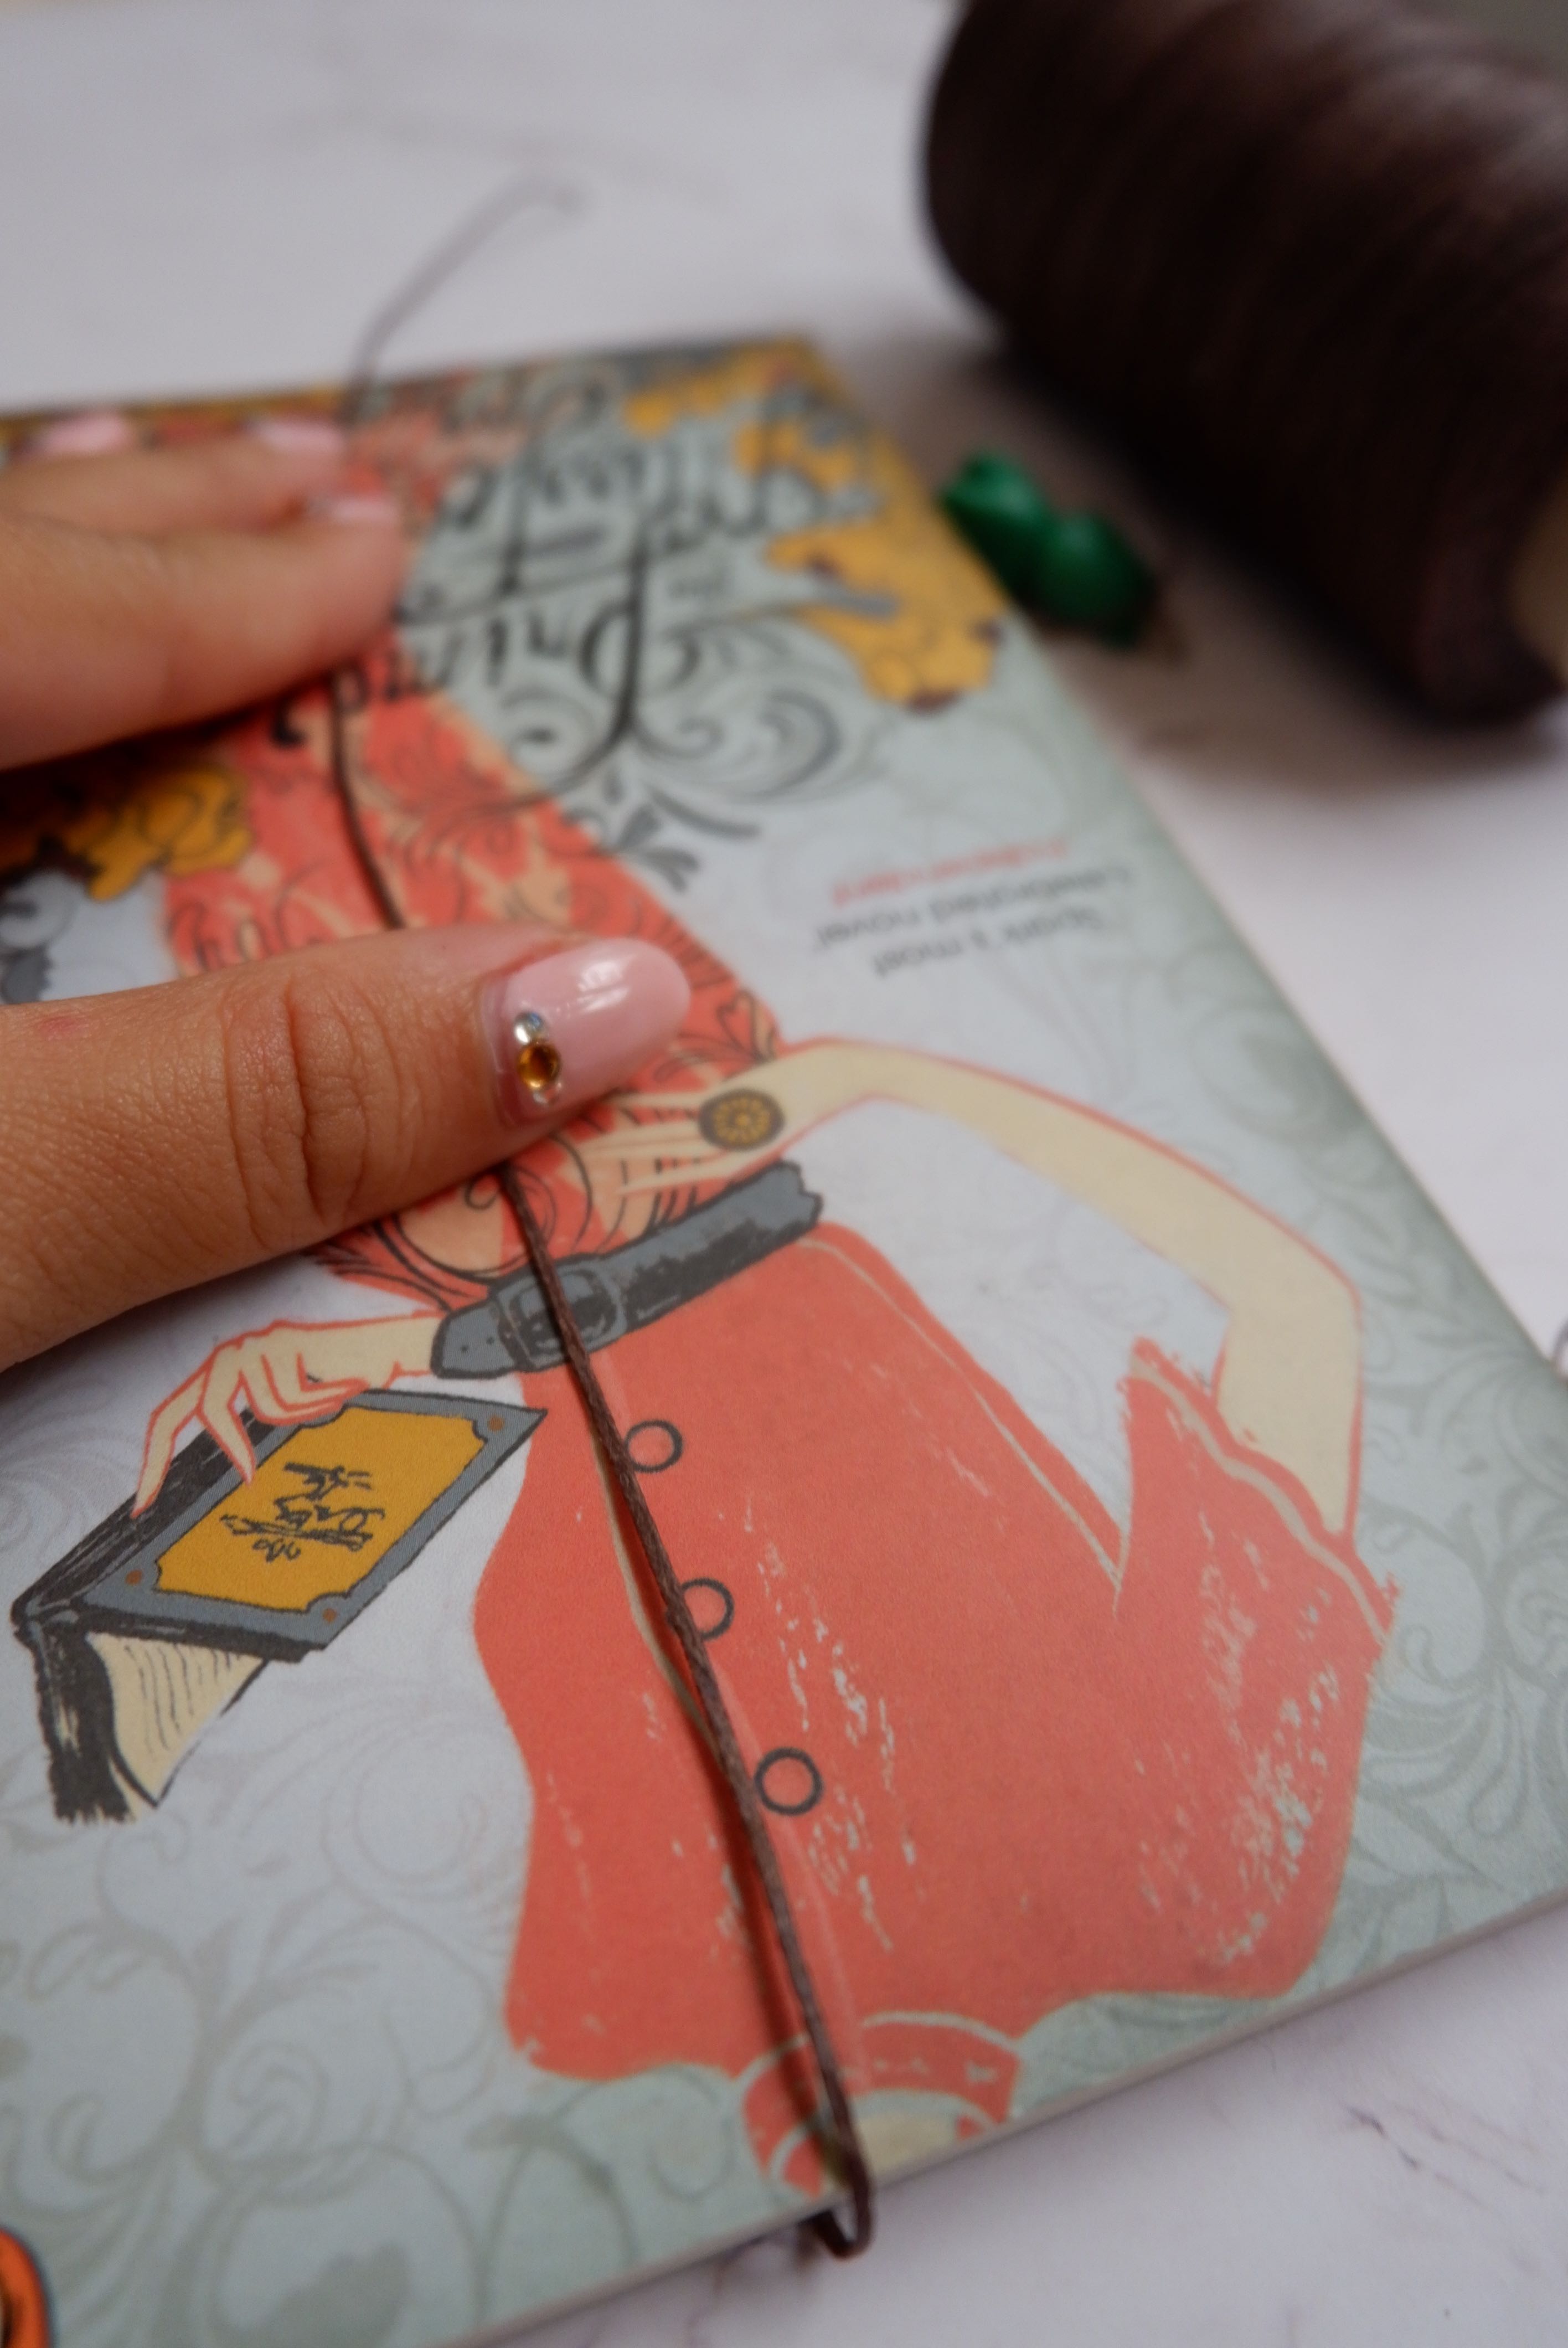
So, basically, what you need to do is measure the length of your bookmark. Sure, there are different sizes of books; but usually, I only make two different lengths: for the paperback size and the hardcover size. These are the two sizes of books I mostly read anyway.
Just measure the length so you can have the desired dangling effect once the bookmark is slipped between the pages.
After that, add some charms or beads to the end of each string, and tie a loose knot. Insert the dangling bookmark between your book’s pages and adjust the length when necessary. When you’re happy, tighten the knot. And just like that, you have your dangling bookmark.
Now, you can slip the string between the first page of the book and the page you’re currently reading. Bring the string close to the binding of your book, and it will rest there nicely while you’re reading; and it won’t bother you at all.
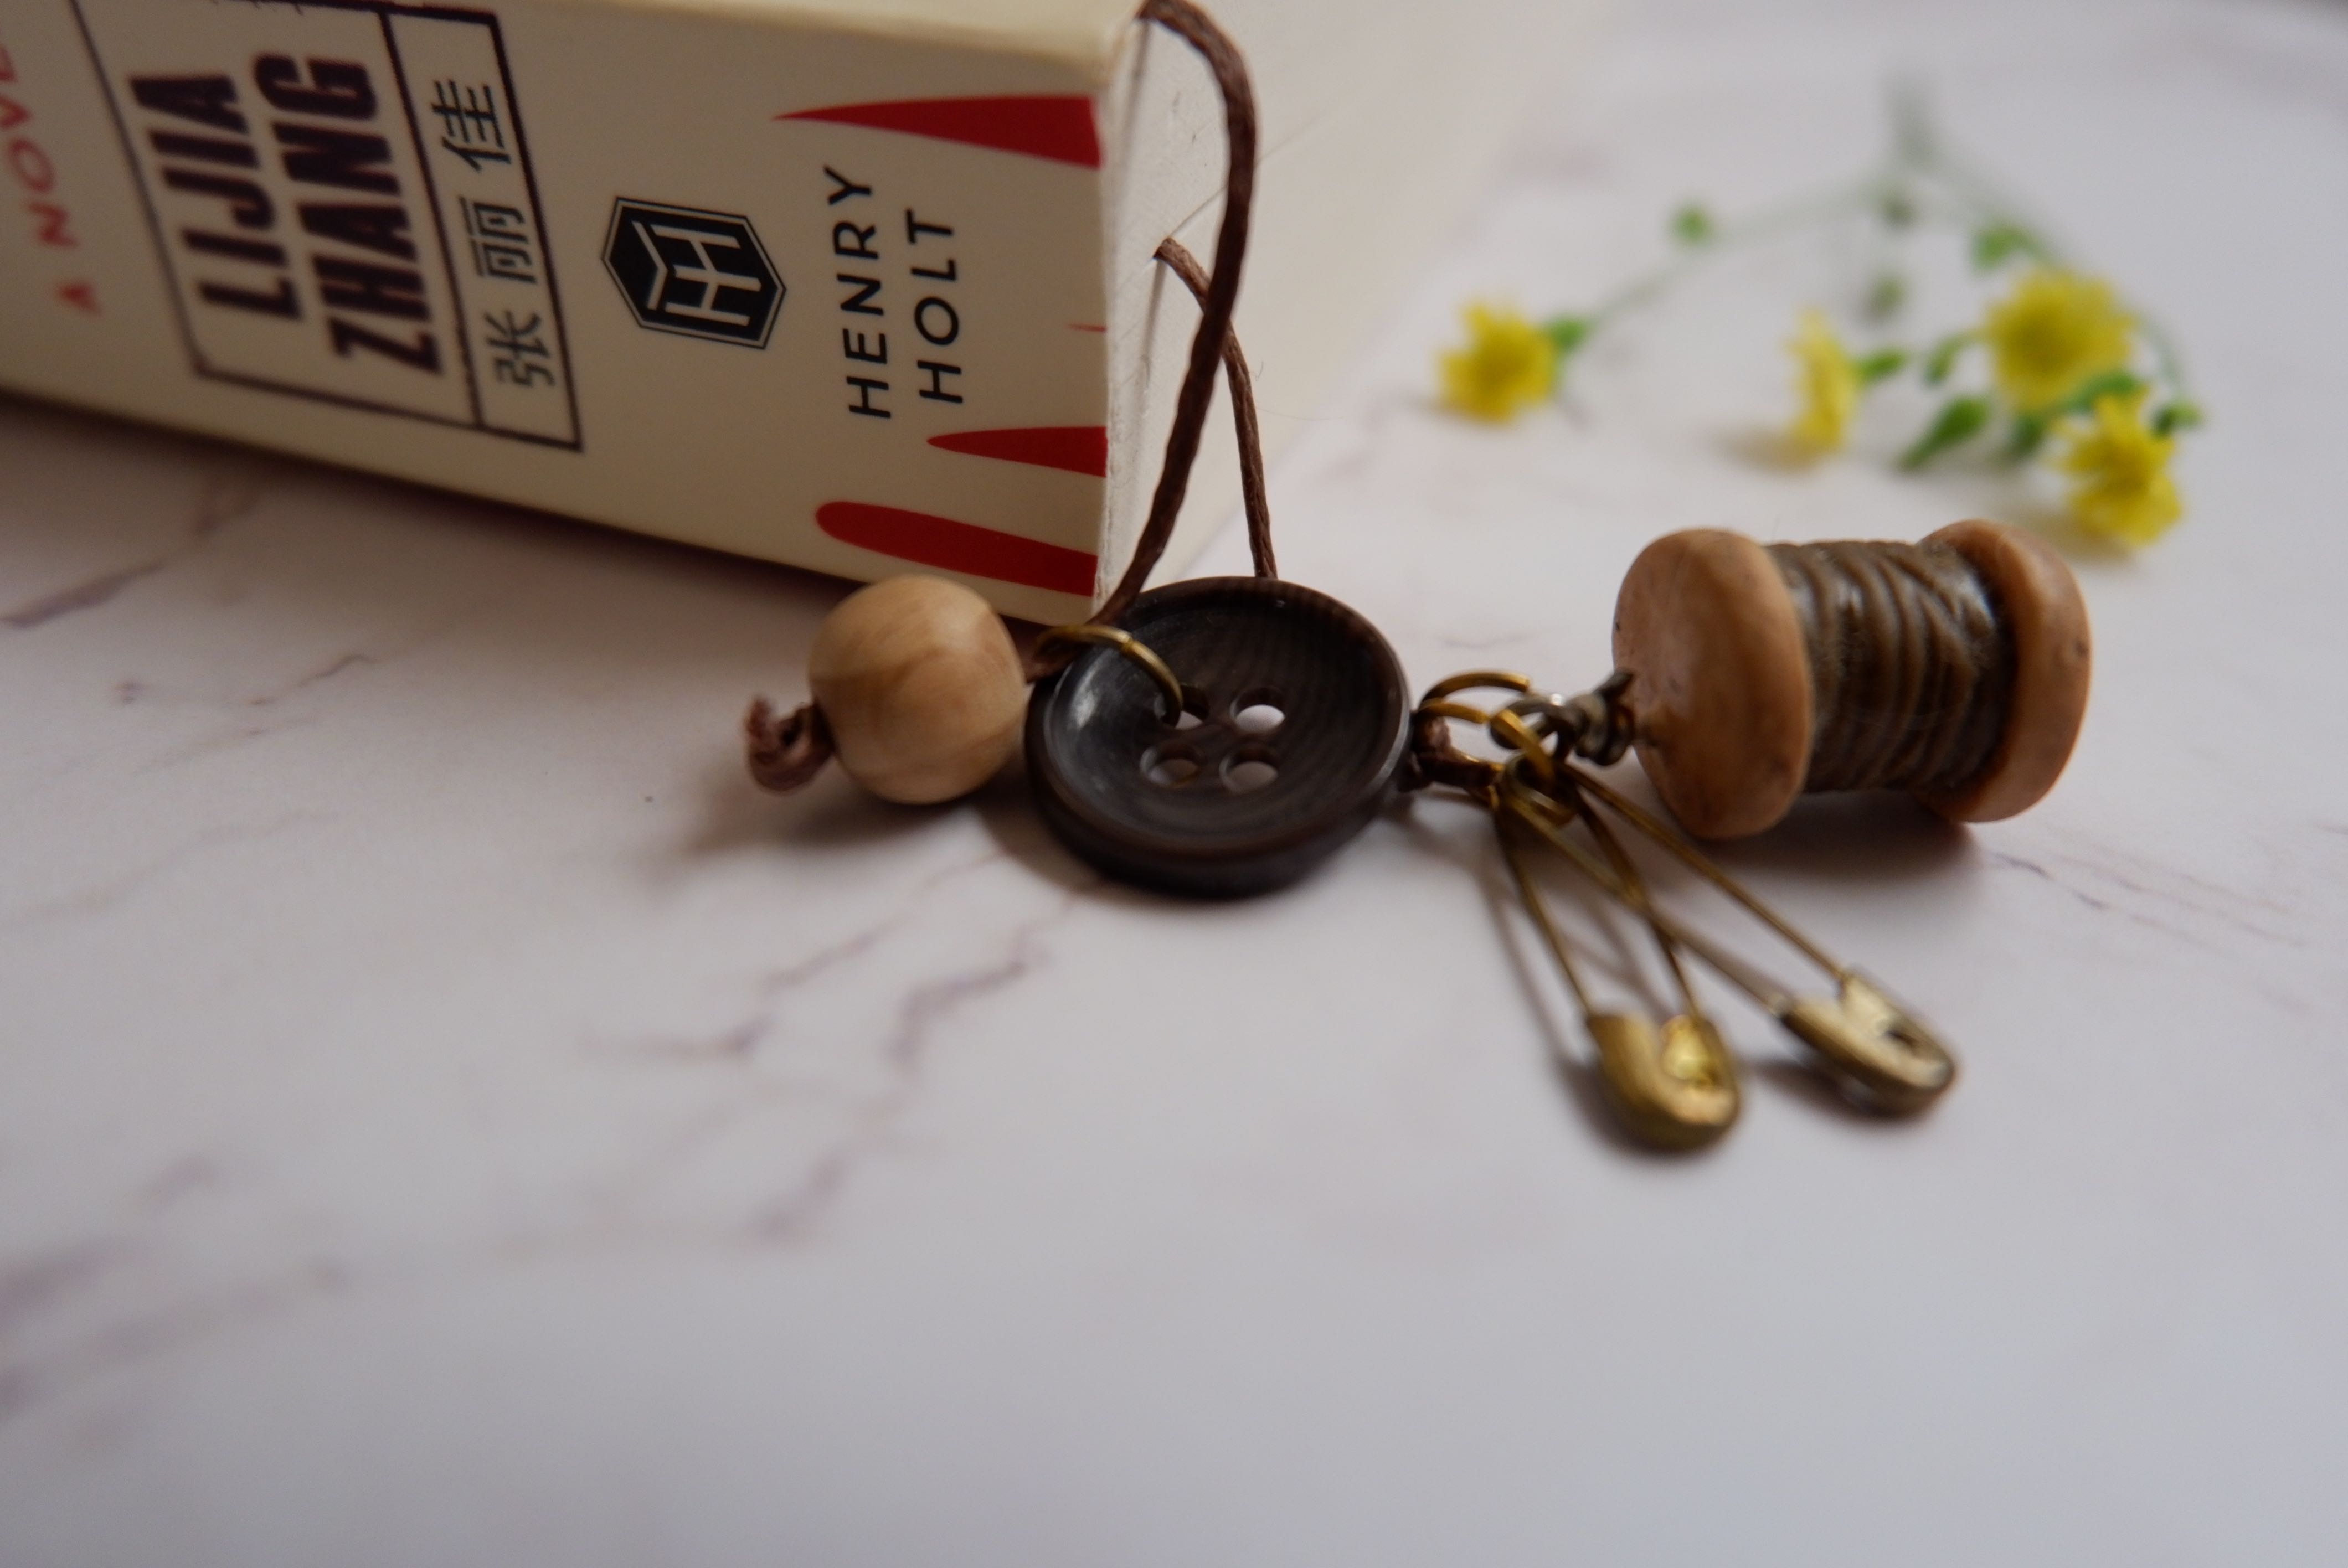
Dangling Bookmark: Use What You Have!
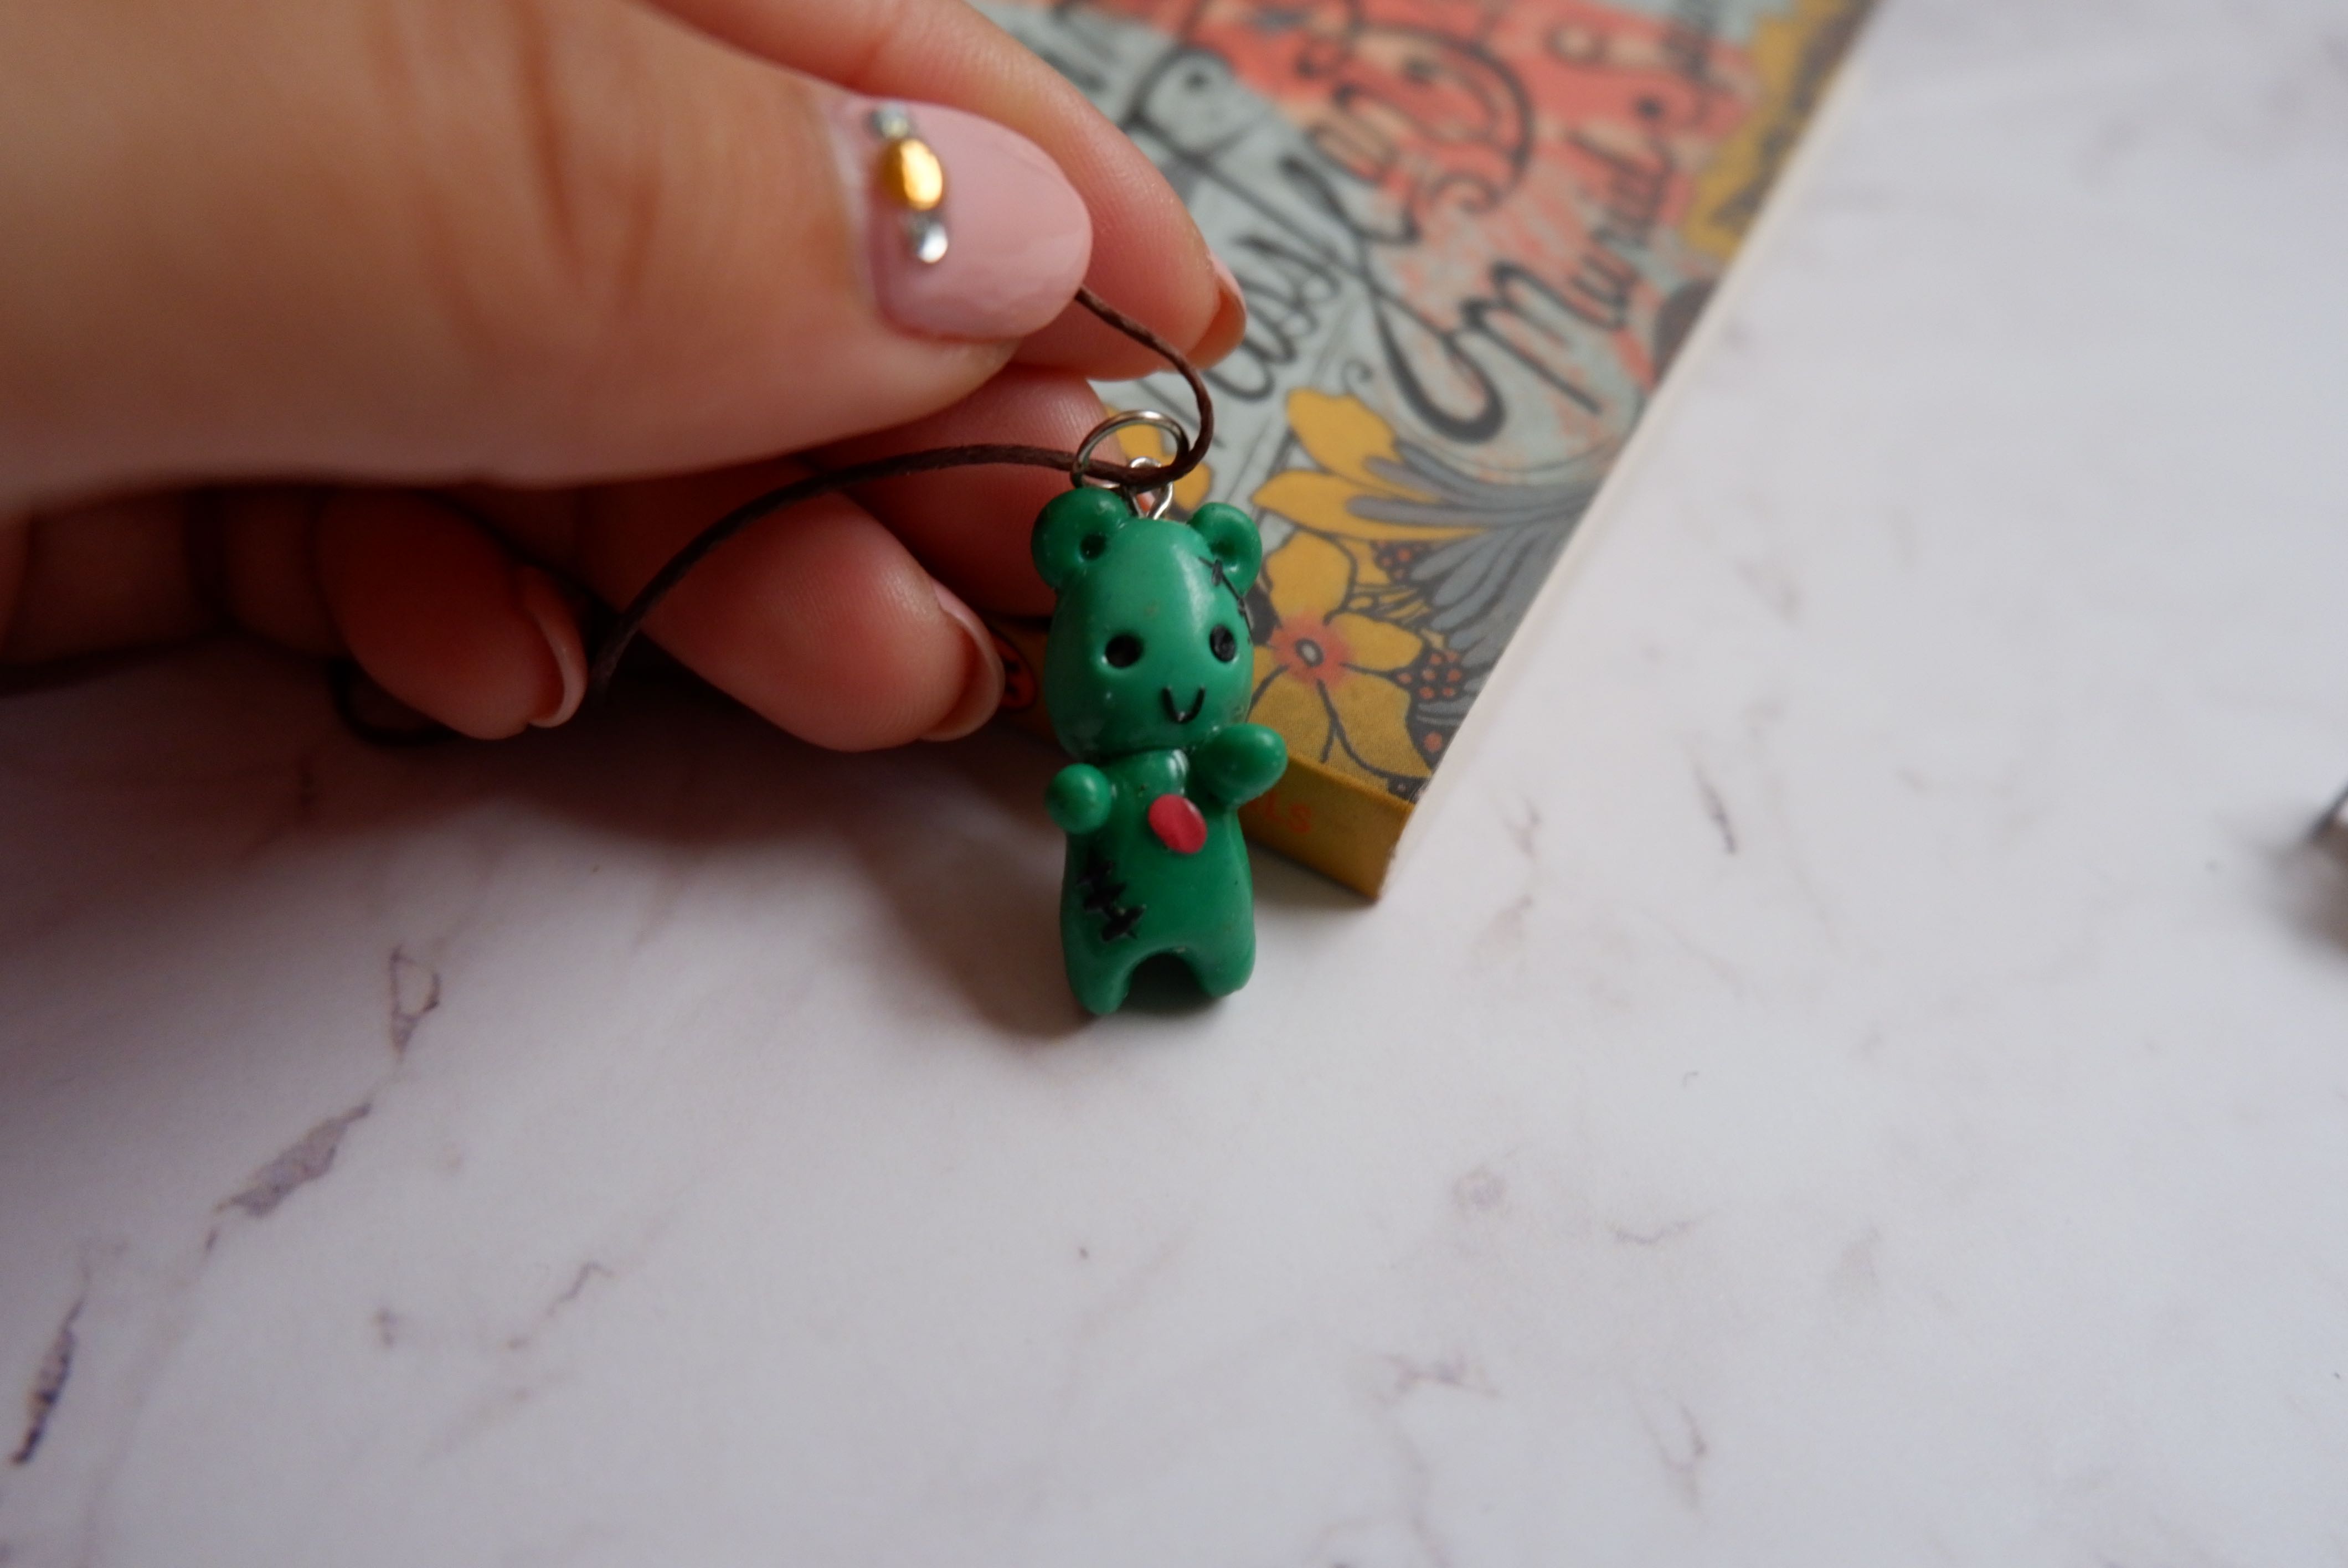
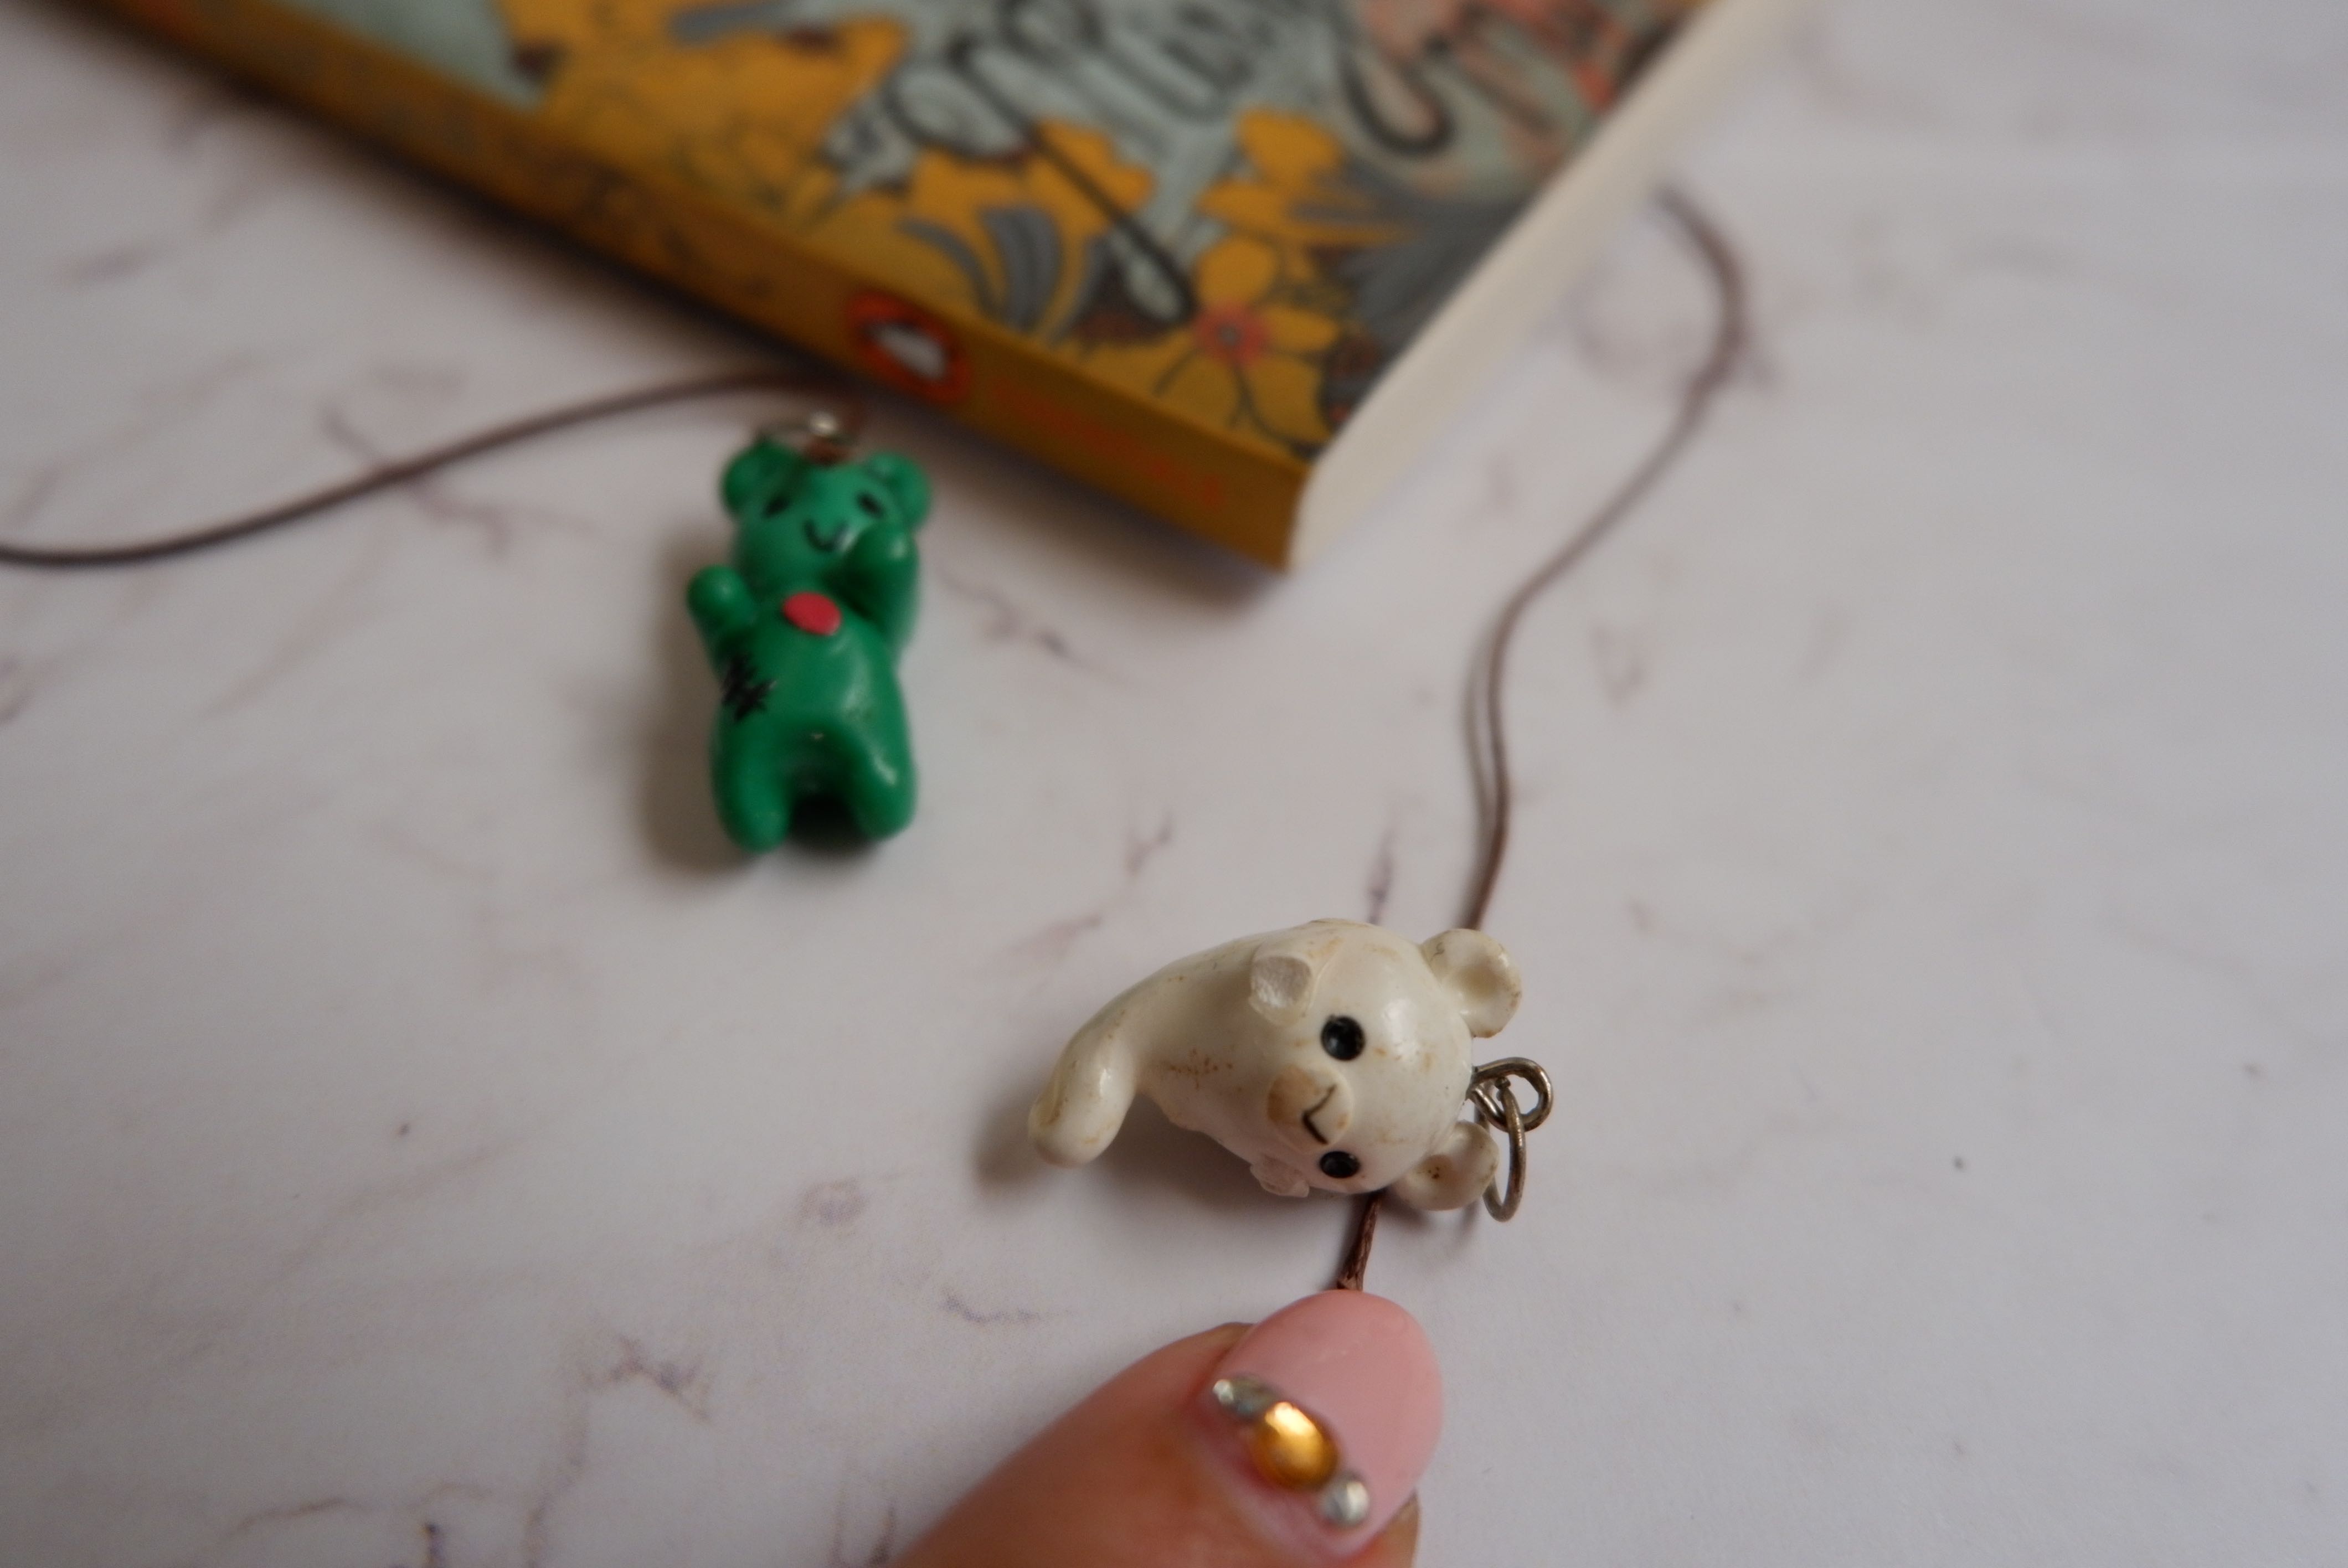
I didn’t buy the charms on my dangling bookmarks. Most of them came from broken accessories that I liked so much, but because they were broken, I couldn’t wear them anymore. I kept them in my drawer thinking that one day I would fix them, but of course, it never happened.
So, I’m happy that they can get a second life!
This bird bookmark, for instance, came from a broken earring I got years ago. Some others came from broken bracelets and from my mother’s beads collection.
So, why don’t you check your drawer and see what kind of charms or beads you can use to make your own dangling bookmark? (If you don’t have any, you can also get some charms from here.)
Let me know if you tried to make a dangling bookmark this weekend! Feel free to share some pictures of your dangling bookmark and tag me if you like!
I assure you that you’ll have a pleasant weekend making your own dangling bookmark, and read your book while the bookmark is dangling pretty between the pages!
PS:
The books I’m currently reading:
After Midnight by Rainbow Rowell (just finished it today!)
Balik Kampung
Lotus by Lijia Zhang
Kebaya Tales by Lee Su Kim
Sales Mind: 48 Tools to Help You Sell by Helen Kensett
Big Magic by Elizabeth Gilbert (reread)
Not That Kind of Girl by Lena Dunham (reread)
The Prime of Miss Jean Brodie by Muriel Spark
A Journey Through the Heart of A Pig by Johnny Lloyd (reread)
You might have noticed some links to Tokopedia e-commerce site in this post, but this is NOT a sponsored post. Personally, I love using the site to get my craft supplies for a bargain, so maybe you want to check it out.
hanny
WANT TO SHARE WITH SOMEONE WHO NEED THIS?
Hi. I'm HANNY
I am an Indonesian writer/artist/illustrator and stationery web shop owner (Cafe Analog) based in Amsterdam, the Netherlands. I love facilitating writing/creative workshops and retreats, especially when they are tied to self-exploration and self-expression. In Indonesian, 'beradadisini' means being here. So, here I am, documenting life—one word at a time.
We use cookies to ensure that we give you the best experience on our website. If you continue to use this site we will assume that you are happy with it.


